Tutorials · Worlds and Levels · Chapter 4
Tiles that do things
By the end
- The water, tile
#52, playing four frames and tinted see-through; the spikes,#56, carrying a Data rowhurt, sunk into the pit and drawn over its water; the bracket,#57, placing a torch - A torch made once, an Animated Sprite with a Light, saved as an artifact, and painted six times
- Five new layers: one-way
ledgeson thepilgrimcollision layer,hazards,waterin front,torches, and a hidden Solidedge;groundandpillarscasting the torches’ shadows - An Ambient Light, a
checkpoint, a Camera Confiner fitted to the halls with Fit to tilemap, andpilgrim.rgs, which drops him through a ledge and sends him back from the spikes
On this page
When a tile should do something
The halls of chapter 3 are stone and nothing more. This chapter gives their tiles behaviour: water that moves, spikes that hurt, ledges that hold him from above only, torches that light the walls. No grey stand-in goes here, since the crypt had none; nearly everything is set on the crypt’s map, art/crypt.tilemap, in the Tilemap tab.
Reach for a tile’s settings when every cell painted with that tile should act alike, wherever it is painted: every spike hurts, every water cell moves. Reach for a layer’s flags when a whole kind of cell collides or casts a shadow alike: every ledge is one-way. And reach for a node, as chapter 1’s Blocks were, for one thing in one place that the map does not repeat.
The torch
A torch is a flame that flickers and a light round it: a node, not art on a sheet. It is made once, here, and saved as an artifact, so a tile can place a copy of it wherever the tile is painted. Its picture, art/torch.png, two frames of a flame on a bracket, 32 by 16, came with the starter.
The torch is made in a new scene of its own and never saved there, so the crypt is left as it was.
- With
scenes/crypt.ronopen, press Ctrl+S. Choose File → New scene: an empty scene takes the crypt’s place. - Double-click
art/torch.pngin Assets. The Sprite sheet tab opens on it. Press Detect grid: Cell reads16and16, and the line under it 2 x 1 cells. - Drag across both cells in the picture: Selected 2 x 1. Under Clips, press From selection; name the clip
burn,6 fps, Loop; and press Generate 1. A file,art/torch.anim, appears beside the picture.
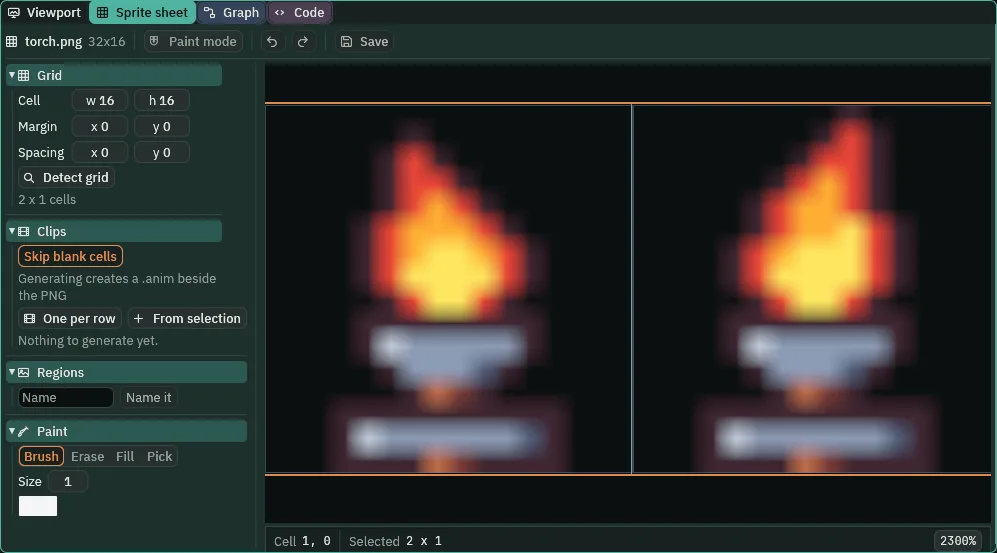
torch.png after Detect grid: cells of 16, both selected.- Detect grid
- Reads the cell size off the picture’s own transparent gaps, and fills in Cell; the line under it counts the cells. Typing Cell does the same by hand.
- From selection and Generate 1
- A drag across the picture’s cells selects them; From selection makes a clip of them, to name and give its frames a second and its loop. Generate 1 writes the clips listed into a
.animbeside the picture.
- Press + Add node and choose Animated Sprite. Rename it
torch. - In its Sprite, drag
art/torch.pngonto Texture, set Size to16,16and Sort Layer to Props, and tick Unshaded. Leave Anchor at0.5,0.5: a tile stands its copy on the middle of its cell. - In its Animated Sprite, drag
art/torch.animonto Animations and set Clip toburn. - Press Add component and choose LightComponent. Set its Color to
1.0,0.7,0.4, its Radius to176and its Intensity to3: a warm pool round the flame. Leave the rest as it comes, a Point. - Right-click
torchin the Hierarchy and choose Save as artifact…. In the save dialog, make a folder calledartifacts, open it, and save the file astorch.artifact. Select thetorchleft in the scene, press Delete, and press Delete in the box that asks. - Double-click
scenes/crypt.ronin Assets to open the crypt again. The editor asks Save the open scene?: choose Discard: the new scene is never saved, and its Save is greyed. Click the Viewport tab.
The torch draws at full brightness whatever light falls on it, since a flame lights itself, and lights the stone round it out to 176 units. Every light casts shadows from whatever occludes it; the walls will, once their layers say so.
Three tiles that do things
Click a tile in the picker and the Tile band under it shows what that tile does, wherever it is painted: how it draws, and what it carries. A row whose name is dim is at what every tile comes with.
- Select
hallsand click the Tilemap tab. In the picker, click tile#52, the first of the four water tiles. - Under Animation, press Add frame three times: the new frames are
#53,#54and#55, each the cell after the last, and each lasts0.20sas it comes. - Set Tint to
0.85,0.95,1.0, alpha0.75: the water cooled a little and made see-through, so the back wall shows through it.
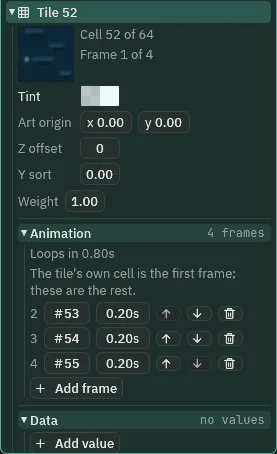
#52: four frames round in 0.80 seconds, and its Tint.- Click tile
#56, the spikes. Under Data, press Add value and choose Bool. Typehurtover the new row’s name,key, press Enter, and tick its box. - Set Art origin’s
yto0.25, and Z offset to2.
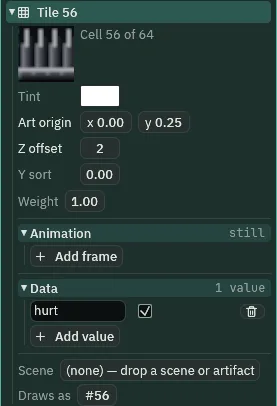
#56: Data hurt ticked, Art origin y 0.25, Z offset 2.- Click tile
#57, the torch’s bracket. Dragartifacts/torch.artifactfrom Assets onto Scene’s slot.
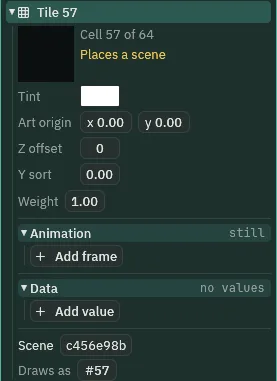
#57: its Scene holds the torch, by the start of its id.- A tile’s Tint
- A colour multiplied into the tile’s art wherever it is painted, alpha included, on top of the map’s own Color. White, as every tile comes, changes nothing. The water’s alpha
0.75lets a quarter of what is behind it through. - A tile’s Art origin
- Moves where the tile’s art is drawn in its cell, in cells, across and down; the cell it is painted in stays where it is. The spikes’
y0.25sinks their art a quarter cell,4units, into the pit’s floor. - A tile’s Z offset
- Added to the tile’s order within the map’s Sort Layer, as its layer’s z is. The spikes’ layer is at z
0and the water’s at1; the spikes’2puts them in front of the water. - A tile’s Animation, and Add frame
- The frames the tile plays, in order, each with its cell and its time. The tile’s own cell is the first frame and lasts as long as the first added one; so
#52plays#52,#53,#54and#55,0.2seconds each, round in0.8. Add frame adds a frame at0.20s, its cell the one after the last frame’s, the tile’s own cell counted: on#52,#53, then#54, then#55; a frame’s cell and time can be dragged or typed, its arrows move it, and its bin drops it. - A tile’s Data, and Add value
- Named values a script reads off the tile wherever it is painted. Add value offers Bool, a box to tick, and Int, Float and Text, which chapter 14 uses; each row starts named
key, and a name is kept when its box loses the cursor. - A tile’s Scene
- A scene or an artifact the tile places instead of drawing art: drop one on its slot, click the slot to clear it. While the game plays, each cell painted with the tile holds a copy of it, a child of the map at the cell’s middle, named for its cell,
tile 7,-6and so on. In the editor the cells show a marker. The band says Places a scene, and the slot shows the start of the id. - A tile’s Draws as
- Points the tile at another one: every cell painted with it draws that tile’s art instead. Typing the tile’s own number back clears it;
0draws nothing. On a copy, set#56’s to#51: the pit’s six cells all draw the worn stone, and none draws a spike. It is for a sheet whose art moves after rooms were painted on it; chapter 14’s dungeon uses it.
Collision layers by name
The ledges over the pool are to hold him and let other things through. Things that collide sit on collision layers, numbered, and the project can name them and say which pairs of them meet.
- Choose File → Project settings… and click the Physics tab.
- Press Show all layers. Type
pilgrimbeside0andrubblebeside1. Press it again: the two named layers are listed, and the matrix under them.
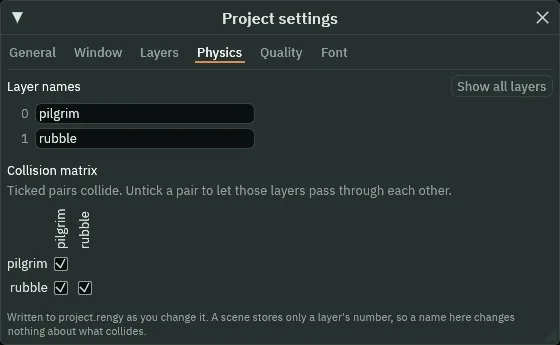
Layer 0 is the one every Collider and body is on as it comes, the pilgrim among them, so it is called pilgrim. Nothing in the game is on rubble until chapter 13’s falling stones.
- Layer names
- What the thirty-one collision layers are called, project-wide. A scene keeps a layer as its number, so a name changes nothing about what collides; it is what every picker of layers shows. Show all layers lists the unnamed ones too, to name one.
- The Collision matrix
- Which pairs of named layers collide: a ticked pair does, an unticked pair passes through each other. A body meets a collider, or a tile layer, only when the pair of their layers is ticked here. Every pair comes ticked.
Layers that do things
Each new kind of tile goes on a layer of its own, whose flags say how its cells collide, and whether they cast shadows and show.
- In the Layers band, open
ground’s gear and tick Occluder; do the same forpillars. - Click
ground’s row and press +: an empty layer goes in overgroundand lights. Double-click its name and rename itledges. Press + again for each of the other four, renaming each in the table’s order: each goes in over the one before. - Set each layer’s flags as the table says, and paint it. On
ledges, click thestonerow in the Terrains band and draw a Line: the terrain lays its two ends and its middle.
| Layer, in the file | Flags | Cells (column; row) | World (x; y) | How |
|---|---|---|---|---|
back | z -1 | as chapter 3 | as chapter 3 | |
pillars | z -1, Occluder | as chapter 3 | as chapter 3 | |
ground | Solid, Occluder | as chapter 3 | as chapter 3 | |
ledges | Solid, One-way; Collision layers: Every layer unticked, pilgrim ticked | 52 to 61; -3 | 832 to 992; -48 to -32, over the pool | stone, a Line |
hazards | as it comes | 74 to 79; 1 | 1184 to 1280; 16 to 32, the pit’s floor row | #56, a Line |
water | z 1 | 50 to 63; 0 to 2, and 74 to 79; 1 | the pool’s hollow, 800 to 1024; 0 to 48, and the pit’s floor row | #52, a Rect, then a Line |
torches | as it comes | 7, 21, 35, 49, 63, 77; -6 | from x 112 every 224; -96 to -80 | #57, the Brush on each |
edge | Solid, hidden | -1; -14 to -4 | -16 to 0; -224 to -48, west of the top step up to the ceiling’s top | #47, a Line; then Solid, and the eye |
edge is painted, its Solid ticked, and its eye clicked last, so its strokes are seen as they are made.
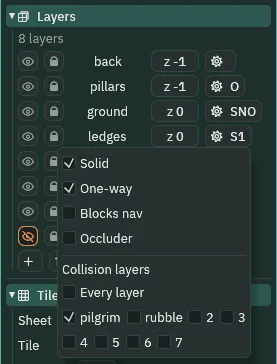
ledges’ gear open: One-way, on pilgrim alone.- A layer’s One-way
- Its tiles hold a body from above and let it through from below and from the sides: he jumps up through a ledge and lands on it. Greyed until Solid is ticked; the gear shows 1.
- A layer’s Blocks nav
- Its tiles are walls to agents finding their way round the map. Its own flag: ticking Solid does not tick it, and a new layer comes without it. Nothing in Hollowmere walks by navigation, so the new layers leave it off.
- A layer’s Occluder
- Its tiles cast shadows from every light.
groundandpillarsare the walls; the gear shows O. - A layer’s Collision layers
- Which collision layers the layer’s Solid and Blocks-nav tiles are on. Every layer, ticked as a layer comes, is all of them. Unticked, the project’s named layers appear to tick, starting from the first alone. A body meets them only when the Collision matrix pairs its layer with one of theirs; any other passes through, as through a Collider. Greyed on a layer that is neither Solid nor Blocks nav, whose tiles are on no collision layer. The gear’s hover names them.
- A hidden layer
- Its eye shut. The eye’s hover says what that does: “Hide this layer, in the game too: it draws nothing, casts no shadow and places no scene tiles, and still collides and blocks navigation and sight as its flags say”.
edgeis a wall he cannot see, in the gap west of the top step, so he cannot walk off the stair into nothing. - A layer’s z, as an order
- Layers draw in their z order inside the map’s Sort Layer, and a tile’s Z offset is added to its layer’s: the back wall and the pillars at
-1; the floor, the ledges, the spikes’ row and the torches at0; the water at1, in front of them; and the spikes lifted by their2over the water.
So, of the new layers: ledges collides from above only, and only with bodies whose layer the Collision matrix pairs with pilgrim; edge collides and never draws; hazards, water and torches draw and collide with nothing; ground and pillars now cast shadows. As the game plays, the map puts a copy of torch.artifact on each of the six brackets, a child of halls at its cell’s middle, each with its light: none is a node of the scene’s own. A tile that places a scene is a node for every cell it is painted in.
Light, a checkpoint and the crypt’s bounds
- Select
crypt, press + Add node and choose Ambient Light. Rename itambientand set its Color to0.30,0.30,0.45. - Select
cryptagain, press + Add node and choose Node. Rename itcheckpointand set its Position to1120,0, on the halls’ floor west of the pit. - Select
cryptagain, press + Add node and choose Camera Confiner. Rename itcrypt-bounds, and press Fit to tilemap in its Confiner. Press Ctrl+S.
The crypt’s stone is drawn to be shown unlit, so the dim blue ambient leaves it dark away from the torches. Each torch lights the wall round it, and the pillars and the floor throw shadows across the light.
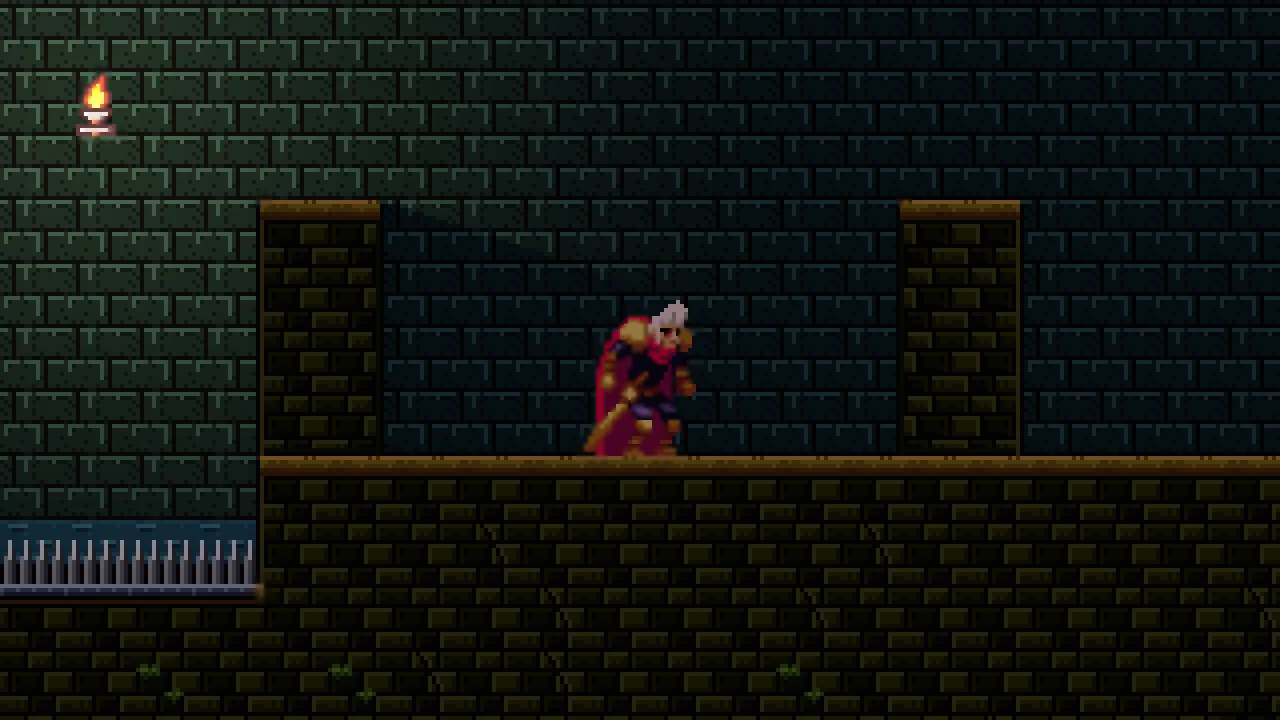
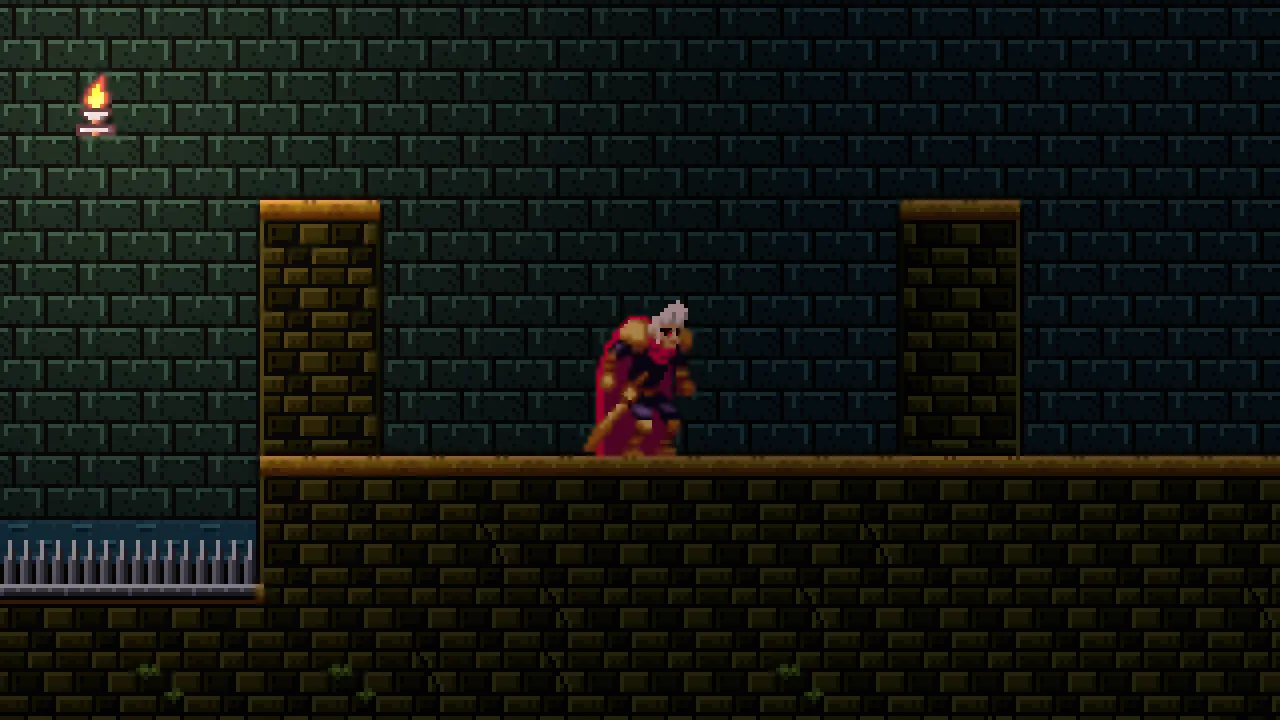
Behind the pillar, from the torch west of it, the wall is about half as bright as on the copy.
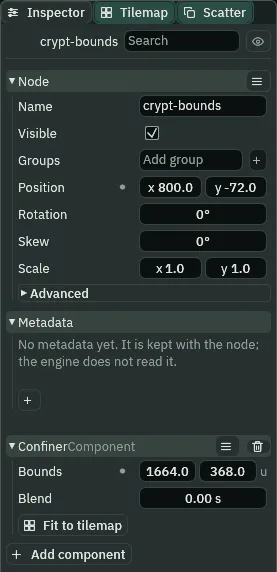
crypt-bounds after Fit to tilemap: Bounds 1664, 368, at 800, -72.- Fit to tilemap
- Under a Confiner: sets Bounds to the box of a map’s painted cells, every layer, hidden ones too, and moves the node to the box’s middle, as one step to undo. The crypt’s box is x
-32to1632and y-256to112: Bounds1664,368, at800,-72. With one map to fit, it is a button; with several, a menu of their names; with none, greyed, and its hover says “No tilemap outside this node has painted cells”. When it cannot fit, the status line says why: “This Confiner already fits that tilemap”, “This node’s parent is scaled to nothing, so there is nowhere to move it to” or “That tilemap has no painted cells outside this node to fit to”. - The Confiner’s Bounds and Blend
- The room the view is kept inside, a size centred on the node, and the seconds the view slides in over when the camera arrives in it;
0, as it comes, cuts.
Stand him on the stair’s top step and the view stops at the crypt’s west edge, x -32. Wherever he stands, from the top step east to x 1600, the view never shows past the painted halls.
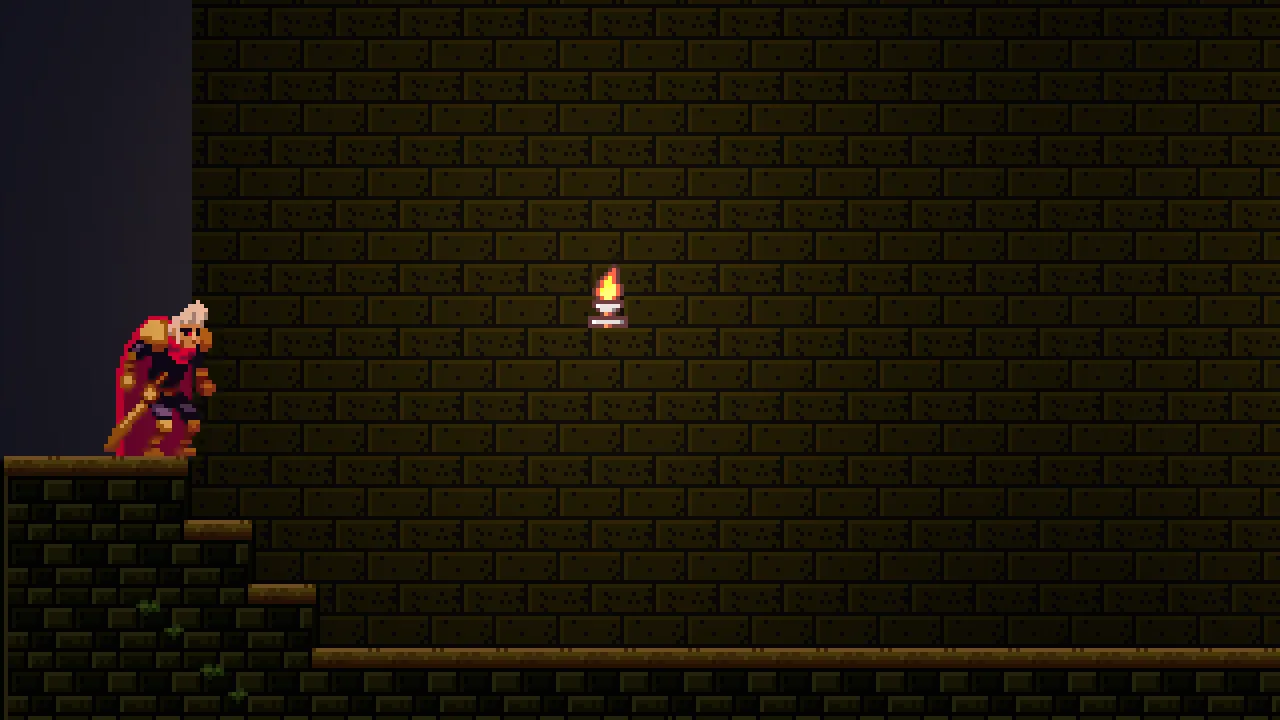
edge drawing nothing west of him.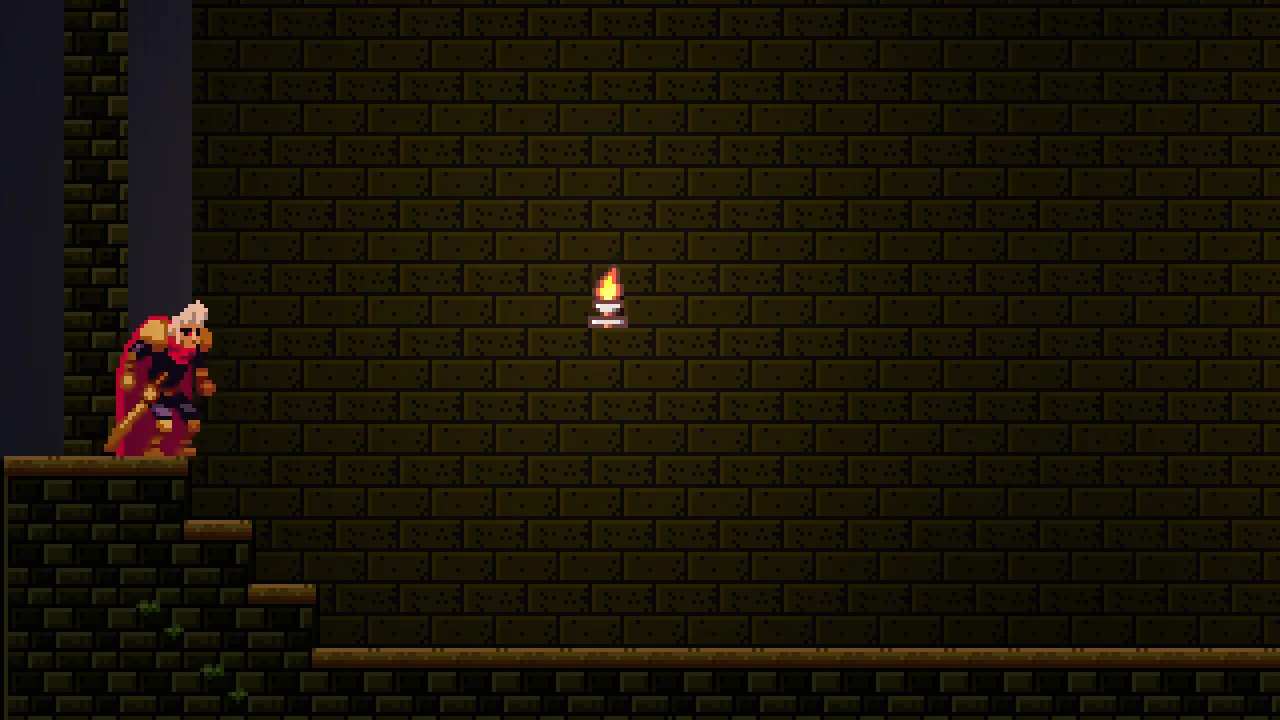
edge shown: the wall he walks into.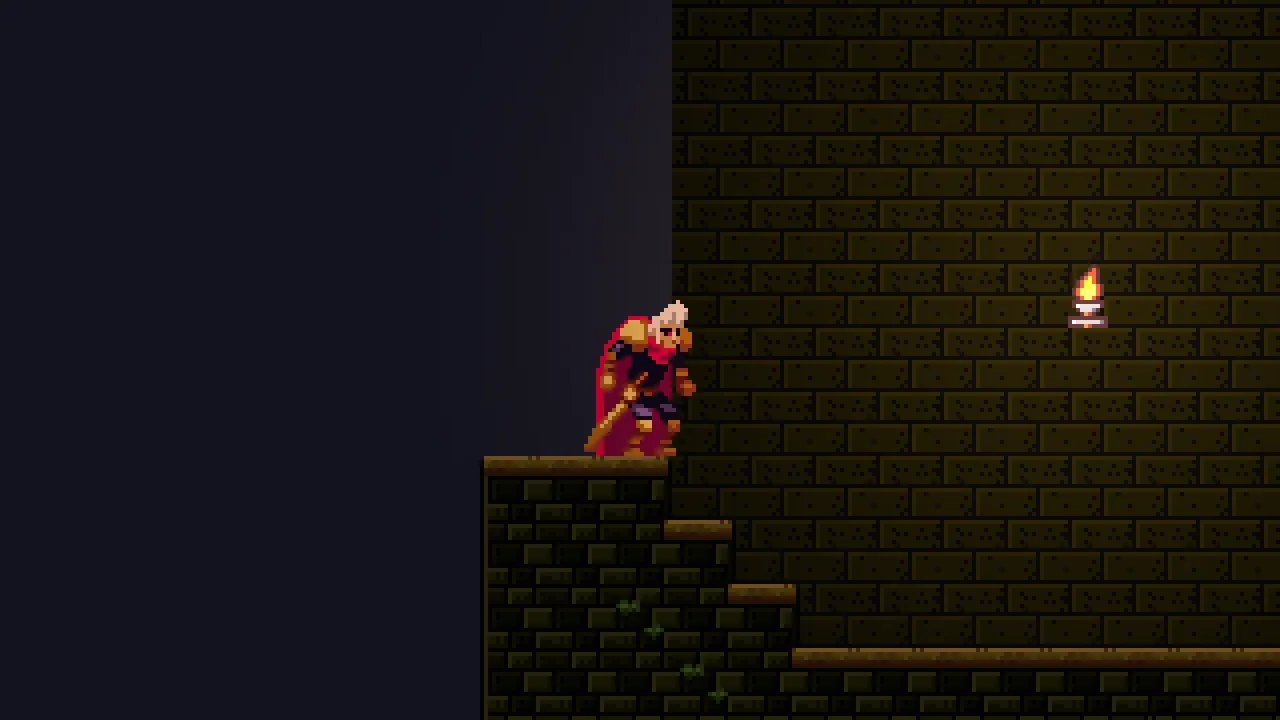
Holding A on the top step for three seconds never takes his left edge past x 0: edge stops him. On a copy whose edge is not Solid, he walks off west into nothing.
The pilgrim’s script
Two things the tiles cannot do alone: drop him through a ledge he stands on when he presses down, and send him back to the checkpoint from a tile that hurts. Both are the pilgrim’s, in a script on him in the crypt.
- In Assets, click Assets in the path bar, so the script is written at the project’s top, then click Create, choose New script, type
pilgrimand press Enter. Click the Code tab, thenpilgrim.rgsin its Scripts list, replace everything in it with the script below, and press Ctrl+S. Click the Viewport tab. - Select the crypt’s
pilgrim, press Add component and choose Pilgrim. - Its Map row is empty: click it and choose
halls. Click Checkpoint and choosecheckpoint. Press Ctrl+S.
/// The pilgrim in the crypt. Down drops him through a ledge he stands on,
/// and a tile that hurts sends him back to the checkpoint.
component Pilgrim {
    /// The crypt's tilemap: the halls, whose tiles he reads.
    #[node_path]
    map: i32 = 0,
    /// Where a tile that hurts sends him back to.
    #[node_path]
    checkpoint: i32 = 0,

    fn loop() {
        // Down (S, or the down arrow) on a ledge drops him through it.
        if pressed("down") {
            drop_down();
        }
        // The cell he stands in, read 4 above his feet: his feet are on the
        // line between two cells, and the one under the line is the floor.
        // A tile there on the hazards layer whose Data says hurt sends him
        // back to the checkpoint.
        let cell = cell_at(node(map), position() - vec2(0.0, 4.0));
        if tile_flag(node(map), "hazards", cell, "hurt") {
            move_to(position_of(node(checkpoint)));
        }
    }
}
Every step, the script reads the cell he stands in, 4 units above his feet. His feet rest on the line between two cells, and the cell under the line is the floor’s stone, which hurts nothing: read at his feet, the spikes would never be found.
- cell_at
- The cell of a map that a place in the world falls in, as a column and a row in whole numbers. Here, the halls’ cell he stands in.
- tile_flag
- Reads a named Data row off the tile in a cell of a layer, as true or false: a Bool as it is, a number as not
0, text as false; false when the cell is empty or the tile has no such row. Here, whether thehazardstile he stands in sayshurt. - drop_down
- Asks his Character Body to drop through the one-way ledge he stands on. On solid ground or in the air it does nothing.
- move_to and position_of
- Puts this node at a place in the world, and reads where another node is: here, the checkpoint’s place.
- pressed
- Whether an action went down this step:
downis S or the down arrow. - node, position and vec2
- The node a
#[node_path]field picked, as the other calls take it; where this node is, as the step began; and a pair of numbers, a place or a distance.
What the tiles do
- With
scenes/crypt.ronopen, press F5: Play runs the open scene. Walk him east along the halls.

0.8 seconds while the torch over him flickers.Every water cell shows the next frame once the first’s 0.2 seconds are up, and every one is drawn at alpha 0.75, the wall behind it showing through.

Standing on the floor beside the pit, he stays where he is: only the spikes hurt, not the floor round them. In the pit the layers draw in their order: the wet back wall, the water over it, and the spikes over the water, a quarter cell lower than their cells.
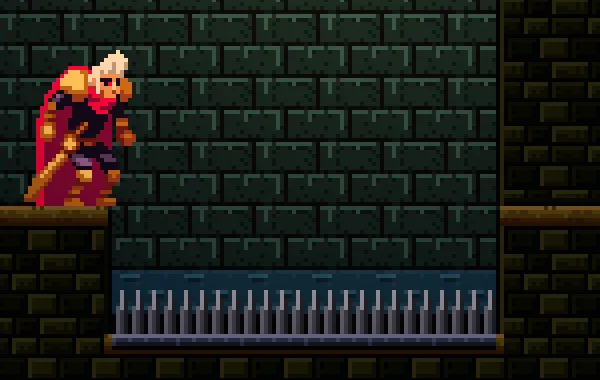

From the pool’s floor, Space takes him up through the ledge and onto it, his feet at y -48, within a second. S takes his feet below the ledge within half a second, and he lands on the pool’s floor, y 48.
- Press F5 again to stop.
The crypt’s tiles and layers
| What | Where | Value |
|---|---|---|
#52, water | Tile band | Animation #53, #54, #55, 0.2 s each; Tint 0.85, 0.95, 1.0, alpha 0.75 |
#56, spikes | Tile band | Data hurt ticked; Art origin 0, 0.25; Z offset 2 |
#57, bracket | Tile band | Scene torch.artifact |
ground, pillars | Layers band | Occluder |
ledges | Layers band | Solid, One-way, Collision layers pilgrim |
water | Layers band | z 1 |
edge | Layers band | Solid, hidden |
| the project | Physics | 0 pilgrim, 1 rubble |
ambient | Ambient Light | Color 0.30, 0.30, 0.45 |
checkpoint | Node | at 1120, 0 |
crypt-bounds | Camera Confiner | fitted: 1664, 368 at 800, -72 |
pilgrim | Pilgrim | Map halls, Checkpoint checkpoint |
And the torch: an Animated Sprite on torch.png, 16 by 16, Sort Layer Props, Unshaded, playing burn at 6 a second, with a Point Light of Color 1.0, 0.7, 0.4, Radius 176 and Intensity 3, saved as artifacts/torch.artifact.