Tutorials · Light and Shadow · Chapter 9
Sprites in the light
By the end
- The lanterns’ glass and the window drawn at their own colours, whatever the light
- Three runes that show only where light reaches them, and one of them hidden in a pillar’s shadow
- A halo, a cold pocket and a moon, one on each of the other three channels, and what each channel costs
On this page
Glass that glows
So far a sprite is as dark as the light on it: that is what lighting is. But a lantern’s glass is lit from inside, and the window is lit from outside, and neither should go dark with the hall. A sprite can opt out.
- Select
lantern_1. Typelightin the Inspector’s filter box, which narrows its Sprite to the rows that answer to light, and tick Unshaded. - Do the same on
lantern_2,lantern_3andwindow_glass. - Press Ctrl+S.
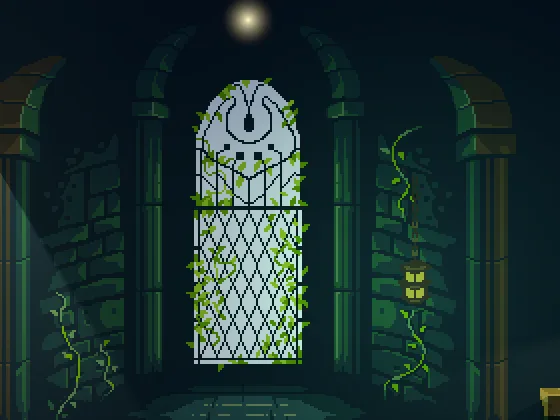
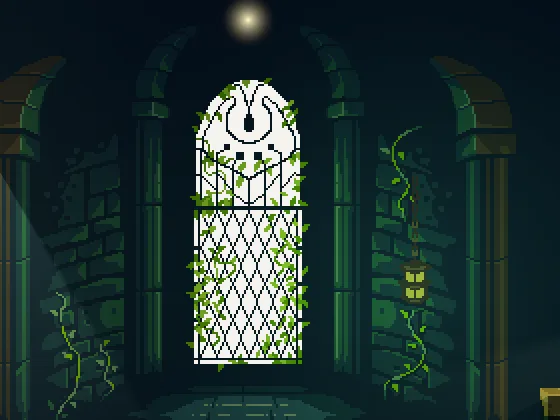
- Unshaded
- Ticked, the sprite is drawn at its own colours whatever the light does: the ambient does not darken it and no light changes it. For a flame’s glass, a lit window, a sign. Unticked, it is lit as every other sprite is.
Marks that show only in the light
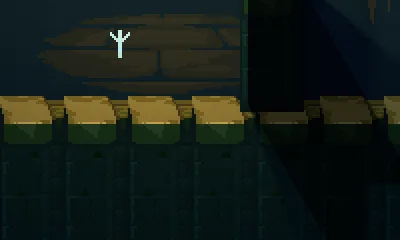
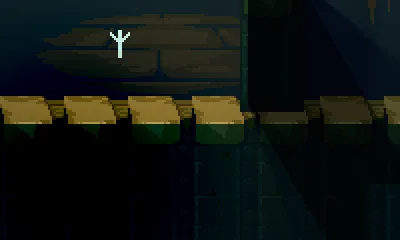
The opposite is a mark that exists only where light falls on it: a rune cut into the floor that glows when a lantern’s light reaches it, and is not there in the dark. The starter has three, hidden until now.
- In the Hierarchy, click the crossed eye beside
rune_a,rune_bandrune_c, so that all three are Visible. - Select each, filter the Inspector with
lightas before, and tick its Sprite’s Light Only. Leave Unshaded off. - Press Ctrl+S.
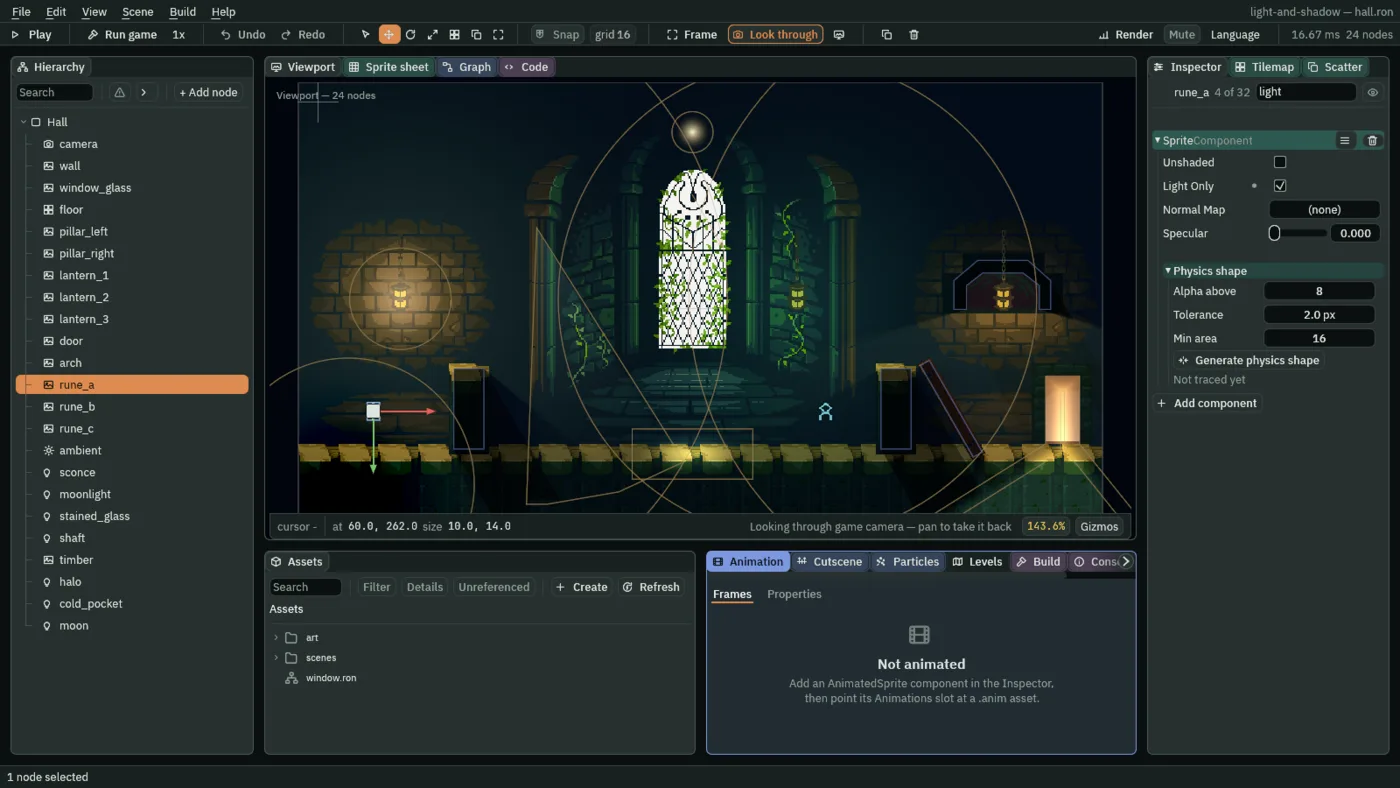
- Light Only
- The sprite shows only as much as the lights reach it, with the ambient taken out: where no light falls, it is not drawn at all, and fully lit it is as bright as an Unshaded sprite. For a rune, a beam in dusty air, a pattern cast on a wall. It is drawn in the pass that already composites the light, so it opens no pass of its own.



Four ways to light
Every light so far has added to the room’s own lighting, and the sum has multiplied each sprite’s colour: that is channel 0. The other three channels do something else, and each is a light of its own here.
- Select
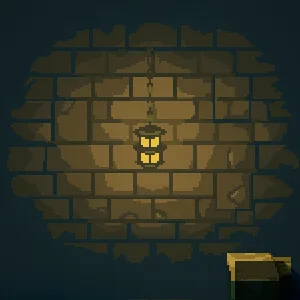
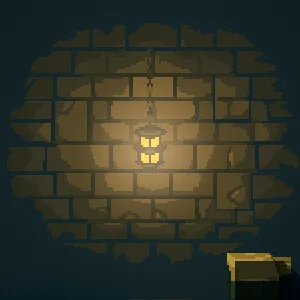
Hall, press + Add node, and choose Light. Rename ithalo. Leave Kind on Point. Set its Position to81.5and172.5, over the first lantern’s glass, Channel to1, Radius to40, Intensity to0.35and Color to1.0,0.7,0.4. - Add another Light under
Halland rename itcold_pocket. Leave Kind on Point. Set its Position to40and320, the bottom-left corner, Channel to2, Radius to100, Intensity to0.1and Color to0.5,0.4,0.2. - Add a third Light under
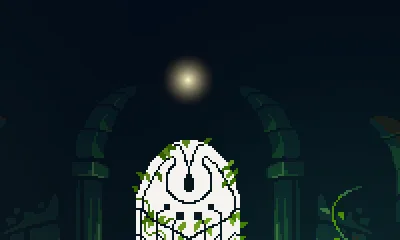
Halland rename itmoon. Leave Kind on Point. Set its Position to314and40, above the window, Channel to3, Radius to16, Intensity to1.0and Color to1.0,0.9,0.55. - Press Ctrl+S.
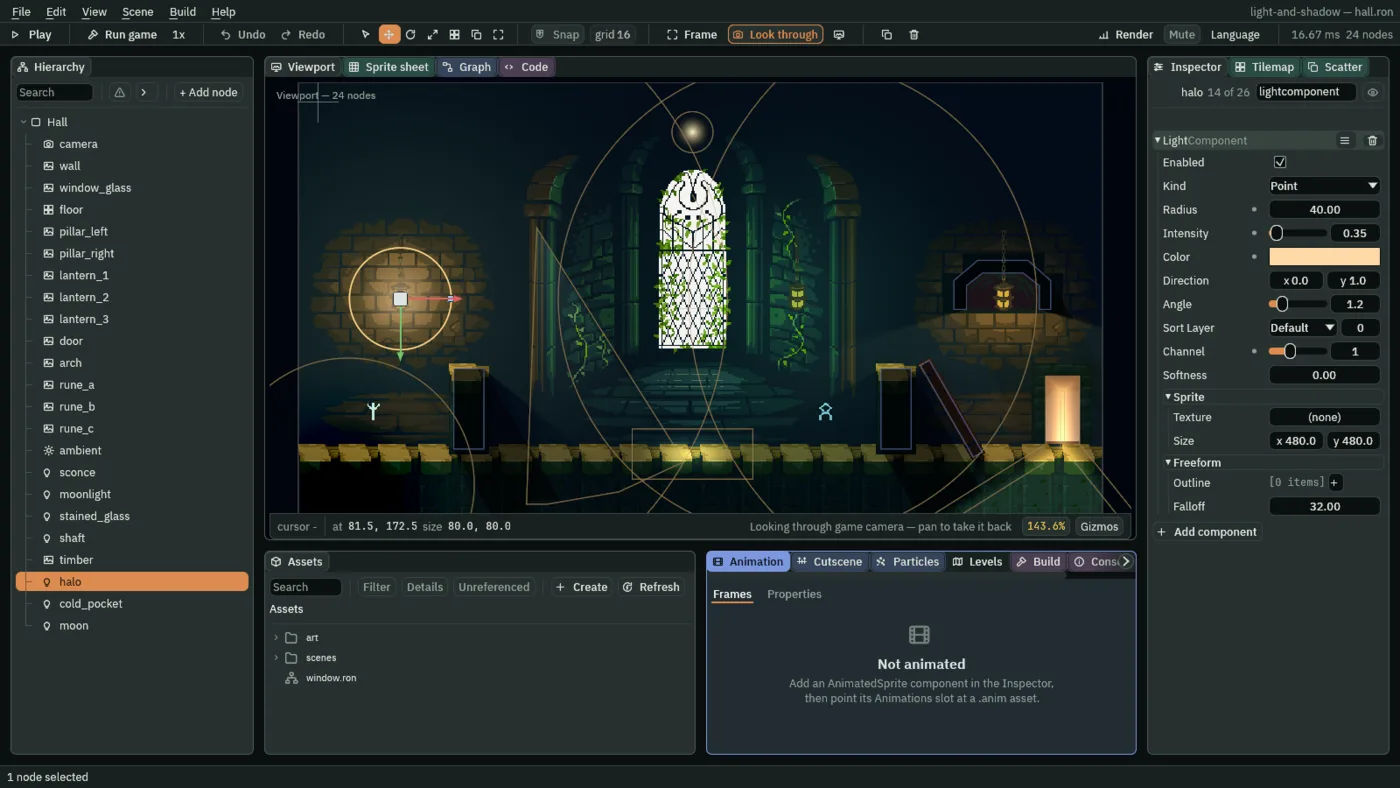
- Channel
0, Multiply - The room’s own lighting: lights add up, and the sum multiplies each sprite’s colour. Where every lamp belongs until one has to do something else.
- Channel
1, Additive - Adds its light over the lit room, so it can brighten a wall past its own colour: a glow round a flame. For a halo, a Radius of
20to60and an Intensity of0.2to0.6looks right; much more and the bricks wash out, and by140it fogs the whole patch. - Channel
2, Subtractive - Takes its colour away from the lit room:
0.5,0.4,0.2takes more red than blue, and leaves a dark corner. A Radius of60to150and an Intensity of0.1to0.25looks right; at0.03it is hardly there. - Channel
3, Replace - Paints its colour over the room, as strongly as it reaches: full at its middle and nothing at its Radius. For a moon, a Radius of
12to32is a small disc to a big one. Where two Replace lights overlap their colours still add, and the one drawn last decides how much of the room is replaced: the order is each light’s Sort Layer, from chapter 4.
Part 2 ends here
The hall now has shaped light: a cone, moonlight, stained glass, a shaft through the doorway, glowing glass and runes that answer to light. You can stop here. Part 3 gives the bricks depth, the flames life, a candle of your own, a glow, and a budget for a phone.
The glass, the runes and the three channels
The three lights, all Points, to build them again in your own game.
| Light | Channel | Radius | Intensity | Color |
|---|---|---|---|---|
halo | 1 Additive | 40 | 0.35 | 1.0, 0.7, 0.4 |
cold_pocket | 2 Subtractive | 100 | 0.1 | 0.5, 0.4, 0.2 |
moon | 3 Replace | 16 | 1.0 | 1.0, 0.9, 0.55 |
And the sprites.
| Sprite | Setting |
|---|---|
| The lanterns’ glass and the window | Unshaded ticked |
| The three runes | Light Only ticked |