Tutorials · Light and Shadow · Chapter 13
Glow
By the end
- A Global Post Volume,
look, with a bloom at Threshold0.4, Intensity1.6and Spread4 - What Exposure, Tint, Saturation and Vignette do
- A Box Post Volume,
draught, at the door: Bounds, Blend and Priority, and the film controls - Why Blur Pairs above
2change nothing here, and why the light does not band
On this page
A look for the whole hall
A Post Volume grades the whole picture once it is lit: its brightness and colour, its corners, and a glow on whatever is brightest. Without one the hall is drawn as the lights leave it. Effects and shaders has the whole component; this chapter gives the hall one.
- Select
Hall, press + Add node, and choose Post Volume. Rename itlook. - Set its Position to
320and180, the middle of the view. - Set Area to Global. Leave Bounds at
1920by1080, Blend at64and Priority at0. - Open Profile. Set Exposure to
1.0, Tint to1.0,0.97,0.92, Saturation to1.0and Vignette to0.45. - Under them, the Enabled below Vignette is the bloom’s switch. Keep it ticked, and set Threshold to
0.4, Intensity to1.6, Blur Pairs to2and Spread to4.0. - Keep Aberration at
0, Grain at0and Grain Rolloff at0.85. - Press Ctrl+S.
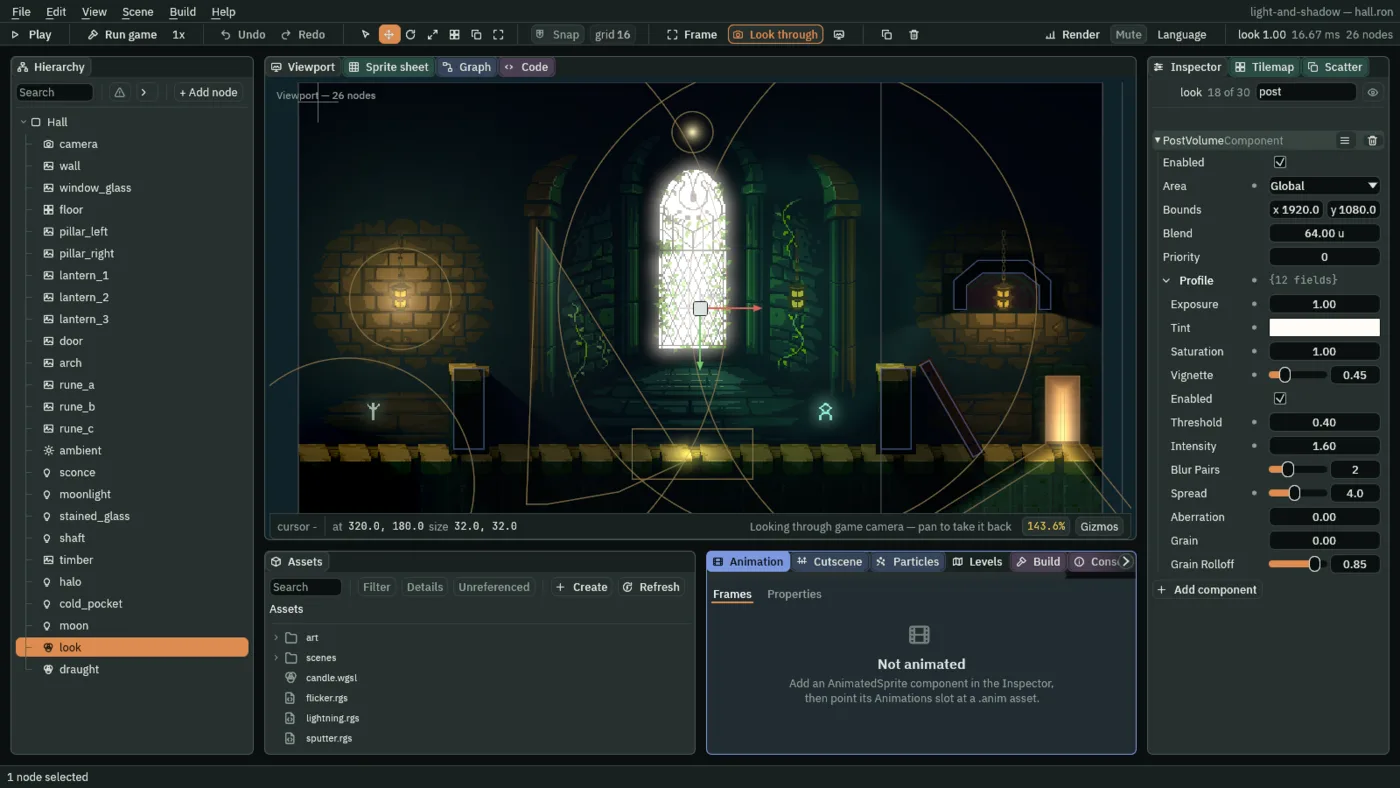
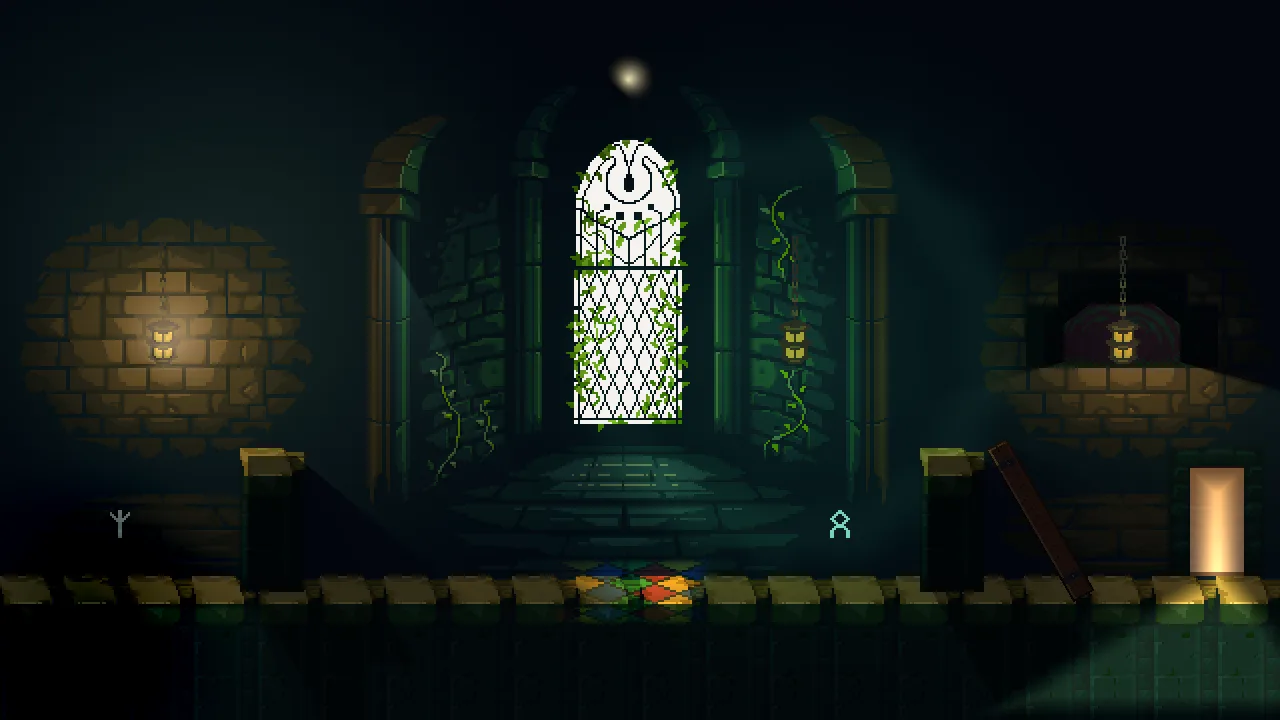
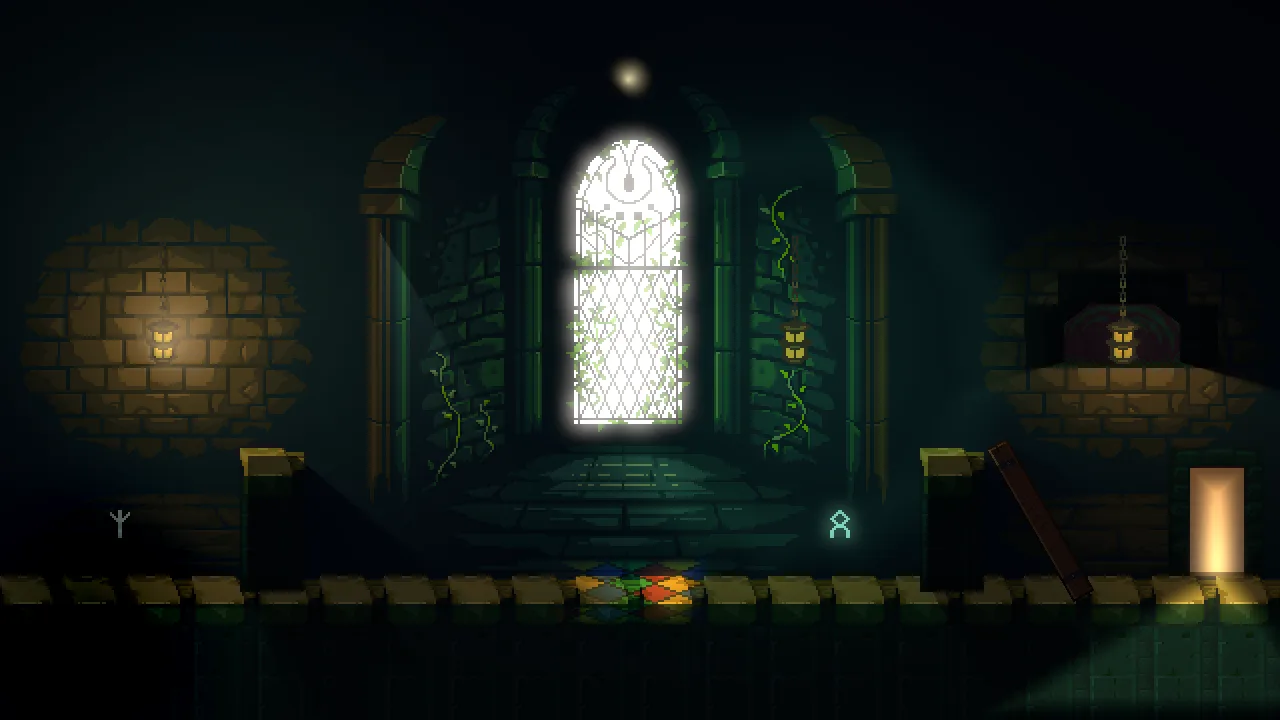
- Enabled
- Whether this volume grades the picture at all. Unticked, it grades nothing wherever the camera stands: the hall as chapter 12 left it, above, is the hall with it unticked. A new volume starts ticked, and
lookstays ticked. The bloom has an Enabled of its own, further down. - Area
- Global, everywhere, or Box, only inside Bounds. A Box blends in at its edge, so a room can have its own look.
lookis Global. - Bounds, Blend
- A Box’s size in world units, and how far inside its edge it reaches full strength:
0cuts,64is about a doorway. A Global volume reads neither, so they stay at1920by1080and64. - Priority
- Which volume wins where two overlap: the higher one is folded in on top.
0here, with only one. - Profile
- The look itself: twelve fields that open under it, Exposure to Grain Rolloff, set one by one in the sections below. A volume brings its whole Profile, not only the fields you changed, so a field left at its default pulls the picture to that default wherever the volume applies.
Exposure, tint, saturation, vignette
- Exposure
- How bright the whole picture is, as a multiplier.
1leaves it as lit;1.0here. - Tint
- A colour the whole picture is multiplied by, three numbers from
0to1and no alpha.1.0,0.97,0.92takes a little blue and a little green out of everything, so the hall reads warmer. - Saturation
- How strong the colours are.
1leaves them as lit and0is grey;1.0here. - Vignette
- How much darker the corners get, from
0, none, to2.0.45here. It costs nothing either way. - Aberration, Grain, Grain Rolloff
- Film effects, all off here. Aberration pulls the colour channels apart at the edge of the picture, in pixels; Grain adds noise, from
0; Grain Rolloff, from0to1, is how far the noise backs off as a pixel nears white.0,0and0.85: the grain is off, so its rolloff is unread. The draught, below, turns them on.
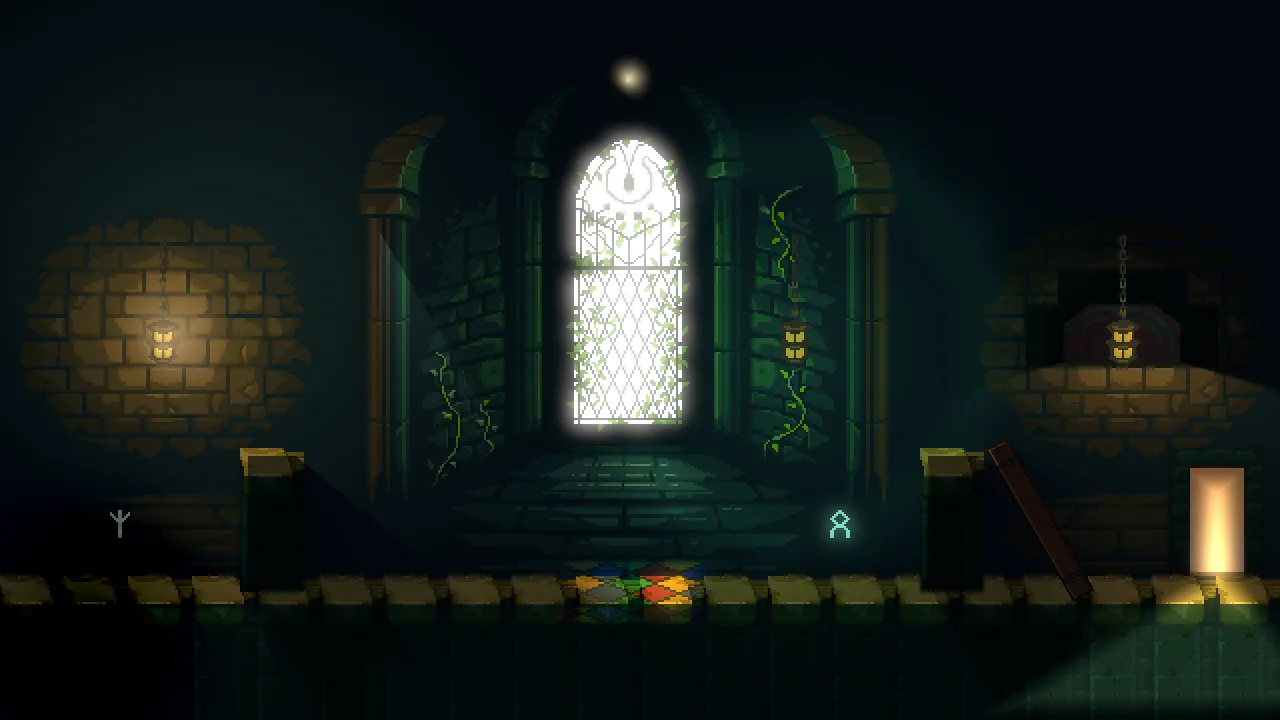
0.Bloom
Bloom is the glow round something bright: the picture is blurred, and what was brightest is added back over it. The window is the brightest thing in the hall, so it is what glows.
- Enabled, the bloom’s
- Its own switch, below Vignette. The Enabled at the top of the component switches the whole volume.
- Threshold
- How bright a pixel must be to glow, from
0up. A pixel gives up the part of its brightness above this. At0.4a white window gives up three fifths of itself, and glows well; at0.8it gives up a fifth, and its halo nearly goes.0.4here. - Intensity
- How strongly the glow is added back, from
0up.1.6here; the default is0.8. - Blur Pairs
- How many rounds of blur the glow gets, from
0to7. Each pair is two passes of the picture.2here. - Spread
- How far each blur reaches, from
1, the plain blur, to8. It widens the glow without drawing any more.4.0here. It wants two Blur Pairs or more to stay smooth.
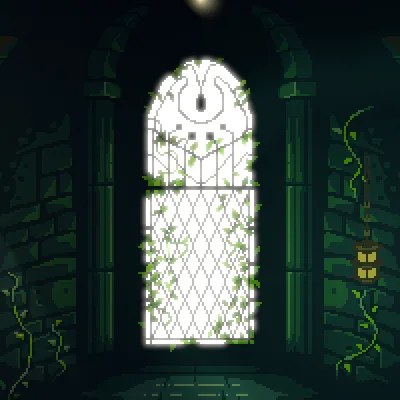
1: the glow hugs the glass.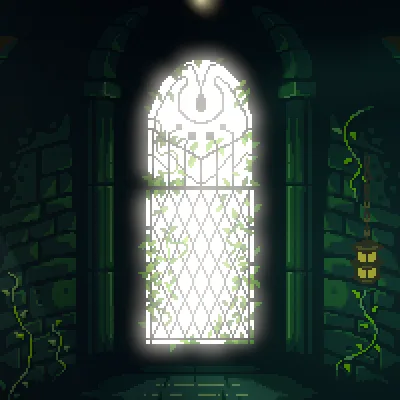
4, the value you set.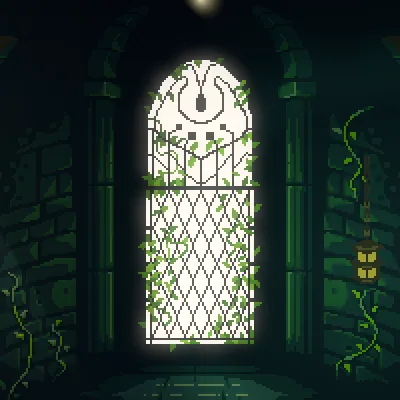
0.8: far less of the window’s brightness feeds the glow, so the halo nearly goes.A second look, at the door
A Global volume grades everywhere. A Box grades by where the camera stands: the whole picture takes the look of the box the camera is in, faded in across the box’s edge. The real case is a room with a look of its own, such as a cold draught by the doorway, which a camera following a player to the door fades into.
- Select
Hall, press + Add node, and choose Post Volume. Rename itdraught. - Set its Position to
560and180, Area to Box, Bounds to192and400, Blend to48and Priority to1. - Open Profile. Set Exposure to
1.03, Tint to0.76,0.83,1.0, Saturation to0.6and Vignette to0.6. - Keep the bloom’s Enabled ticked, and set Threshold to
0.4, Intensity to1.6, Blur Pairs to2and Spread to4.0, as inlook. - Set Aberration to
3, Grain to0.04and Grain Rolloff to0.6. - Press Ctrl+S, then F5: the hall looks as it did, because the camera stands outside the draught. Press F5 again to stop.
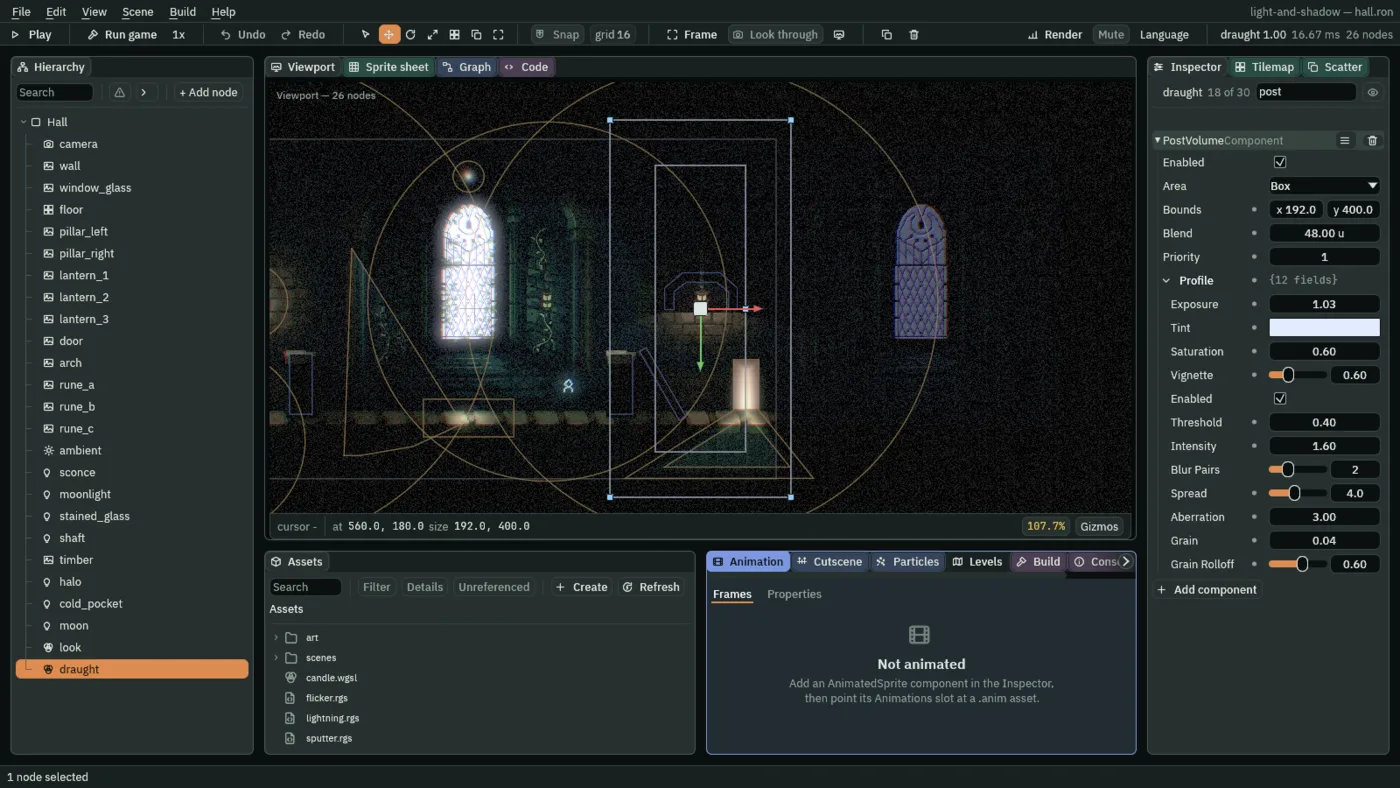
Press Frame in the toolbar to fit the whole box in the Viewport. A selected Box shows its Bounds as a rectangle with a handle at each corner, which you drag to resize it, and a second rectangle inside, where the volume reaches full strength. The handle on that inner rectangle’s right edge drags the Blend. The Viewport is graded by the draught here, because the view stands inside it.
- Area Box
- The volume applies only where the camera is inside its Bounds, centred on the node, and fades in across its edge.
- Bounds
- The rectangle, in world units, centred on the node:
192by400here, the doorway’s end of the hall from top to bottom. - Blend
- How far inside its edge the volume reaches full strength, in world units, from
0. At the edge it applies not at all,48units in it applies fully, and between them it fades in, so halfway in is half its look.0cuts at the edge. Outside the edge a volume changes nothing, whatever its Profile holds. - Priority
- Where two volumes apply, the higher is folded in on top of the lower.
1, over the look’s0, so the draught is on top where both apply.
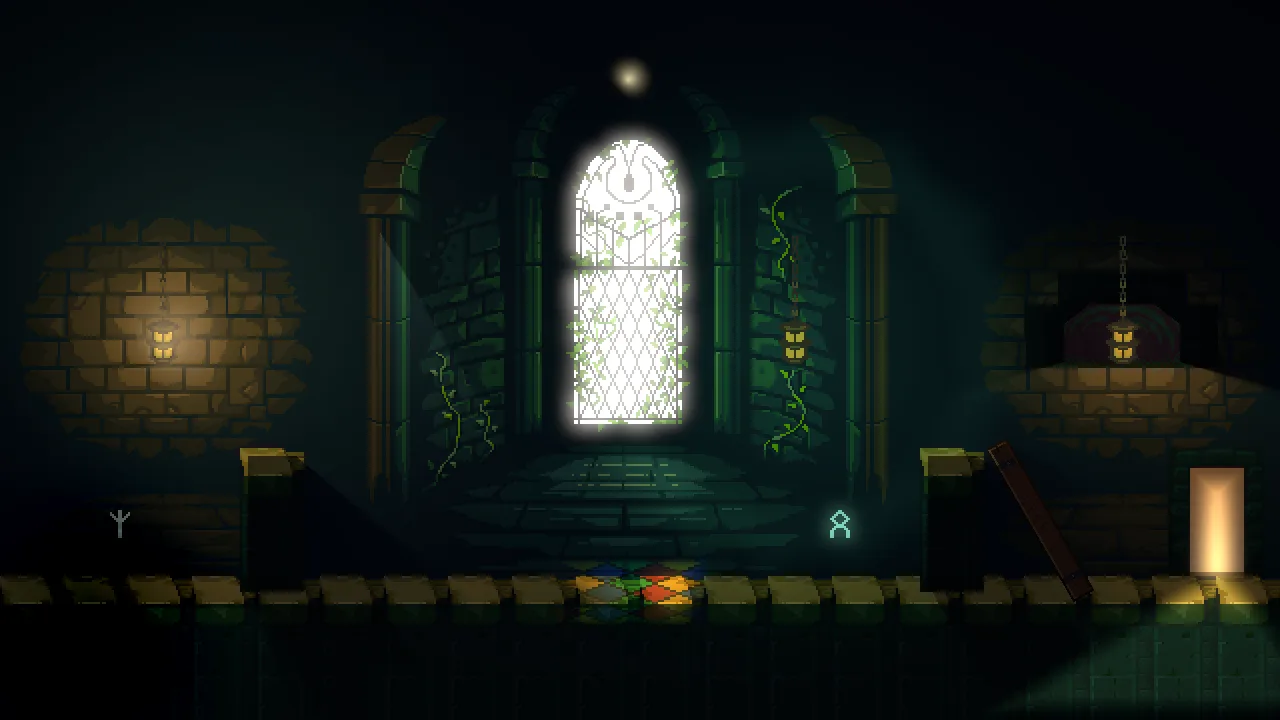
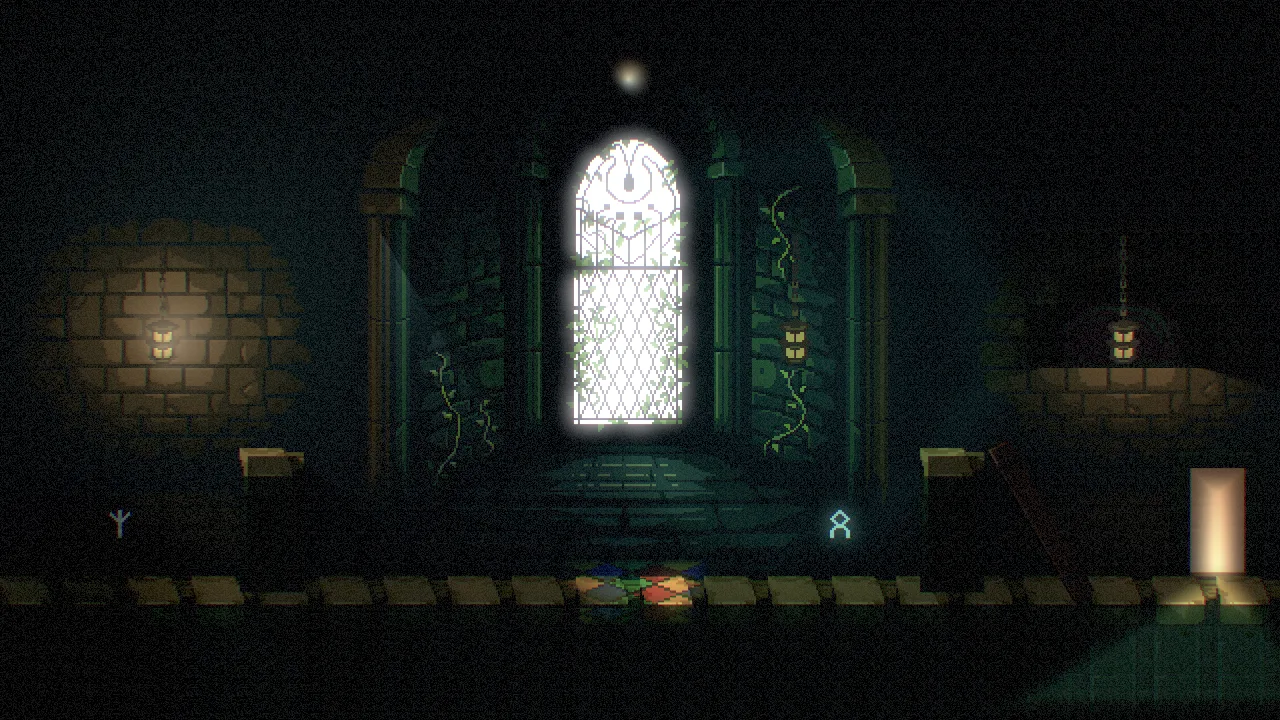
24 units inside its edge, half its Blend: half its look.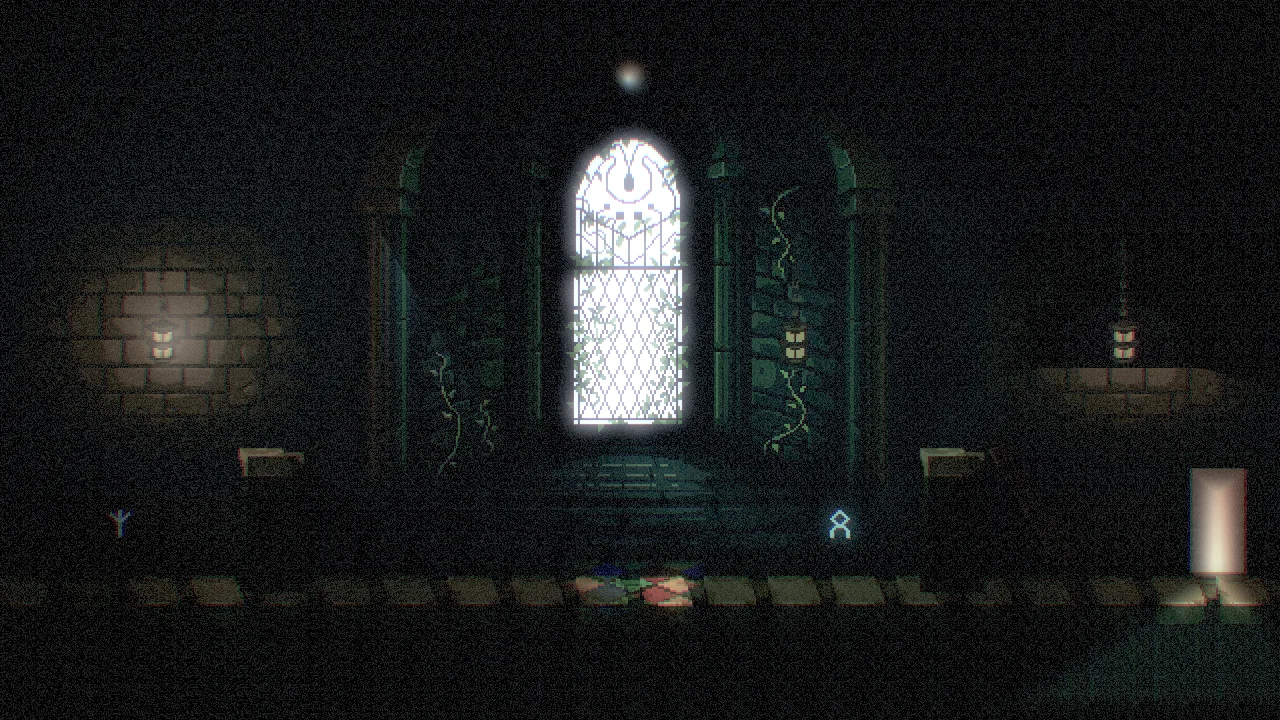
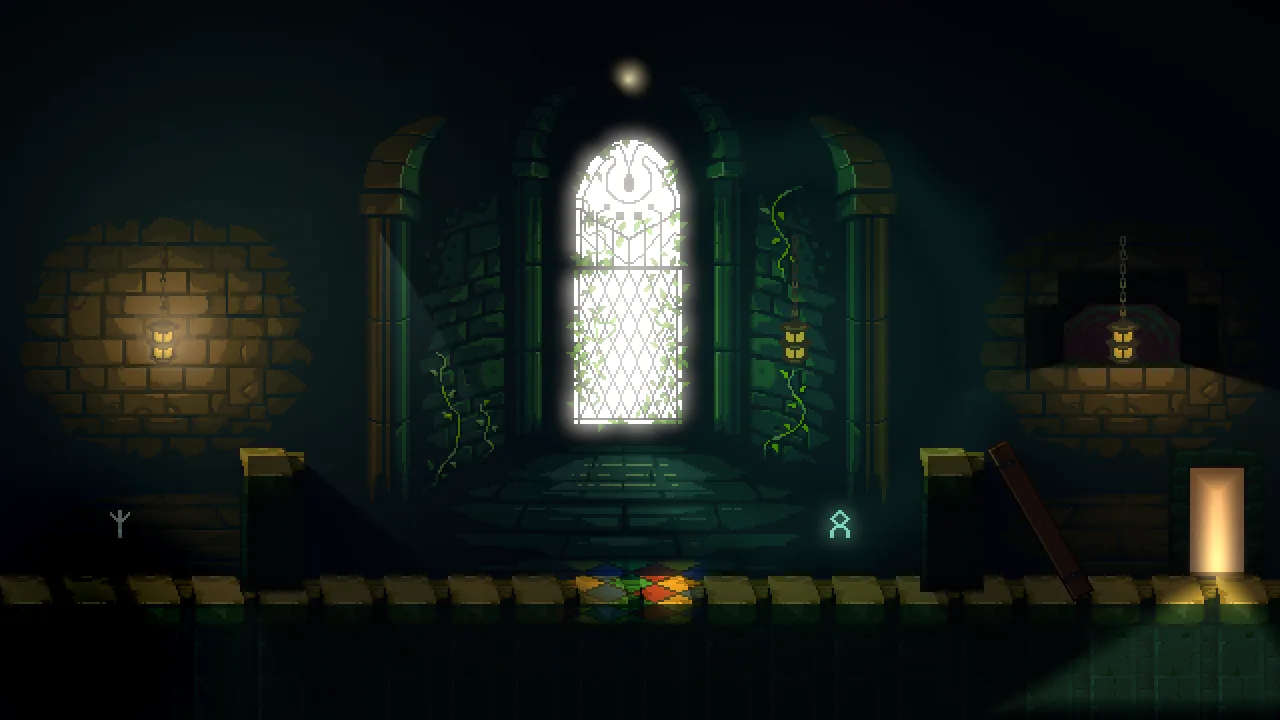
-1: the look, folded in after it at full weight, replaces it.The toolbar tells you which volume is winning where the camera stands, and how much of it applies.

draught 0.50.Film: aberration and grain
- Saturation
- The draught’s
0.6keeps three fifths of the colour and drains the rest toward grey: a cold night’s look. - Aberration
- How far, in pixels, the red and blue parts of the picture pull apart at its edge, from
0. It is nothing at the middle and widest in the corners, as in a lens.3here is a plain fringe; ten would be a blow. - Grain
- Noise over the whole picture, new every frame, as on film: a fraction of the full range, from
0.0.04is faint, plainest in the dark; by0.3the dark is all noise. - Grain Rolloff
- How far the grain backs off as a pixel gets brighter, from
0to1. At0every pixel gets all of it, and at1a white pixel gets none.0.6here. A pixel already past white, like the window’s panes with the bloom on them, shows no grain at any Rolloff.
0.
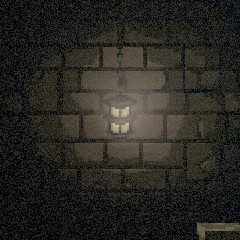
3: the first lantern’s glass fringed red and blue near the picture’s edge.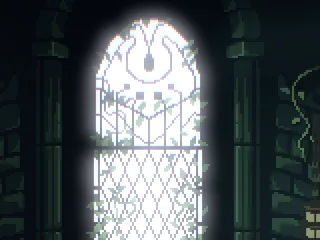
0.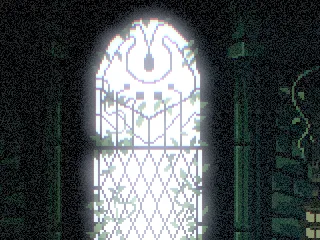
0.04, the value you set: faint grain, in the dark; the panes stay clean.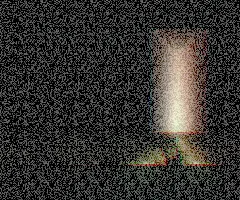
0.3 so the difference shows, with Grain Rolloff 0: the doorway’s glow as grainy as the dark.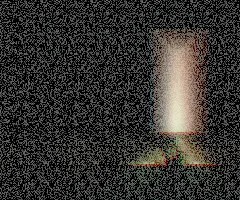
0.3 with Grain Rolloff 1: the glow’s bright middle clean.Smooth light
The hall’s light is worked out in a light buffer before it reaches the picture. On a computer that buffer holds numbers past 1 in fine steps, a format called Float16, so lights add past the paint and a dim fade stays smooth. A phone’s tier uses the screen’s own eight bits: a dim fade breaks into visible steps, called banding, and light past 1 is cut off. The Render menu names the buffer in its Light buffer row.
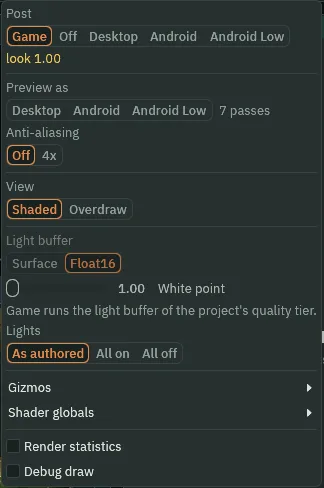
There is nothing to set here: Game shows the buffer of the project’s own tier and dims the row. Chapter 14 previews the phone tier, where the eight-bit buffer is.
The glow
The look
| Field | Value |
|---|---|
| Area | Global |
| Bounds, Blend, Priority | 1920 by 1080, 64, 0 |
| Exposure | 1.0 |
| Tint | 1.0, 0.97, 0.92 |
| Saturation | 1.0 |
| Vignette | 0.45 |
| Bloom Enabled | ticked |
| Threshold | 0.4 |
| Intensity | 1.6 |
| Blur Pairs | 2 |
| Spread | 4.0 |
| Aberration, Grain, Grain Rolloff | 0, 0, 0.85 |
The draught
| Field | Value |
|---|---|
| Position | 560, 180 |
| Area | Box |
| Bounds | 192 by 400 |
| Blend | 48 |
| Priority | 1 |
| Exposure | 1.03 |
| Tint | 0.76, 0.83, 1.0 |
| Saturation | 0.6 |
| Vignette | 0.6 |
| Bloom | as the look’s: Enabled ticked, Threshold 0.4, Intensity 1.6, Blur Pairs 2, Spread 4.0 |
| Aberration | 3 |
| Grain | 0.04 |
| Grain Rolloff | 0.6 |