Tutorials · Particle Effects · Chapter 5
Curves and gradients
By the end
- Forge fire,
forge_fire, in the forge’s mouth: white at the coals, then yellow, orange and smoke grey as it rises - Forge sparks,
forge_sparks, pale and large while they are fast, red and small as they slow - How a curve and a gradient are drawn in the Inspector, and what each one multiplies
On this page
Fire over its life
Chapter 2 gave a particle a colour at birth and another at death, and a size at birth and another at death. It runs straight from the one to the other. A flame does not live like that. It is white where it is born, turns yellow, then orange, then goes the grey of smoke, and it swells as it takes hold and shrinks as it burns out. Three controls bend the straight run. Each is a shape you draw across a particle’s life, from its birth at the left to its death at the right.
First the fire itself. It is an emitter like the others, so it goes on a node of its own, at the forge’s mouth.
- Select
Town, press + Add node and choose Particles. Rename itforge_fire, and set its Position to114and280, the coals in the forge’s mouth. - Set Rate to
40, Lifetime to0.9, Speed to28, Spread to0.5and Gravity to-30. Direction stays0,-1, straight up. - Set Start Color to
1,1,1, alpha1, and End Color to1,1,1, alpha0. If the picker’s button at the top left reads U8, press it so it reads F, as in chapter 2. Both are white so that the gradient below decides the colour, and the alpha still fades to nothing. - Set Start Size to
10, End Size to6, Capacity to40, Sort Layer to3and Blend to Add. Set Texture tosoft-dot.png. - Open Emission Shape, set Shape to Box, and Size to
32and4, the width of the coals. Leave Edge Only unticked.
The fire is a white flicker for now. In the Inspector the shapes sit in a group called Over Lifetime, each on a row with a tick box and a small preview. The labels are cut short by the narrow panel, as Size Ove…, Color Ov…, Rotation Ov… and Velocity …: they are Size Over Life, Color Over Life, Rotation Over Life and Velocity Over Life, and chapter 6 takes Rotation Over Life. Ticking a row switches the shape on, and the arrow at the left of its name opens it.
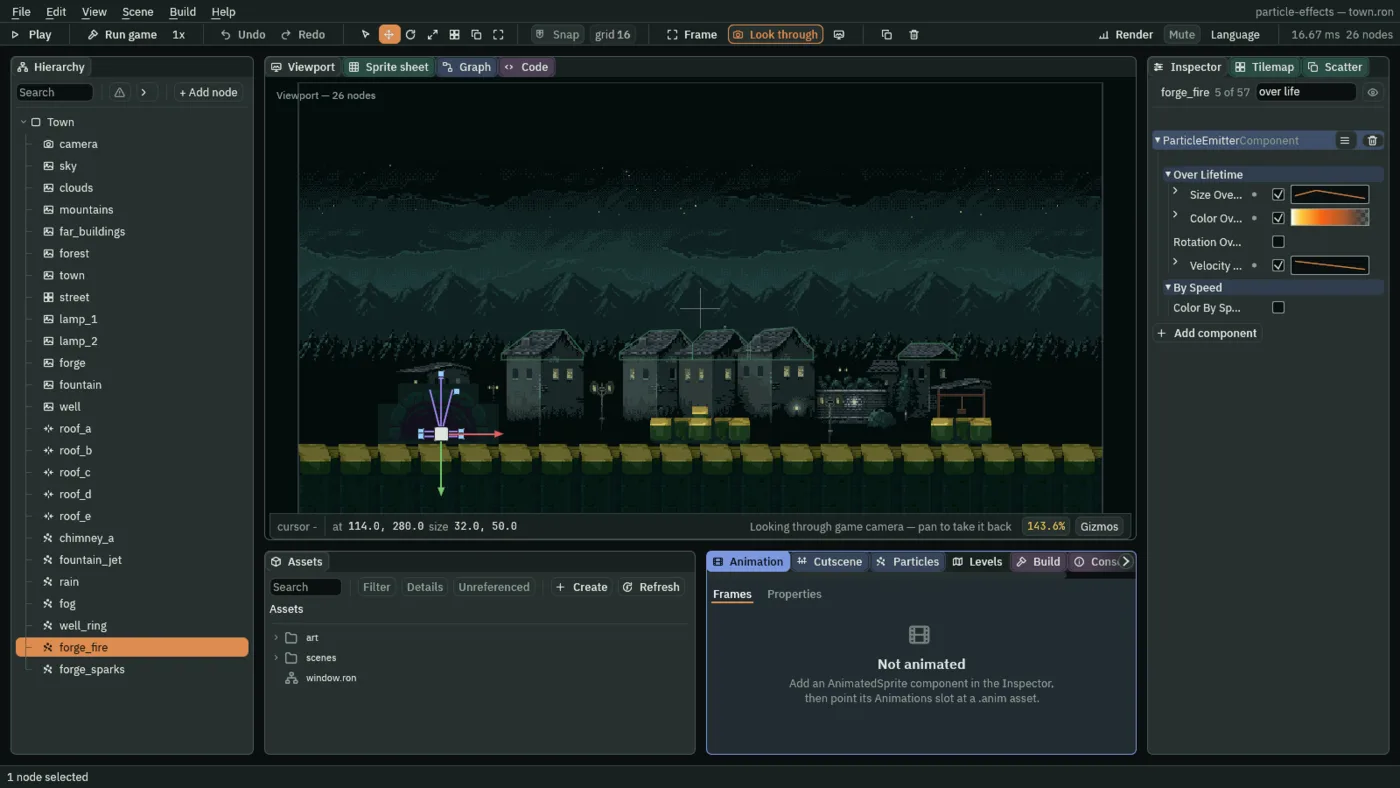
A gradient for the colour
- Tick Color Over Life and press the arrow at its left. A bar opens, plain white: a gradient with no stops changes nothing. The bar runs from
0, birth, at its left end to1, death, at its right. - Click the strip just above the bar, at its left end. A square appears: a colour stop, selected. Beside Step are its swatch and its place along the bar, at. Click at, type
0and press Enter. Then click the swatch and set it to1,1,1, white. - Click the strip about an eighth of the way along, set at to
0.12, and set the swatch to1,0.8,0.25, a yellow. Add a stop a little before the middle, at0.4, set to1,0.4,0.08, an orange, and one at the right end, at1, set to0.35,0.33,0.32, the grey of smoke. - Now click the strip just below the bar. These are alpha stops, which are set apart from the colours: a stop here sets how solid the particle is. Beside Step are its alpha and its at. Add three: alpha
1at0,0.9at0.7and0at1. - To move a stop by hand, drag it along the bar. Right-click a stop, or press Delete with it selected, to take it away.
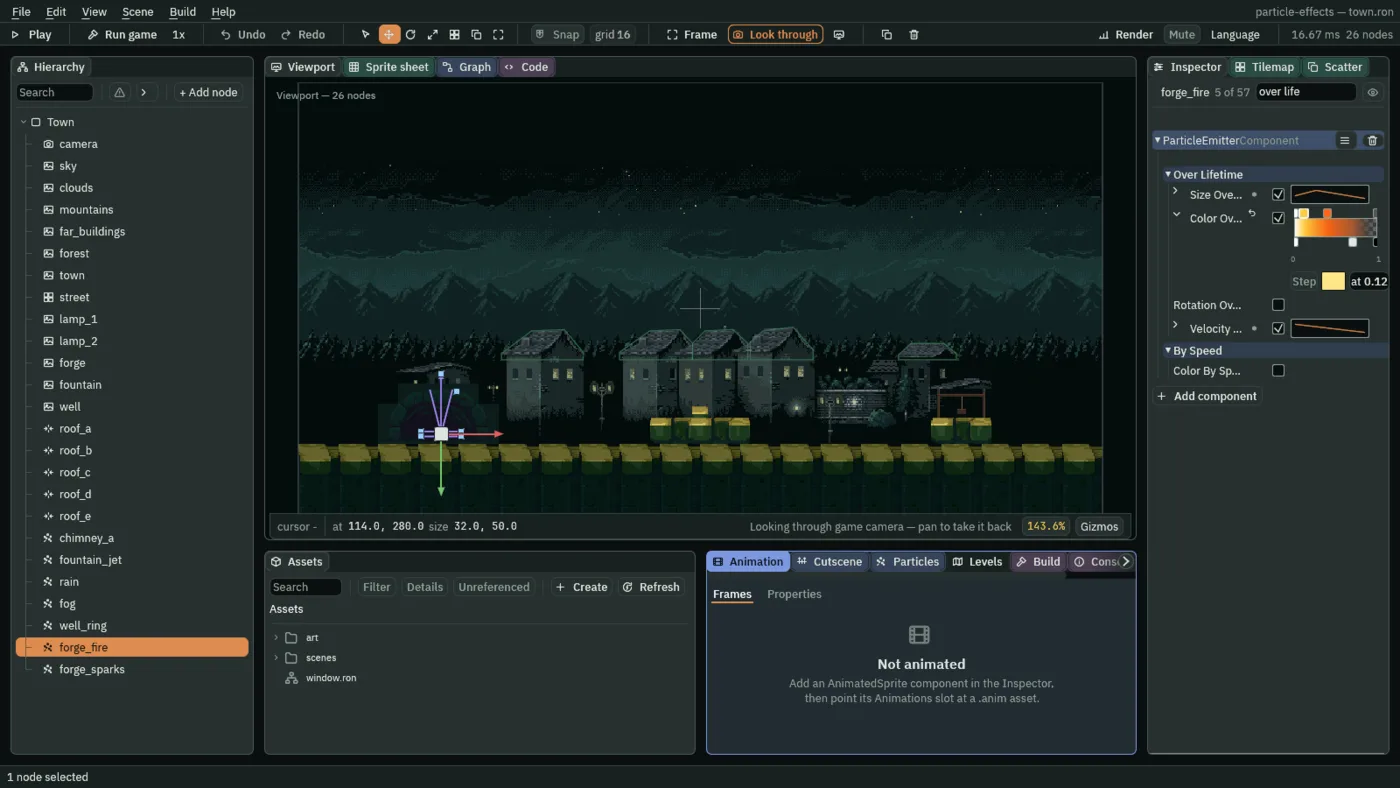
- Color Over Life
- A gradient of colours and alphas across a particle’s life, from birth at
0to death at1. It is multiplied with the run from Start Color to End Color, not put in place of it, so with both of those set to white the gradient alone decides the colour. Colour stops take three numbers from0to1; alpha stops take one. Here, four colour stops and three alpha stops, from white through yellow and orange to grey. Left unticked it does nothing: an empty gradient is white. - at
- Where the selected stop sits along the bar, from
0at its left end to1at its right: on Color Over Life, the moment in a particle’s life the stop’s colour or alpha is reached. Here the yellow is reached at0.12of the life and the orange at0.4. A stop typed past its neighbour stops there. - Size Over Life
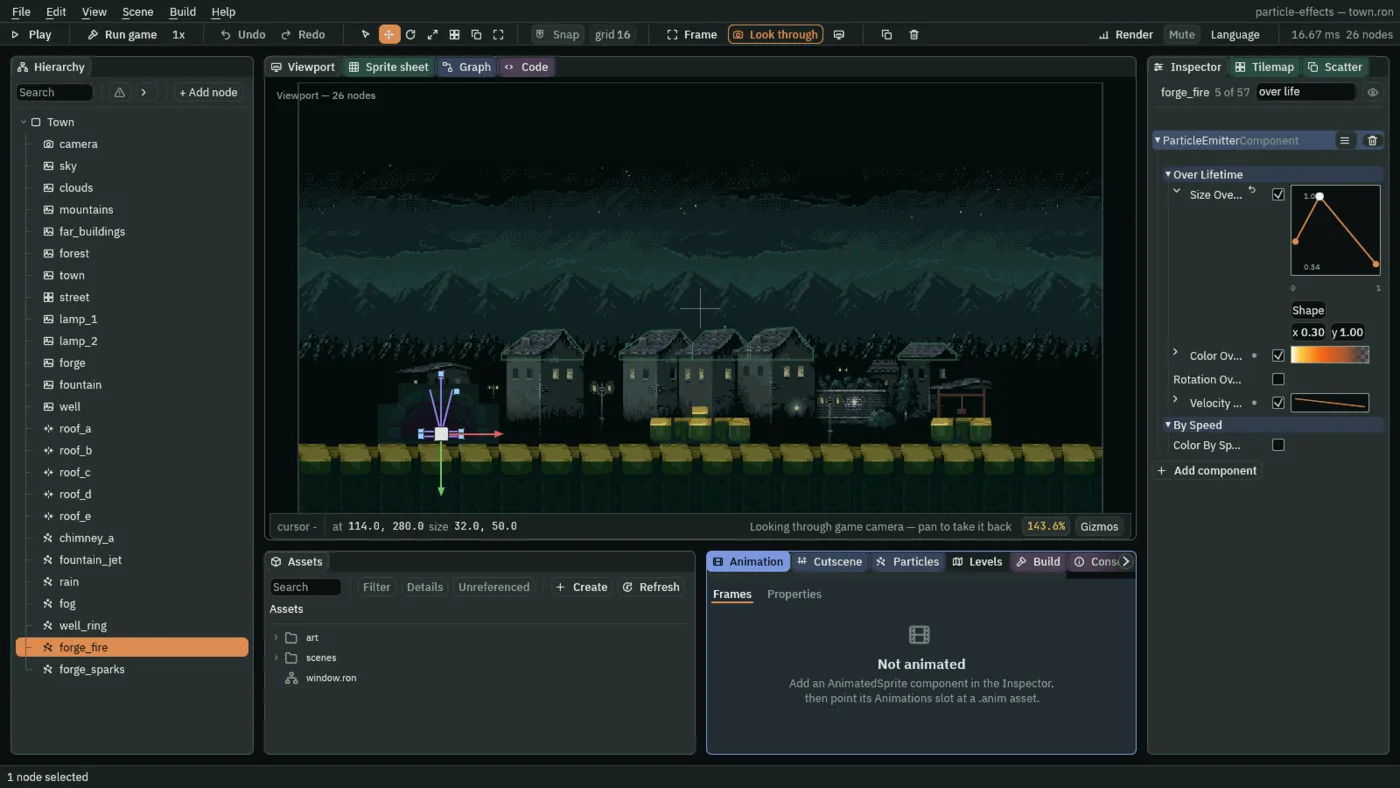
- A curve that multiplies a particle’s size across its life:
1leaves the size as Start Size and End Size run it,0.5halves it. Here it climbs from0.6at birth to1a third of the way up the life,0.3, then falls to0.4, so a flame swells as it takes hold and shrinks as it burns out.0.4to1suits a flame; a curve that reaches0makes the particle vanish at that point. - Velocity Over Life
- A curve that multiplies how far a particle travels each step, and with it all of its speed, gravity’s share too. Here it falls from
1at birth to0.3at death, so the flames slow as they die and stay near the coals.0.3to1suits a flame. A curve that reaches0stops the particle dead, wherever it is. - x and y
- The selected point of a curve. x is where it sits along the canvas, from
0at the left to1at the right: on an Over Life curve, how far through a particle’s life. y is the number the curve reads there, the one that multiplies. Here the size curve’s middle point is at x0.3with y1. A point typed past its neighbour stops at it.
To draw a curve, tick its row and open it. A new curve is two points at 1, a flat line, which changes nothing. Double-click the line to add a point; the new point is selected. Click a point to select it, and two boxes show under the Shape button: x, where the point sits, and y, the number the curve reads there. Click a box, type a number and press Enter, or drag the point itself on the canvas. Right-click a point, or press Delete with it selected, to remove it. The two numbers at the top and the bottom of the canvas are the highest and the lowest value it shows, and they move as the curve does. The Shape button starts the curve over from a preset, or sets how the stretch of curve after the selected point is drawn. On a stretch drawn Cubic, a selected point also shows in and out, the slopes the curve arrives and leaves on; this chapter keeps every stretch straight.
- Tick Size Over Life and open it. Double-click the line about a third of the way along to add a point there, and set its x to
0.3. Its y is already1. - Click the left point and set its y to
0.6. Click the right point and set its y to0.4. - Tick Velocity Over Life and open it. Click the right point and set its y to
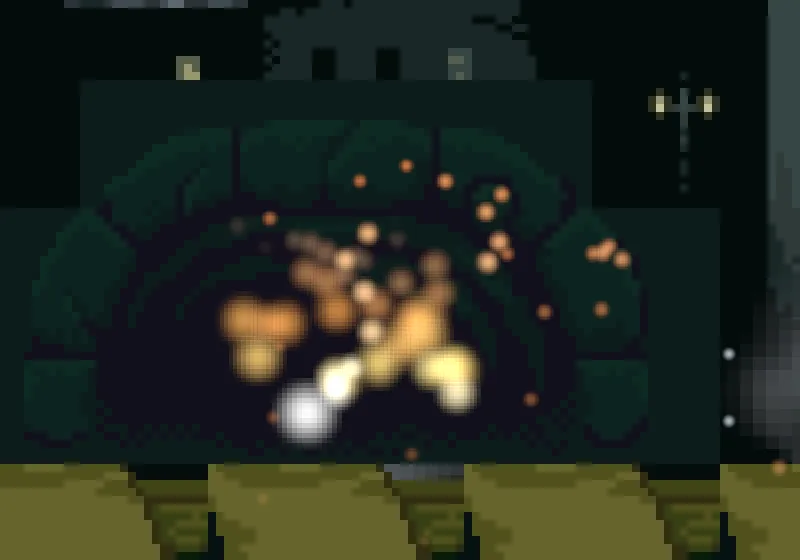
0.3. The left point stays at1. - Press Ctrl+S, then F5: the fire runs white, yellow, orange and grey. Press F5 again to stop.
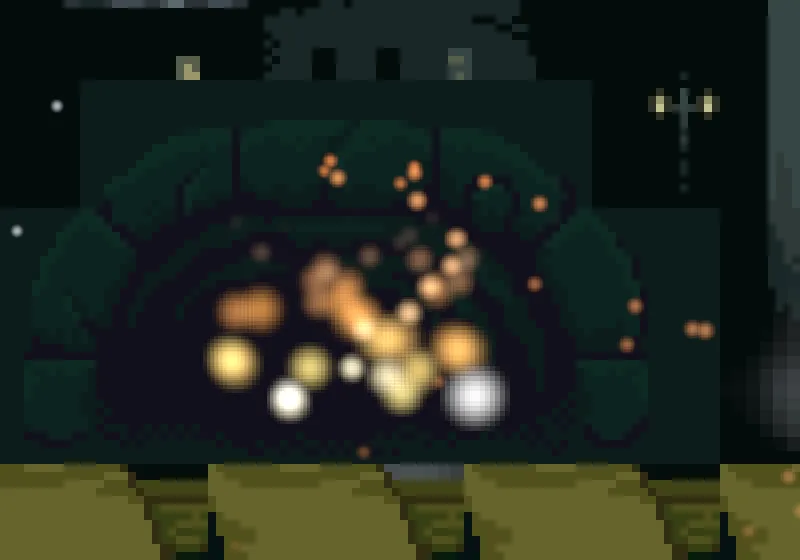
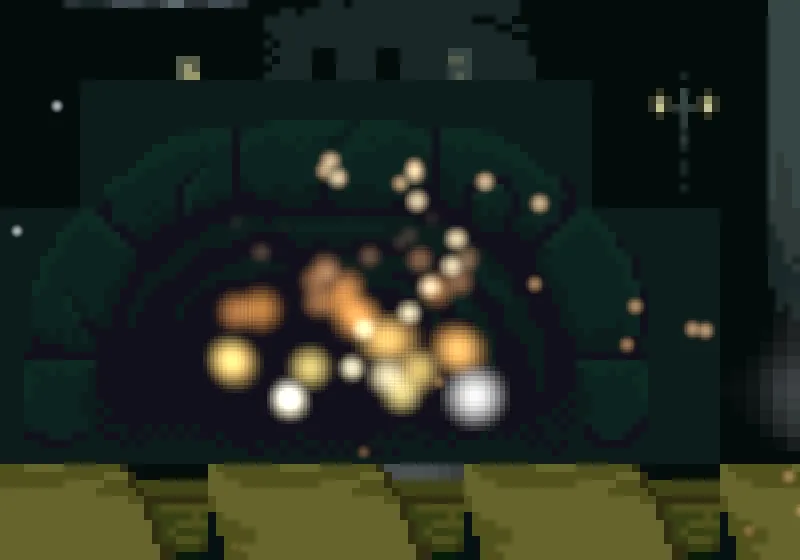
The pictures below are cut close to the forge’s mouth, drawn in a very large window so that each flame is a handful of pixels wide. The small orange specks above the flames are the forge sparks, which you add next.
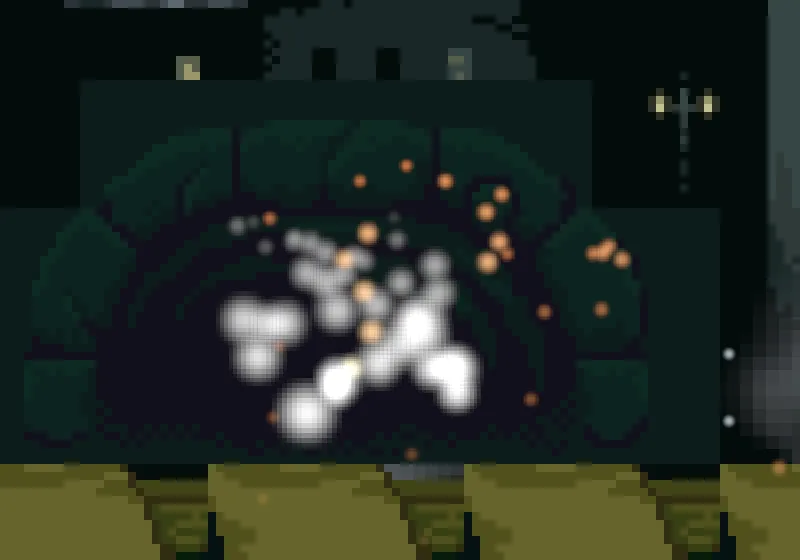
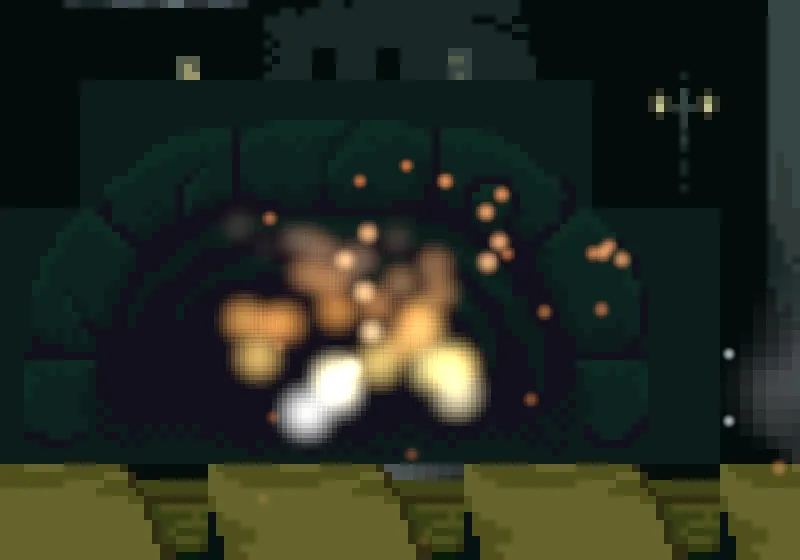
10 to 6, so their tips stay broad and they do not swell and shrink.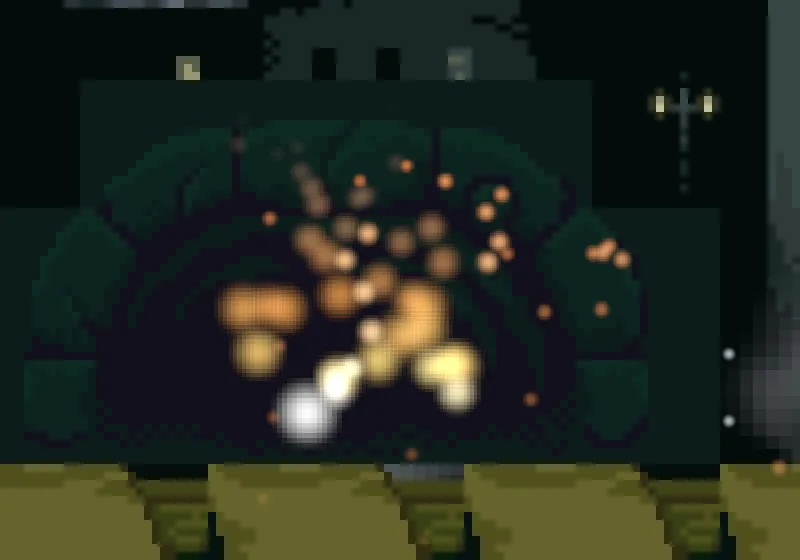
Colour and size by speed
A spark is bright and thin while it is fast and dull and round as it slows, and how fast it is has little to do with how old it is: one thrown upward slows to a stop at the top of its flight and then speeds up again on its way down. The same two shapes can be read against speed instead of age. They sit in a group called By Speed.
- Select
Town, press + Add node and choose Particles. Rename itforge_sparks, and set its Position to114and276. - Set Lifetime to
1.4, Speed to110, Direction to0.3and-1, Spread to0.9and Gravity to180. Gravity is positive, so the sparks arc up and fall back. Rate is already20, and End Size already2, as every new Particles node has them. - Set Start Color to
1,0.9,0.6, alpha1, and End Color to1,0.4,0.1, alpha0. - Set Start Size to
4.5, Capacity to32, Sort Layer to4and Blend to Add. Set Texture tosoft-dot.png, and Drag to0.6. - Tick Size By Speed and open it. Click the left point and set its y to
0.6, then click the right point and set its y to1.4. - Tick Color By Speed and open it. Add two colour stops: one at
0set to1,0.35,0.1, a red-orange, and one at1set to1,1,0.9, a pale cream. Leave the alpha strip empty: alpha is1throughout. - Set Speed Range to
0and160. Press Ctrl+S.
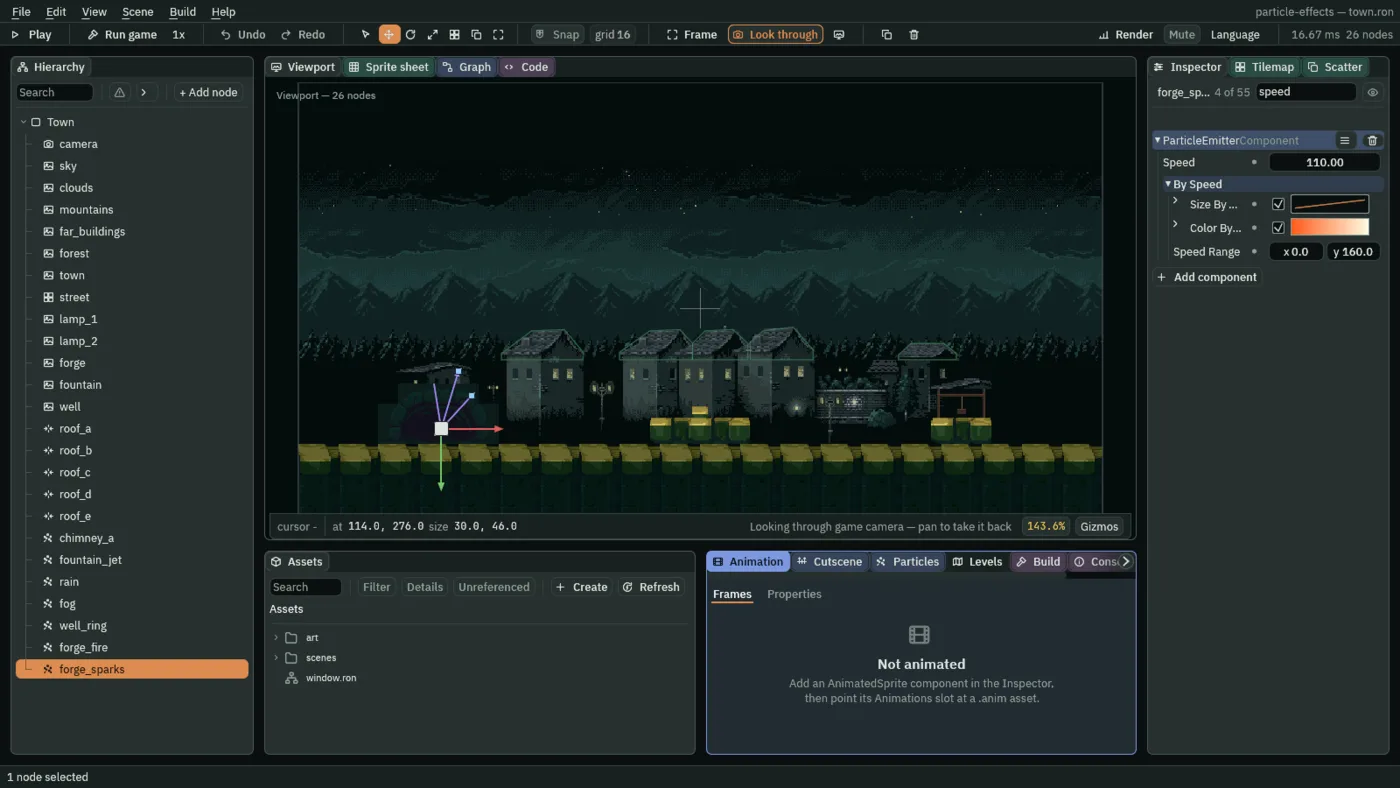
- Size By Speed
- A curve that multiplies a particle’s size by how fast it is going at that moment. Its left end is the slowest speed in Speed Range, its right end the fastest. Here
0.6at the slow end and1.4at the fast end: a fast spark is1.4times its size and a slow one0.6times.0.5to1.5suits a spark. - Color By Speed
- A gradient that tints a particle by its speed, multiplied in as Color Over Life is. Here a red-orange at the slow end and a pale cream at the fast end, so a fast spark runs pale and a slow one reddens. It takes the same colour and alpha stops as Color Over Life.
- Speed Range
- The two speeds, in world units a second, that the two by-speed shapes read as
0and1: the slowest first, the fastest second. One range serves both shapes. Here0and160: a spark leaving at110starts about two thirds of the way along, and reddens as Drag and gravity slow it. A particle slower than the first number reads as0, and one faster than the second as1. Set the second a little above the fastest speed the emitter makes.
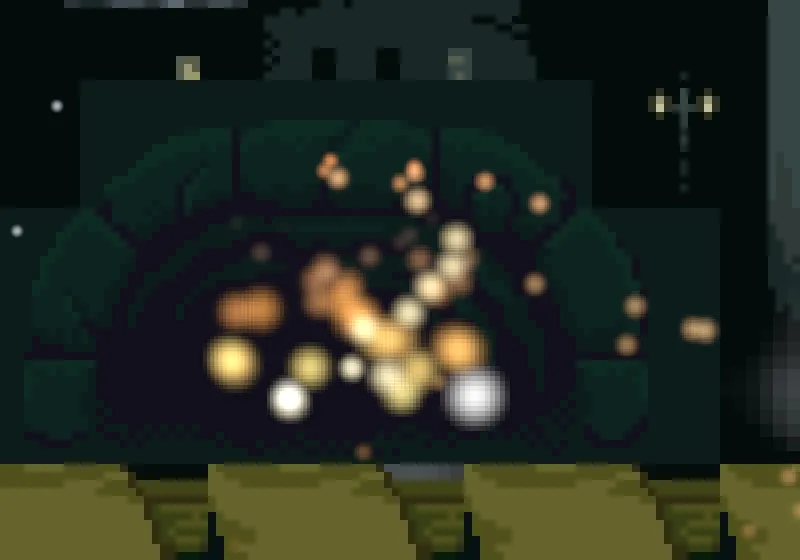
0 to 60: any spark faster than 60 now reads as fully fast, so more of them are pale.What curves cost
The forge fire and the forge sparks
The forge fire
| Field | Value |
|---|---|
| Position | 114, 280 |
| Rate | 40 |
| Lifetime | 0.9 |
| Speed | 28 |
| Direction | 0, -1 |
| Spread | 0.5 |
| Gravity | -30 |
| Start Color | 1, 1, 1, alpha 1 |
| End Color | 1, 1, 1, alpha 0 |
| Start Size | 10 |
| End Size | 6 |
| Capacity | 40 |
| Sort Layer | 3 |
| Blend | Add |
| Texture | soft-dot.png |
| Shape | Box, Size 32, 4, Edge Only unticked |
| Color Over Life | colour stops 0 (1, 1, 1), 0.12 (1, 0.8, 0.25), 0.4 (1, 0.4, 0.08), 1 (0.35, 0.33, 0.32); alpha stops 0 (1), 0.7 (0.9), 1 (0) |
| Size Over Life | points 0 (0.6), 0.3 (1), 1 (0.4) |
| Velocity Over Life | points 0 (1), 1 (0.3) |
The forge sparks
| Field | Value |
|---|---|
| Position | 114, 276 |
| Rate | 20, as a new node has it |
| Lifetime | 1.4 |
| Speed | 110 |
| Direction | 0.3, -1 |
| Spread | 0.9 |
| Gravity | 180 |
| Start Color | 1, 0.9, 0.6, alpha 1 |
| End Color | 1, 0.4, 0.1, alpha 0 |
| Start Size | 4.5 |
| End Size | 2, as a new node has it |
| Capacity | 32 |
| Sort Layer | 4 |
| Blend | Add |
| Texture | soft-dot.png |
| Drag | 0.6 |
| Size By Speed | points 0 (0.6), 1 (1.4) |
| Color By Speed | colour stops 0 (1, 0.35, 0.1), 1 (1, 1, 0.9); no alpha stops |
| Speed Range | 0, 160 |
Every other field is as a new Particles node has it. Chapter 6 gives both a sheet of pictures to play.