Tutorials · Ship Evader · Chapter 3
Bringing the art in
By the end
- The 32 pictures, sounds and font the game uses, in the project’s
art,audioandfontsfolders - Why a file’s name and folder matter: its id comes from its place in the project
- The field painted with the pack’s dark purple sky, tiled
On this page
Copy the files in
A Rengy project is its folder. There is no import button: a file belongs to the project once it is in the folder, and the editor finds it there. Ship Evader keeps its pictures in art, its sounds and music in audio, and its font in fonts.
- In your file manager, open the
ship-evaderfolder and make three folders in it:art,audioandfonts. - Copy the 32 files below into them, each under its own name, from where the list says it is in your downloads.
- Save the menu music as
menu_3.ogg, notmenu.ogg: the rest of the tutorial calls it that. - Back in the editor, press Refresh in the bar of the Assets panel. The three folders appear, with every file in them.
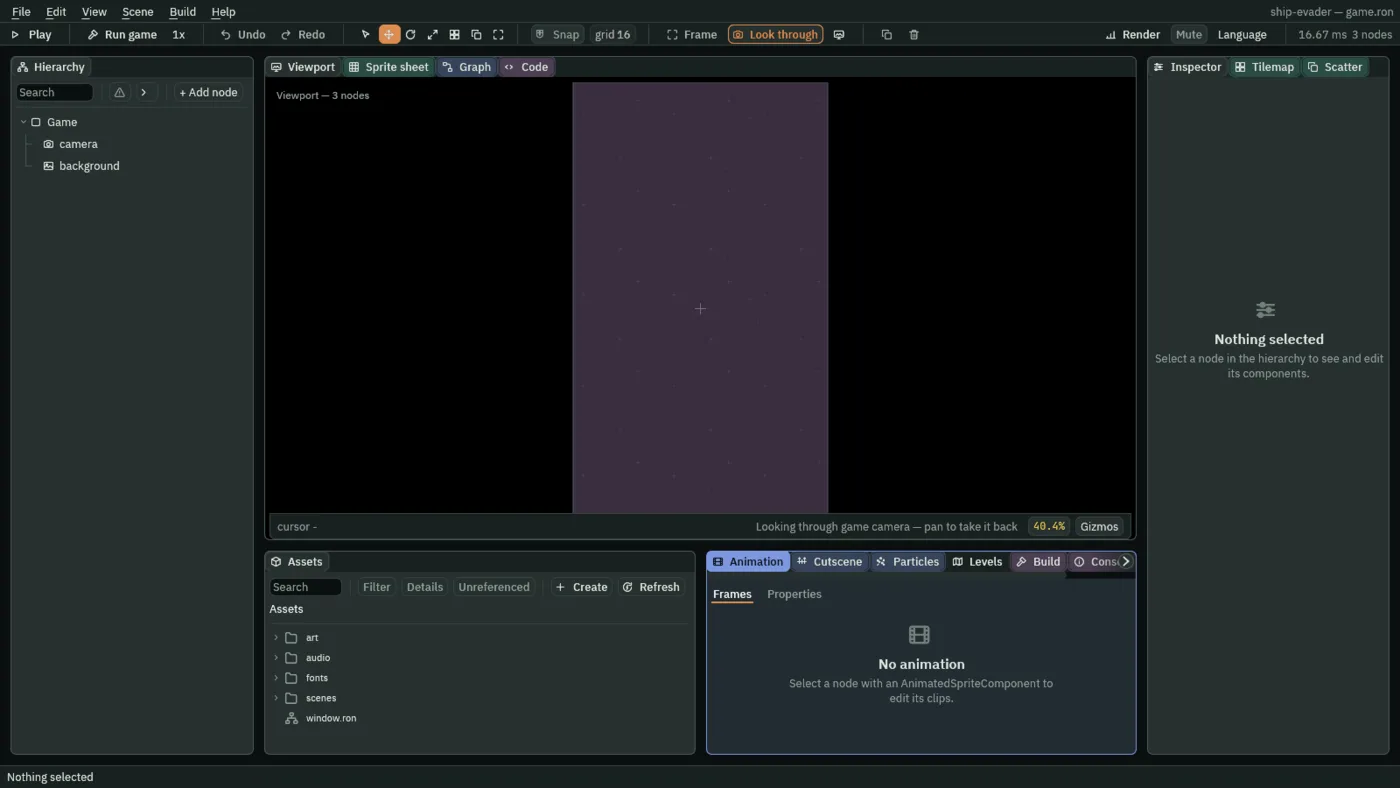
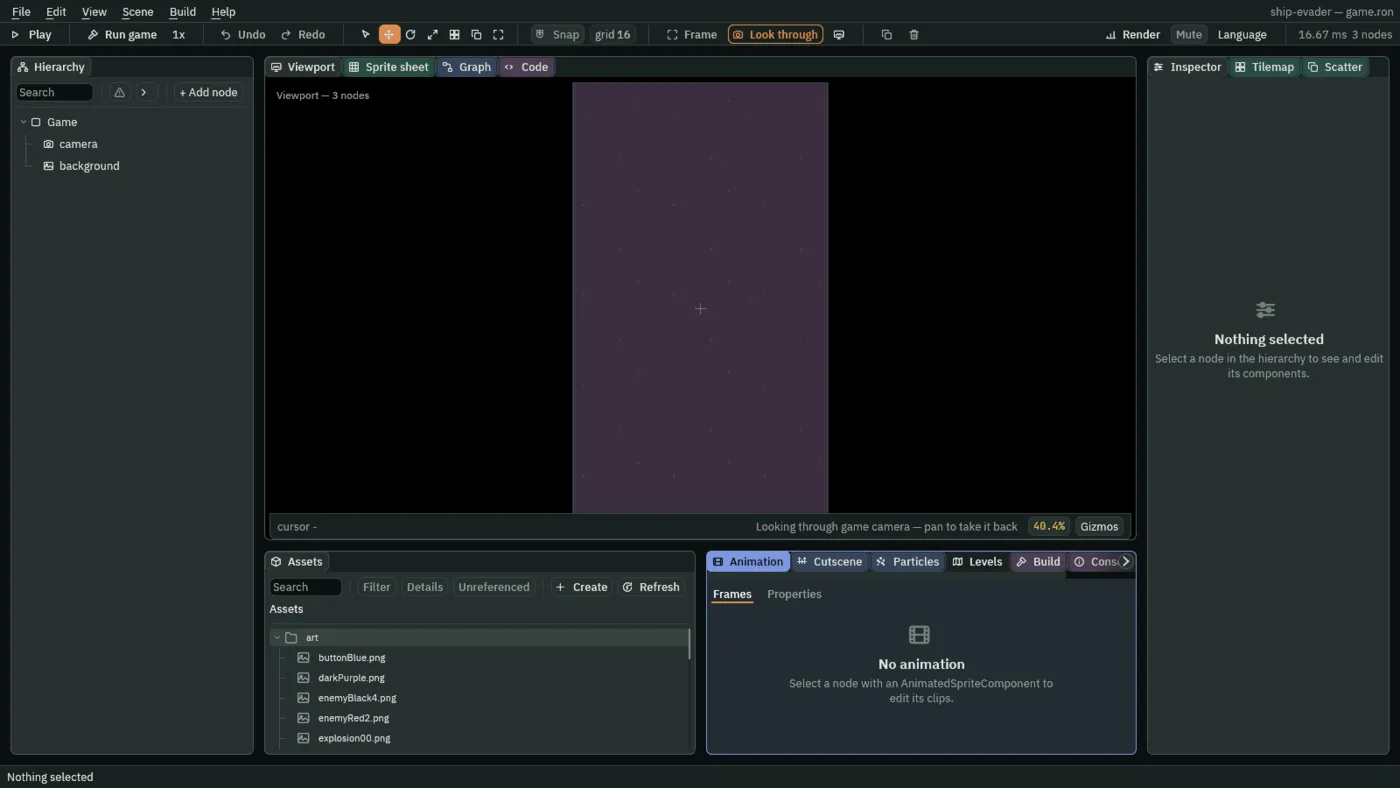
As it finds each file, the editor writes a small .meta file beside it, holding the file’s id. The id is made from the file’s place in the project, so the same files in the same folders under the same names get the same ids as the game this tutorial was made from.
Paint the field
The dark blue field from chapter 2 becomes the pack’s dark purple sky: a picture 256 pixels square, repeated across the field. The node stays; only what draws it changes.
- Select
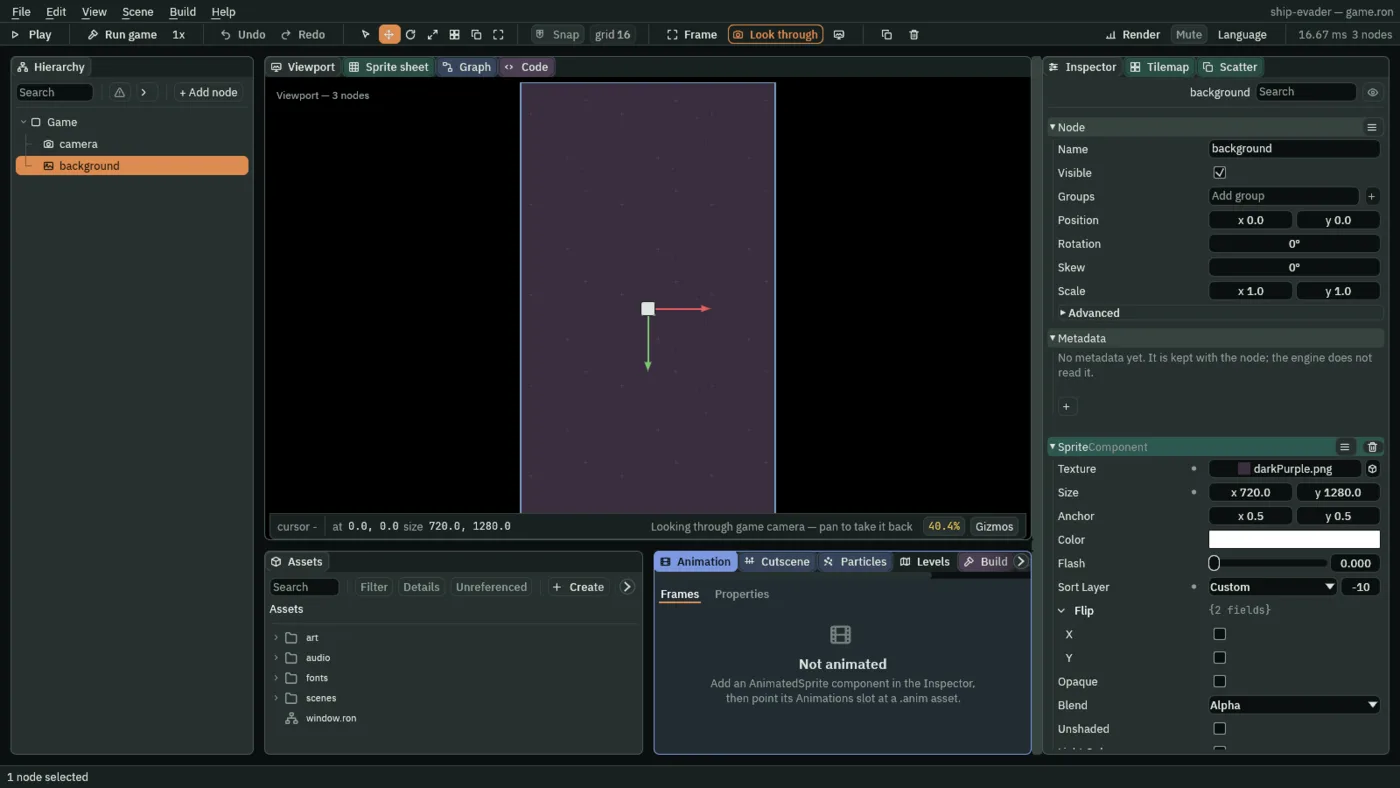
fieldin the Hierarchy and rename itbackground. - In the Inspector, remove its Shape with the bin icon at the right of the ShapeComponent header.
- Press Add component and choose SpriteComponent.
- Drag
art/darkPurple.pngfrom Assets onto the Sprite’s Texture. - Set Size to
720and1280, and Sort Layer to-10, as the field was. - In the Sprite’s Draw mode fold, set Draw Mode to Tiled, and set Tile Size to
256and256, the picture’s own size, and press Enter. - Leave Color white, Blend on Alpha, and Opaque unticked.
- Press Ctrl+S.
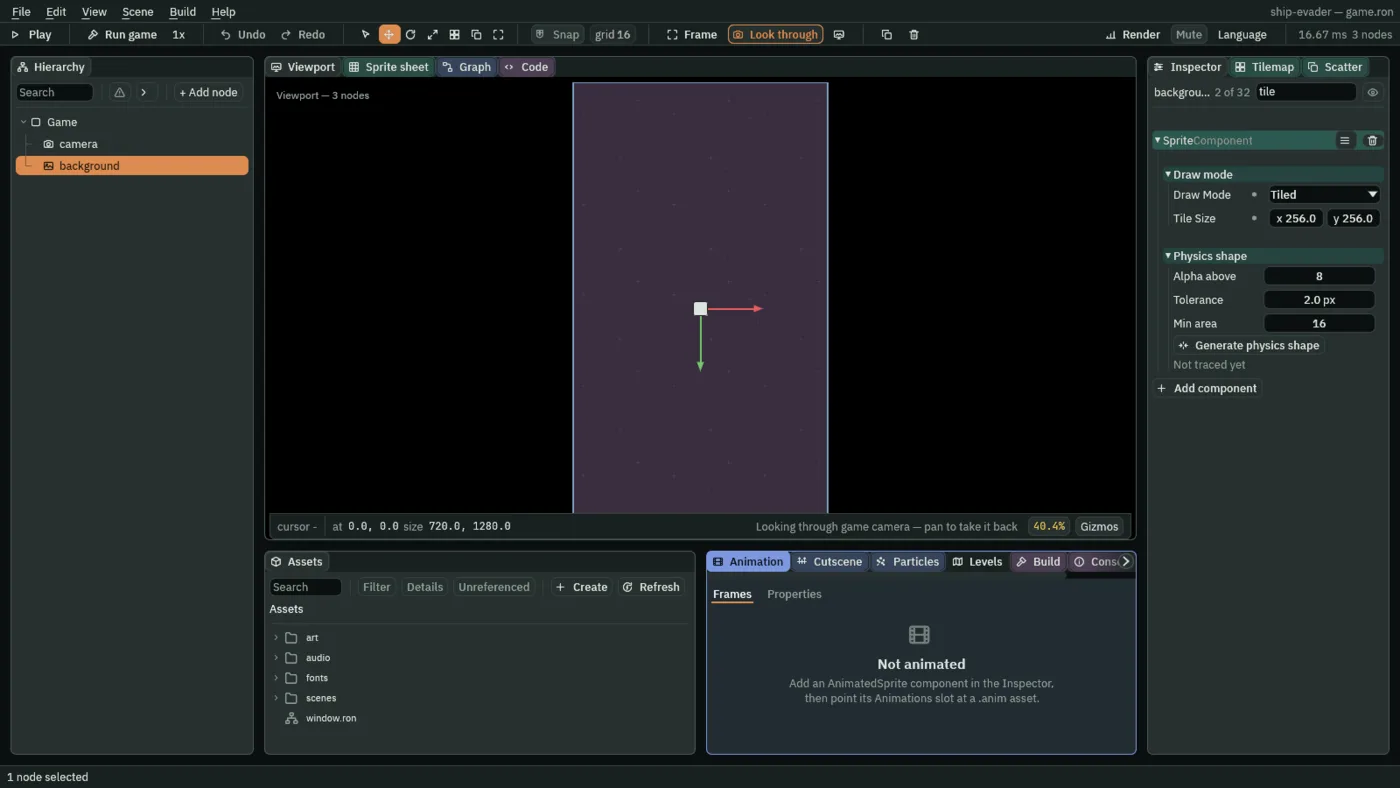
Tiled repeats the picture at Tile Size across the Sprite’s Size, rather than stretching one copy over it, so the sky keeps its faint stars small however big the field is.