Tutorials · Ship Evader · Chapter 11
Effects
By the end
- A flame under the ship, an animation packed from two of the pack’s pictures
- A starfield of three planes that drift down and repeat as a whole
- An opaque background, and why it costs less to draw
- Bloom, and what makes something glow
- Explosions and a spark: a picture that grows and fades, a burst of particles and a sound, each removing itself
On this page
A flame under the ship
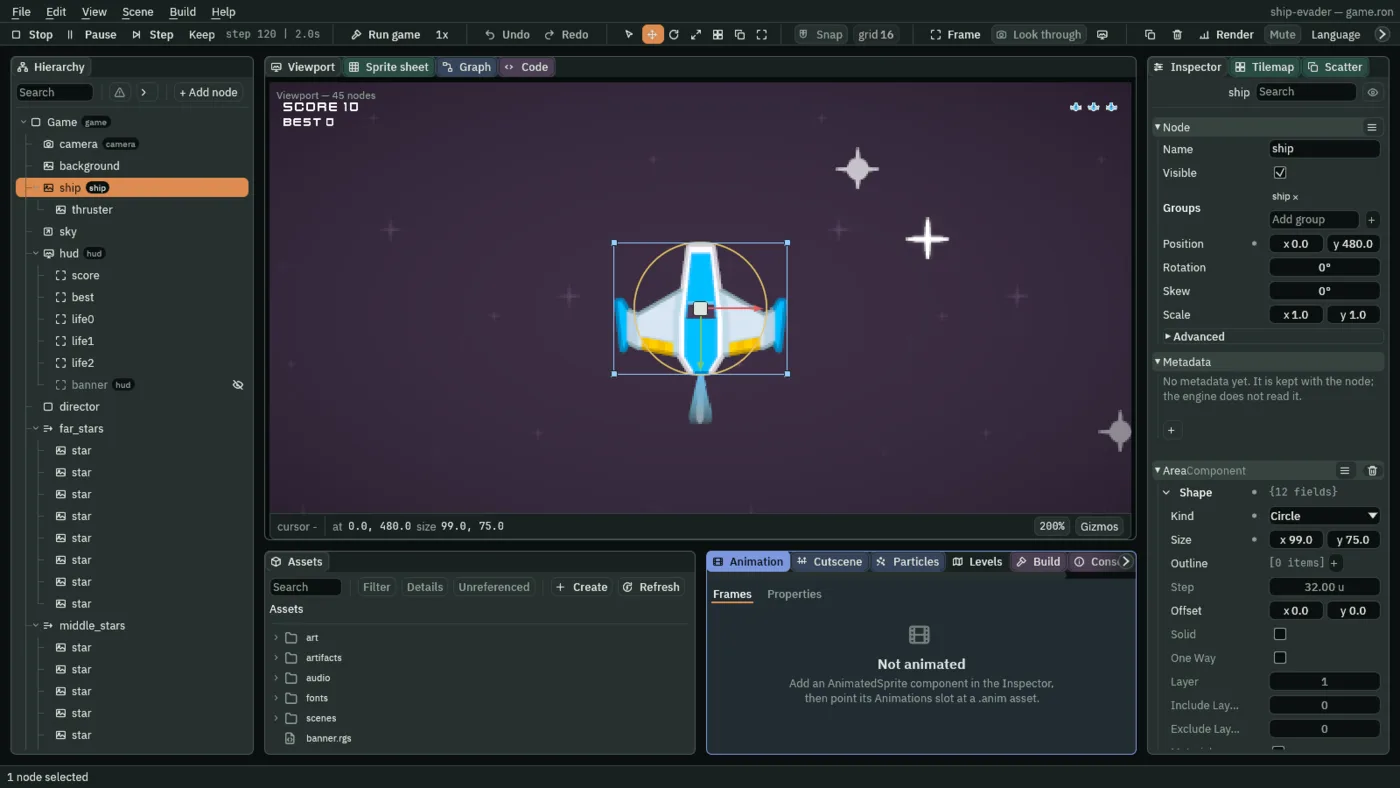
The thruster is an animation: two of the pack’s fire pictures, played one after the other, 12 a second. Make Animation… packs pictures into one sheet and writes the animation that plays them.
- In Assets, open
art, right-clickfire04.png, and choose Make Animation…. The window opens withfire04.pngticked, Namefire, Frames a second12and Loop ticked. - Tick
fire05.pngtoo, and press Create. It writesart/fire.png, a sheet of the two pictures, andart/fire.anim, a clip calledfirethat plays them, looping.
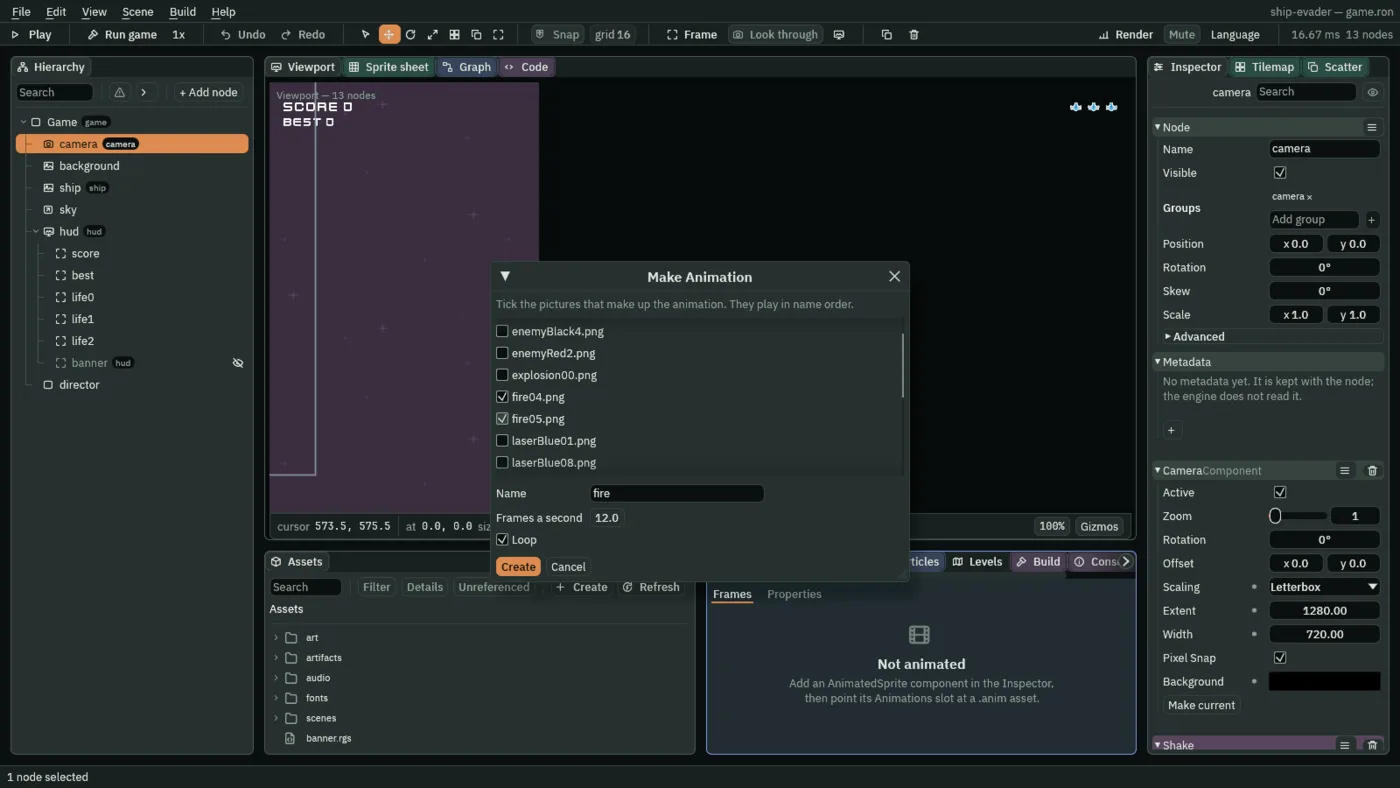
Make Animation… makes and never updates: pressed again on the same name, it refuses. To change how fast the flame flickers, change the Animated Sprite’s Speed below. To change its pictures, delete both files and make them again, or make them under a new name and point the three slots below at it.
- Select
ship, press + Add node, and choose Animated Sprite: it lands as a child of the ship. - Rename it
thruster, and set its Position to0and51, under the ship’s tail. - In its Sprite, drag
art/fire.pngonto Texture, set Size to14and31, Sort Layer to-1, under the ship, and Blend to Add. - In its Animated Sprite, drag
art/fire.animonto Animations, set Clip tofirein place ofidle, and keep Speed1and Playing ticked.
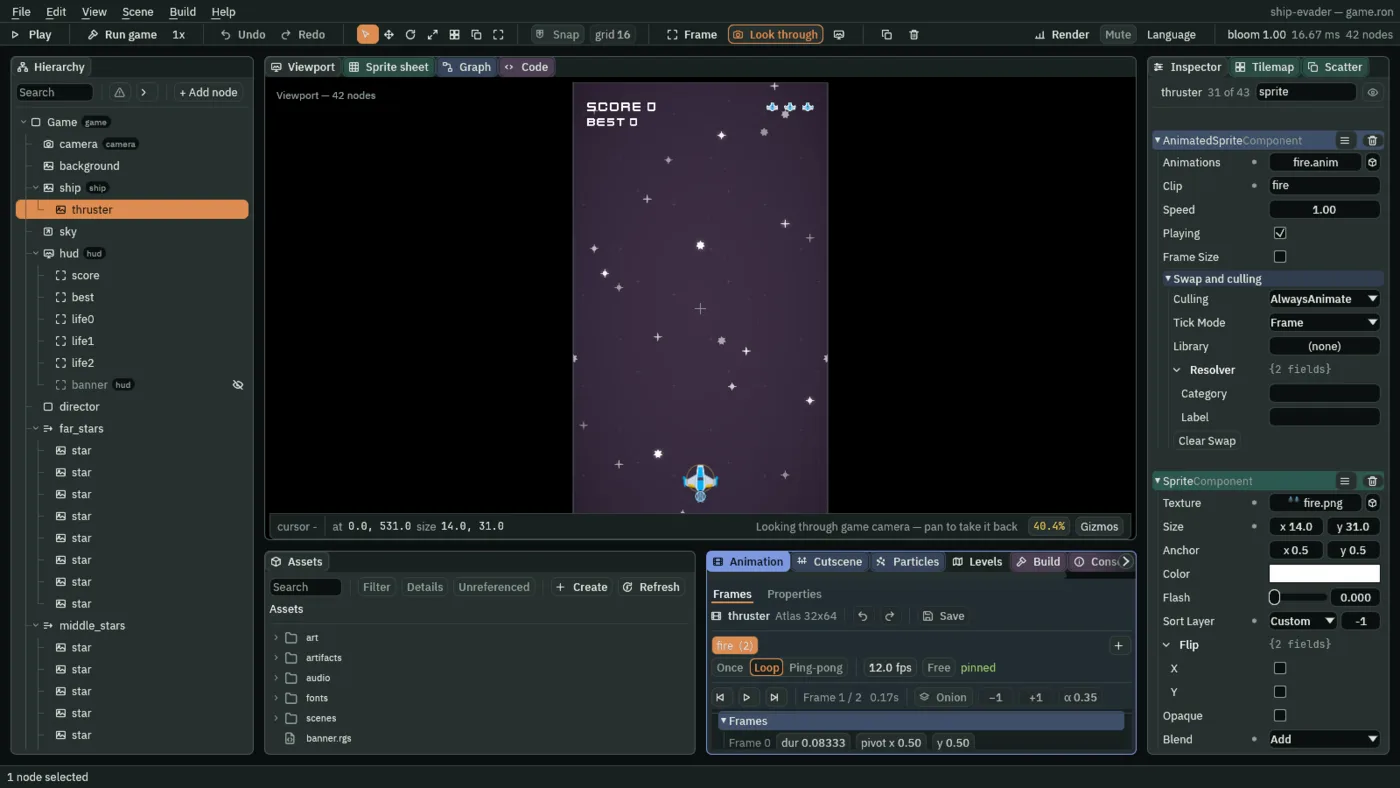
The three slots must agree. The Sprite’s Texture is the picture the frames are cut from, so another picture there shows the wrong frames; the Clip names the clip to play, so another name draws the whole sheet at once. The Sprite’s Anchor places the flame. The flame is a node of its own, so it burns on, untinted, while the ship blinks.
An opaque background
- Select
background, and tick its Sprite’s Opaque.
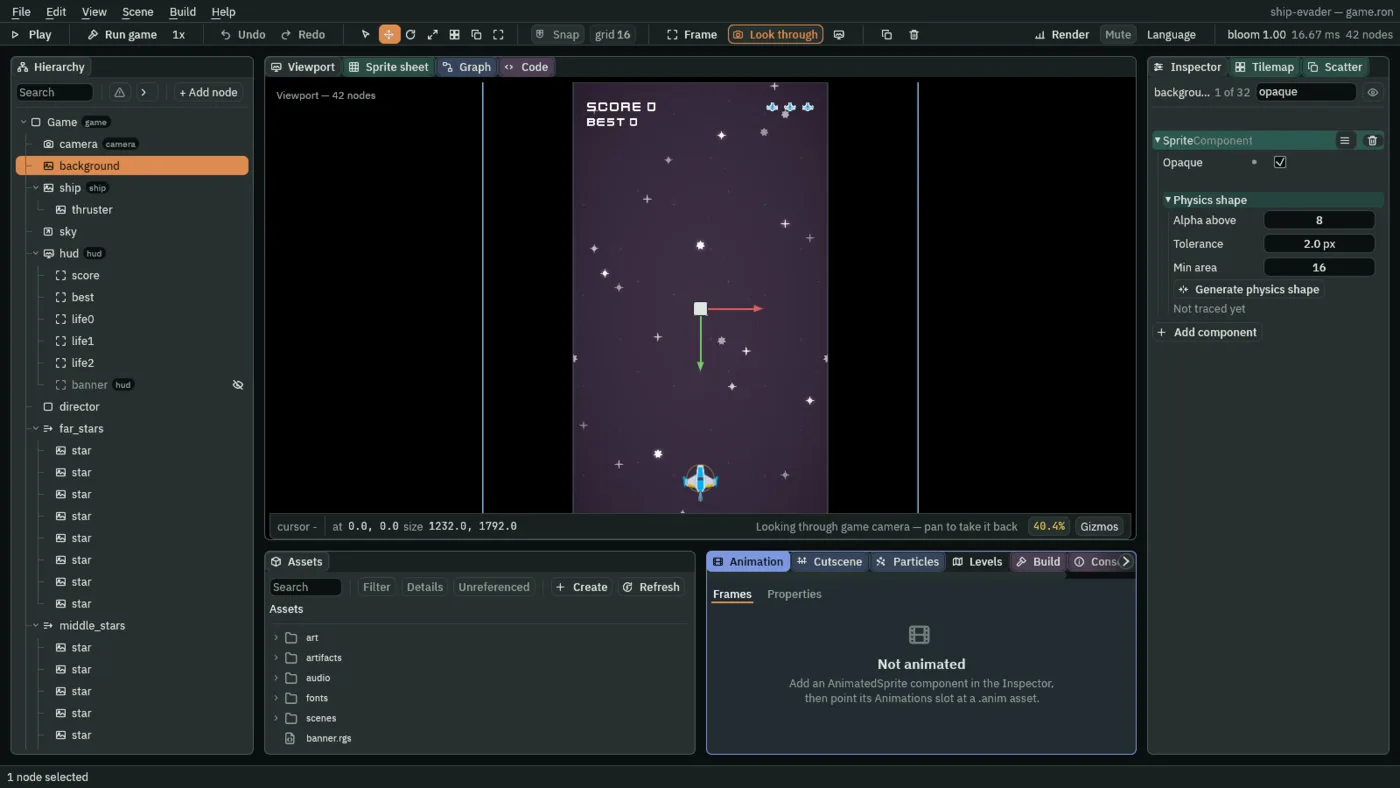
Nothing changes on screen: darkPurple.png has no see-through pixel. But a Sprite drawn opaque does not blend with what is behind it, and the background is behind everything, so every frame costs a little less to draw. Tick it on any back layer that covers the screen.
A starfield
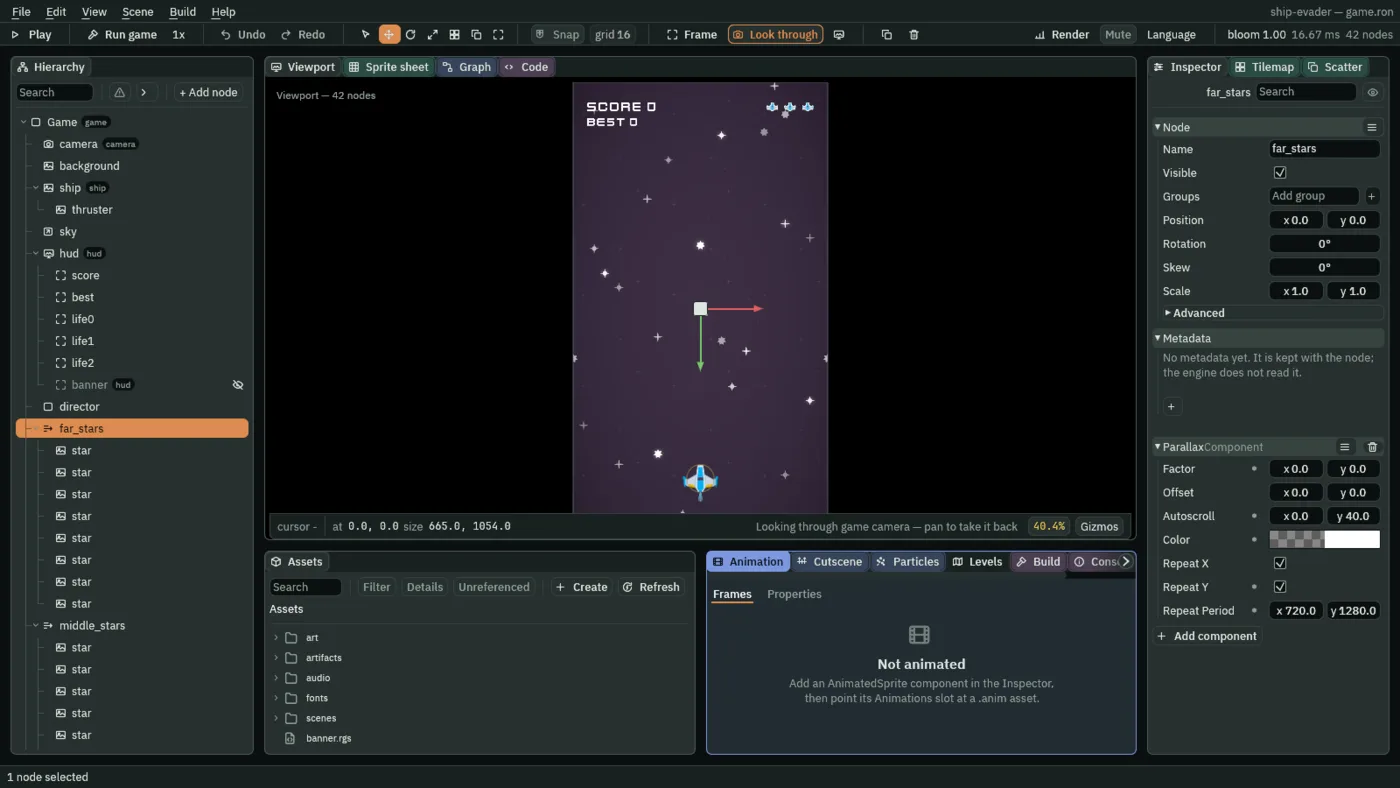
Three planes of stars drift down at three speeds, the far ones faintest and slowest, which reads as depth. A Parallax moves the sprites under it: here not with the camera, which never moves, but by an Autoscroll of its own, repeating the whole plane so it never runs out. Cameras has more on Parallax.
- Select
Game, press + Add node, choose Node, and rename itfar_stars. The Parallax preset would add a Sprite the plane does not need. - Press Add component and choose ParallaxComponent.
- Set Factor to
0and0, Offset to0and0, and Autoscroll to0and40. - Click its Color.
- If the button at the top left of the picker that opens reads U8, press it, so it reads F: the picker then shows each value from 0 to 1, as this tutorial gives every colour, until you close the editor.
- Make the colour white with an alpha of
0.35. - Leave Repeat X ticked, tick Repeat Y, and set Repeat Period to
720and1280, the field’s size. - With
far_starsselected, press + Add node and choose Sprite, so the first star is its child. - Rename it
star, dragart/star1.pngonto its Texture, set Size to25and24, Sort Layer to-9, and Position to-300and-560. - Select that star and drag seven more pictures into the Viewport, each landing beside it under
far_stars:star2.png,star3.png,star1.png,star2.png,star3.png,star1.pngandstar2.png, in that order. - For each of the seven, double-click its row in the Hierarchy, type
star, and press Enter. - Set each one’s Sort Layer to
-9, and place them:star2.pngat-90,-420;star3.pngat180,-500;star1.pngat310,-200;star2.pngat-230,-60;star3.pngat60,90;star1.pngat-330,330; andstar2.pngat240,470. - Right-click
far_starsand choose Duplicate. - Rename the copy
middle_stars, and set its Offset to180and640, its Autoscroll to0and90, and its Color’s alpha to0.6. - Duplicate
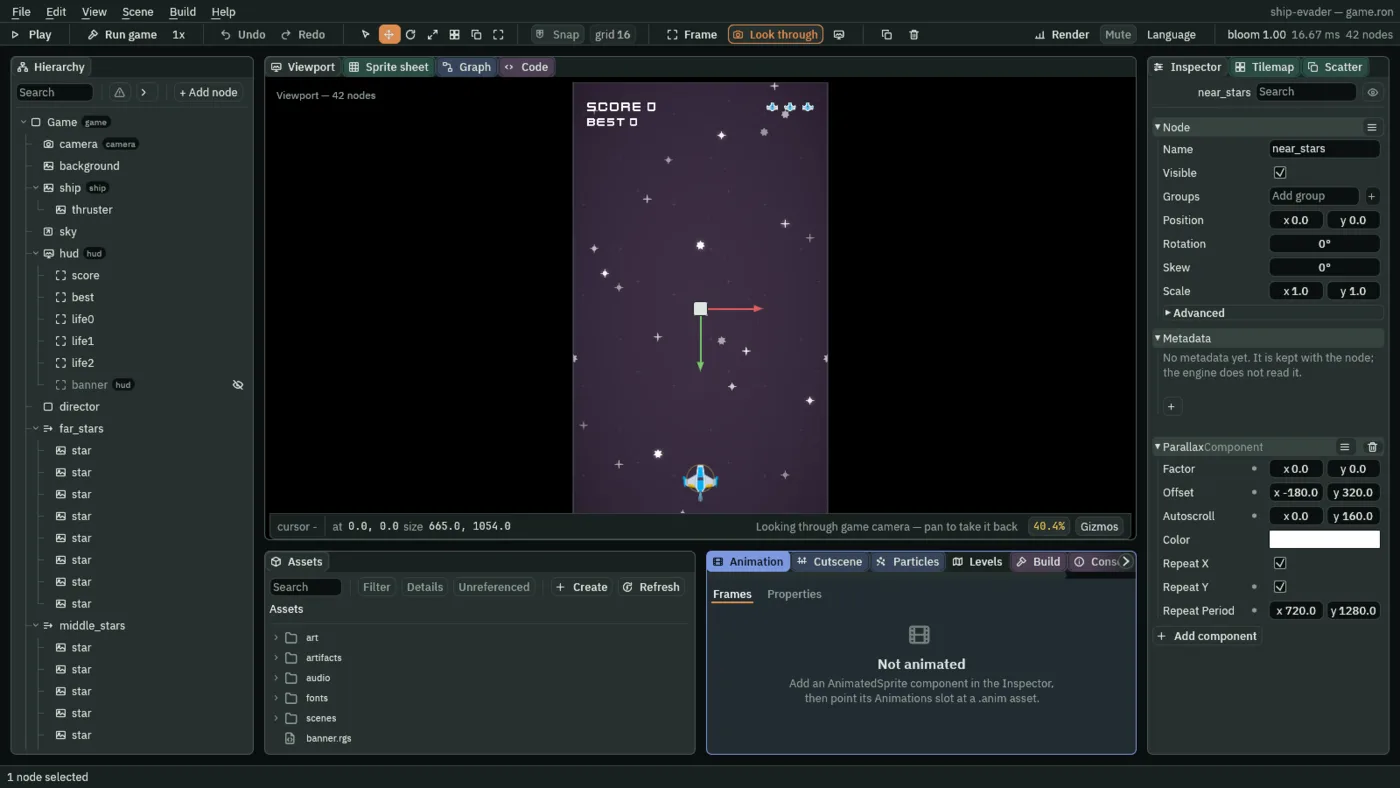
middle_starsasnear_stars: Offset-180and320, Autoscroll0and160, alpha1.
- Autoscroll
- How far the plane drifts on its own, in units a second, across and down: 40, 90 and 160 down for the three planes.
- Repeat Period
- With Repeat X or Y ticked, how far apart the whole plane’s copies sit. One field apart, each plane’s eight stars show in any field-sized view, and the stars repeat as one sheet rather than one by one.
- Offset
- Shifts a plane, so the three copies of the same eight stars do not line up.
Bloom
Bloom makes the brightest things glow. A Post Volume grades how the whole scene looks, its bloom included, in Play and in an exported game.
- Select
Game, press + Add node, choose Node, and rename itbloom. - Press Add component and choose PostVolumeComponent.
- Keep Enabled ticked, and set Area to Global, so it covers the whole scene.
- In its Profile, leave everything as it comes but the bloom’s rows, which come after Vignette: keep their Enabled ticked, set Threshold to
0.8and Intensity to1.0, and press Enter. - Press Ctrl+S to save the scene.
- Double-click
artifacts/laser.artifact, selectlaser, set its Sprite’s Blend to Add, and save it.
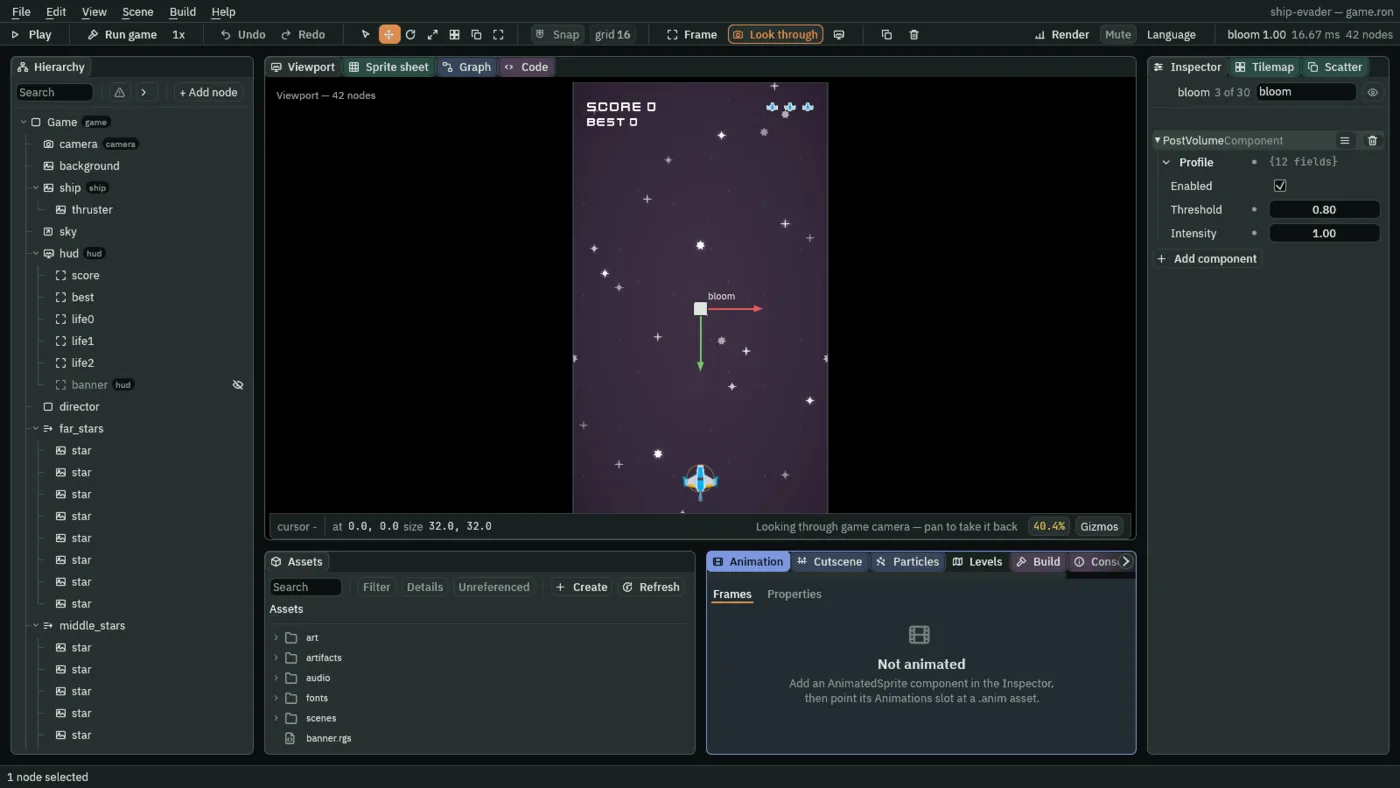
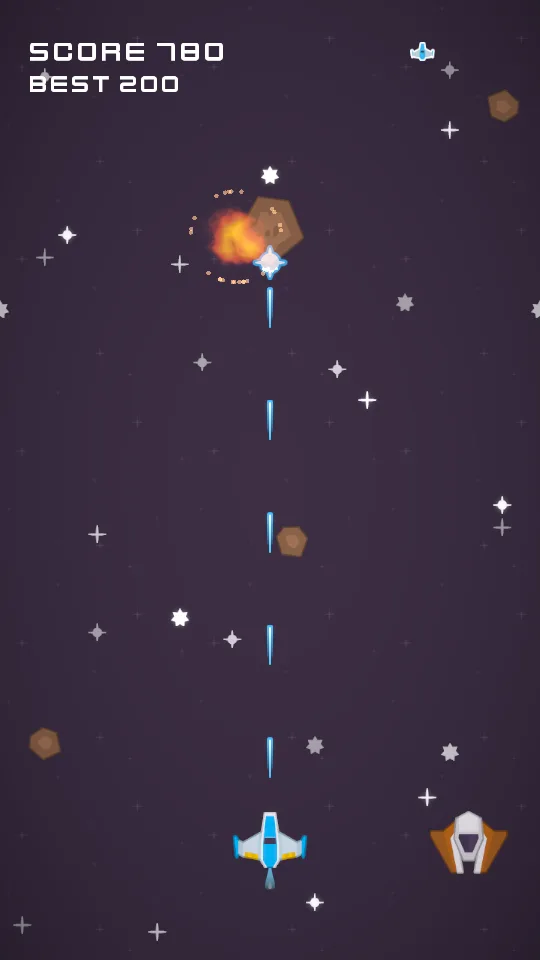
Brightness decides what glows, not the blend: whatever is brighter than the threshold keeps a halo. So the lasers glow, the enemies’ red shots glow most, and so do the near stars, a young burst of sparks and a hit’s white flash; the fireball, the flame and the far stars stay under it. Add blends a laser by adding its light to what is behind it, so where lasers cross they brighten. The rows above the bloom’s are its colour grade, and the corners come out a little darker: that is its vignette.
Explosions
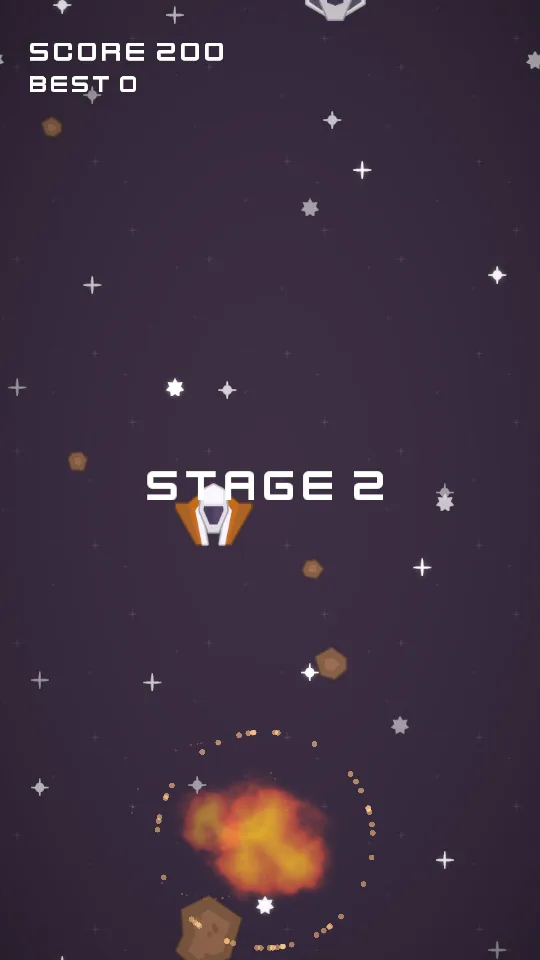
An enemy shot down or rammed leaves an explosion: a fireball that grows and fades, a burst of sparks, and a crunch. The sparks and the crunch are components that start on their own as the explosion arrives; a script grows and fades the fireball, then removes the whole. Make a script called explosion:
- In Assets, press Create, choose New script, type
explosion, and press Enter. The editor writesexplosion.rgsinto the project folder. - Click the Code tab, then
explosion.rgsin its Scripts list, replace everything in it with the script below, and press Ctrl+S.
/// An explosion, where something was destroyed: a fireball that grows and
/// fades, a burst of sparks and a bang. The sparks and the bang are its
/// Particle Emitter's and its Audio Source's own, and each starts as the
/// explosion arrives, with nothing here to call. The fireball is one picture:
/// it grows from the scale the explosion is made at to `end_scale`, fading out
/// as it grows, and then the explosion removes itself.
component Explosion {
    /// How big the fireball grows, as a scale of its Sprite's size.
    #[range(0.0..)]
    end_scale: f32 = 1.0,
    /// How long the fireball takes to grow and fade.
    #[suffix("s")]
    #[range(0.05..)]
    lifetime: f32 = 0.5,

    fn on_create() {
        // From the scale the explosion is made at: the big explosion is made
        // at twice the scale, and grows twice as big.
        anneal_scale(vec2(end_scale, end_scale), lifetime, .OutQuad);
        // White, and all the way see-through: it fades as it grows. `await`
        // waits here until the fade is done. A burst goes with its node, so
        // each explosion's sparks are made to die before its fade ends.
        let faded = vec4(1.0, 1.0, 1.0, 0.0);
        await anneal_colour("SpriteComponent", "color", faded, lifetime, .InQuad);
        destroy_self();
    }
}
anneal_scale grows the node from the scale it was made at, along .OutQuad, quick then slow, while the colour fades along .InQuad, slow then quick.
- Double-click
scenes/game.ronin Assets to go back to the game, and click the Viewport tab. - Select
ship, and dragart/explosion00.pnginto the Viewport. - Double-click its row in the Hierarchy, type
explosion, and press Enter. - Set its Position to
0and0and its Scale to0.5and0.5: the explosion is made at half size and grows to its full size. - In its Sprite, set Size to
128and118, in place of the picture’s 583 by 536, Sort Layer to3and Blend to Add. - Add a ParticleEmitterComponent: tick One Shot; Burst
24, Capacity24; Lifetime0.45; Speed260; Direction0and-1; Spread6.3, a whole circle; Gravity0; Start Color1,0.85,0.45, alpha1; End Color1,0.35,0.1, alpha0; Start Size10, End Size2; Sort Layer4; Blend Add. - Add an AudioSourceComponent: Clip
audio/explosionCrunch_000.ogg, Bus Sfx, Volume0.7, Autoplay ticked, Looping unticked, and, in its Spatial fold, Positional unticked. The next chapter says why. - Add Explosion, keeping End Scale
1and Lifetime0.5. - Save it as
artifacts/explosion.artifact, and delete the copy left in the scene. - Make
big_explosionthe same way, for the ship’s last life: Scale1and1; a burst of Burst48, Capacity48, Lifetime0.7, Speed360, Start Size14, End Size3; Clipaudio/lowFrequency_explosion_000.oggat Volume0.9; and an Explosion of End Scale2and Lifetime0.75. - Save it as
artifacts/big_explosion.artifact, and delete the copy.
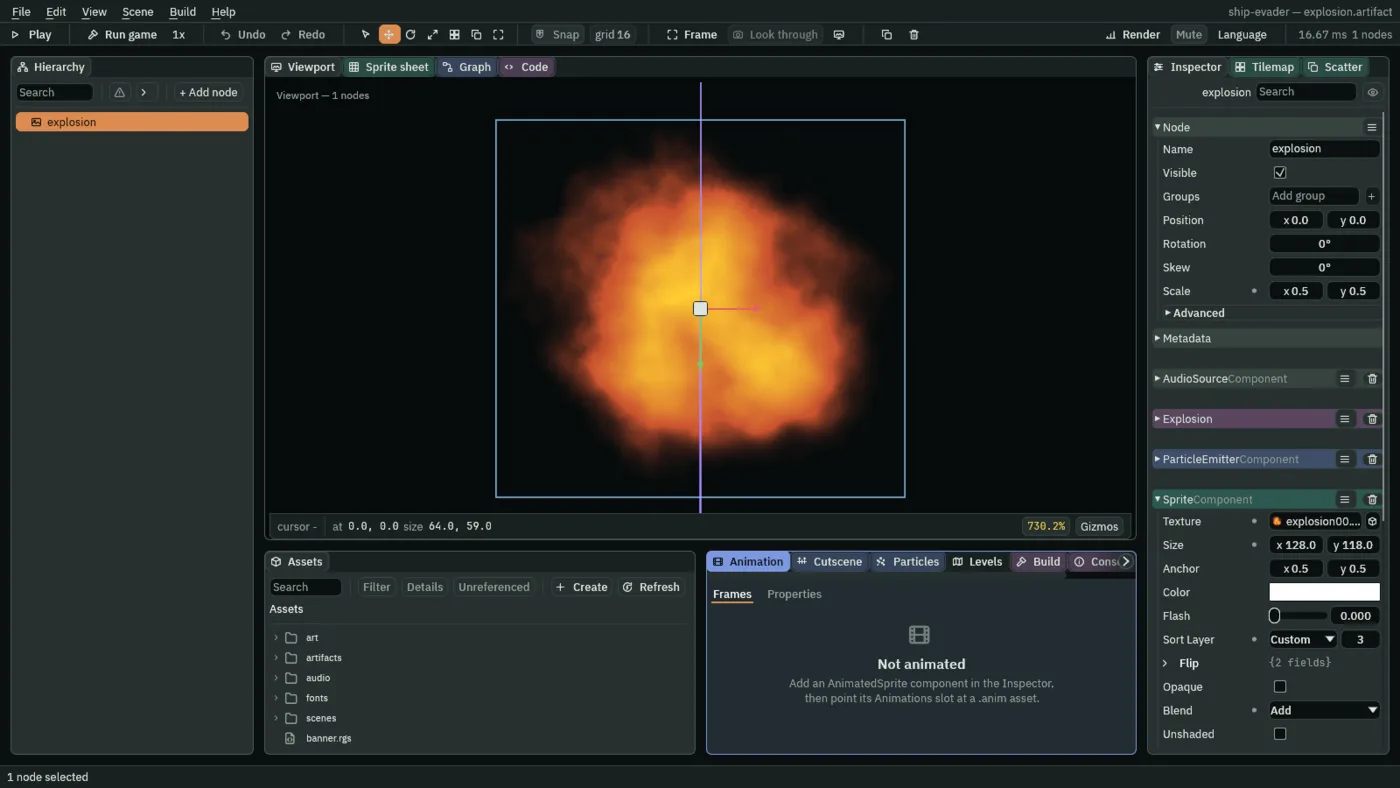
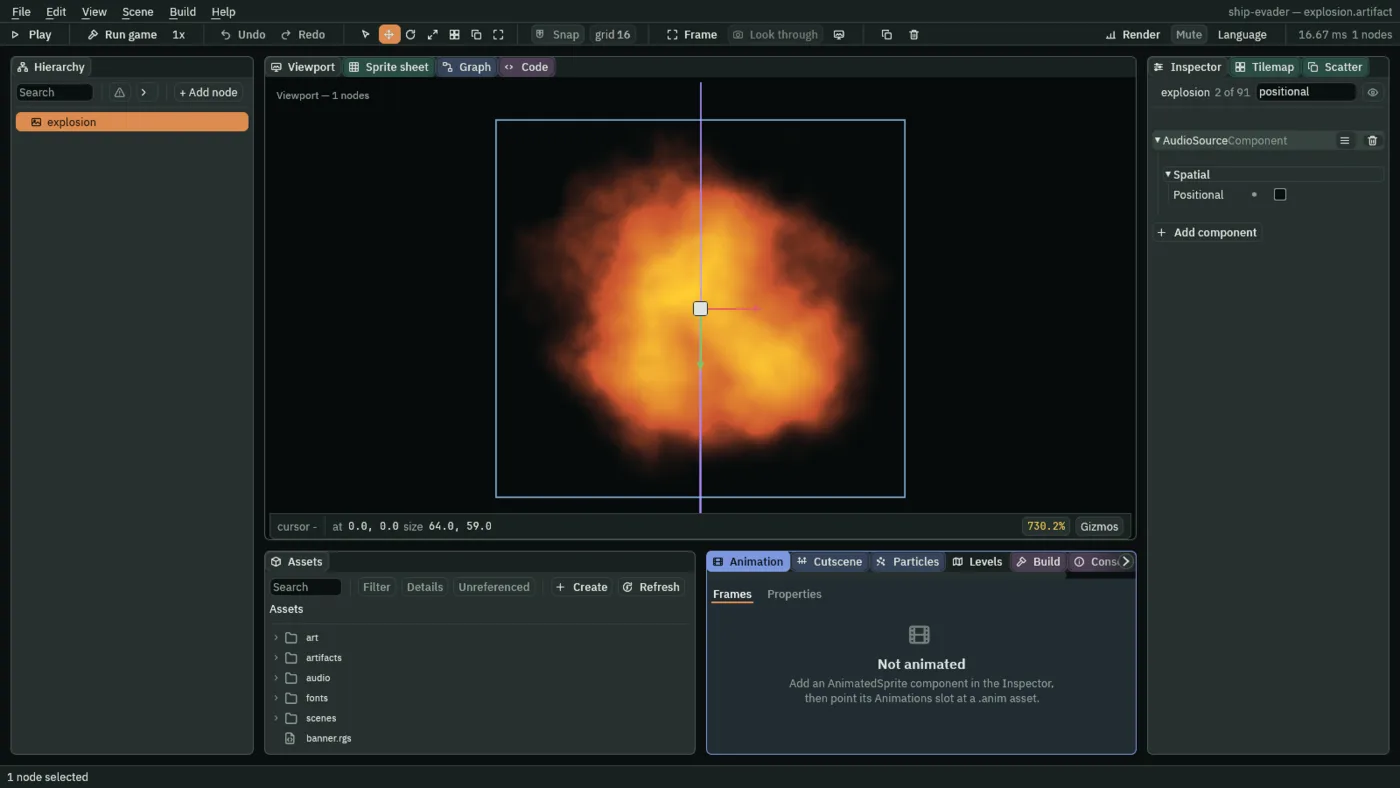
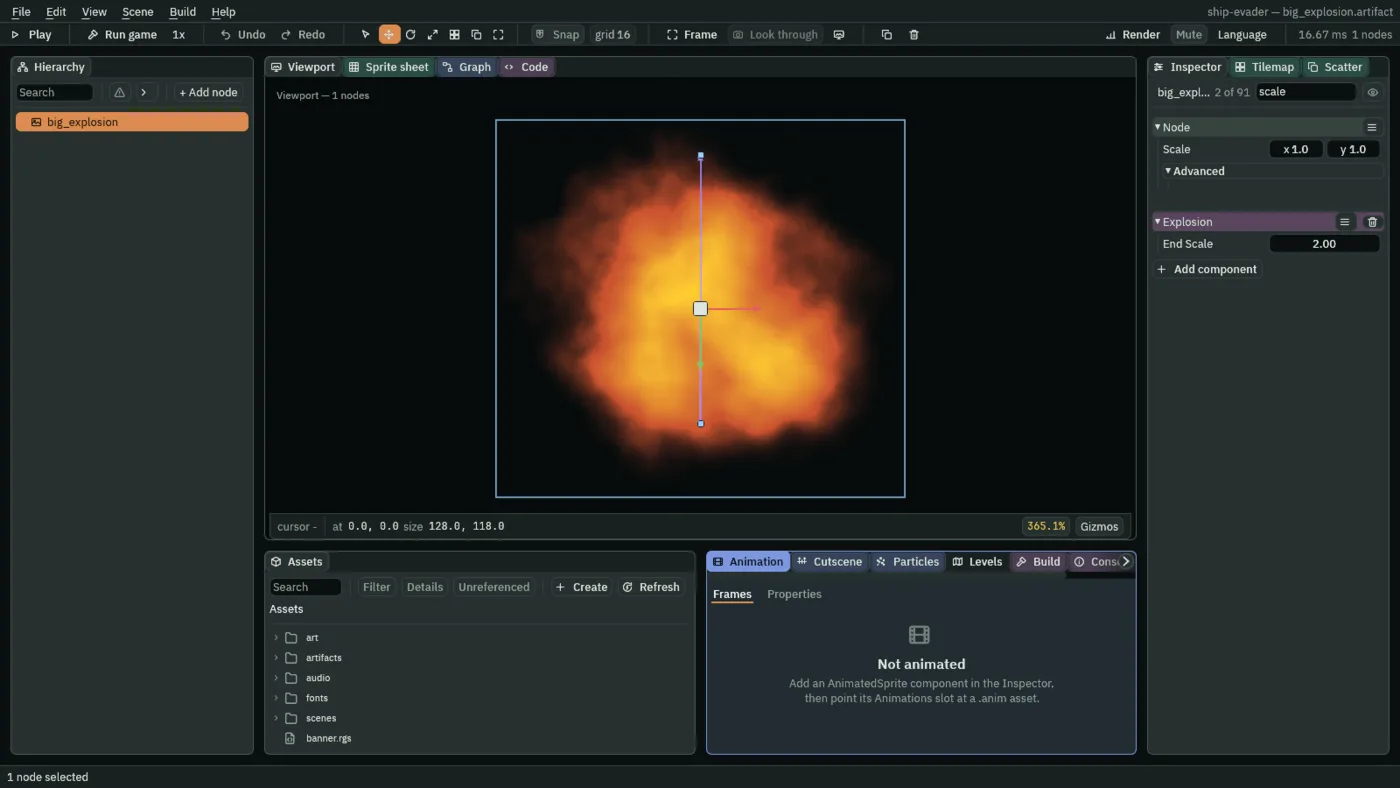
A one-shot burst goes with its node, so each burst’s Lifetime is a little shorter than its explosion’s fade: 0.45 s inside 0.5 s, and 0.7 s inside 0.75 s. Problems lists a one-shot emitter whose Burst is more than its Capacity.
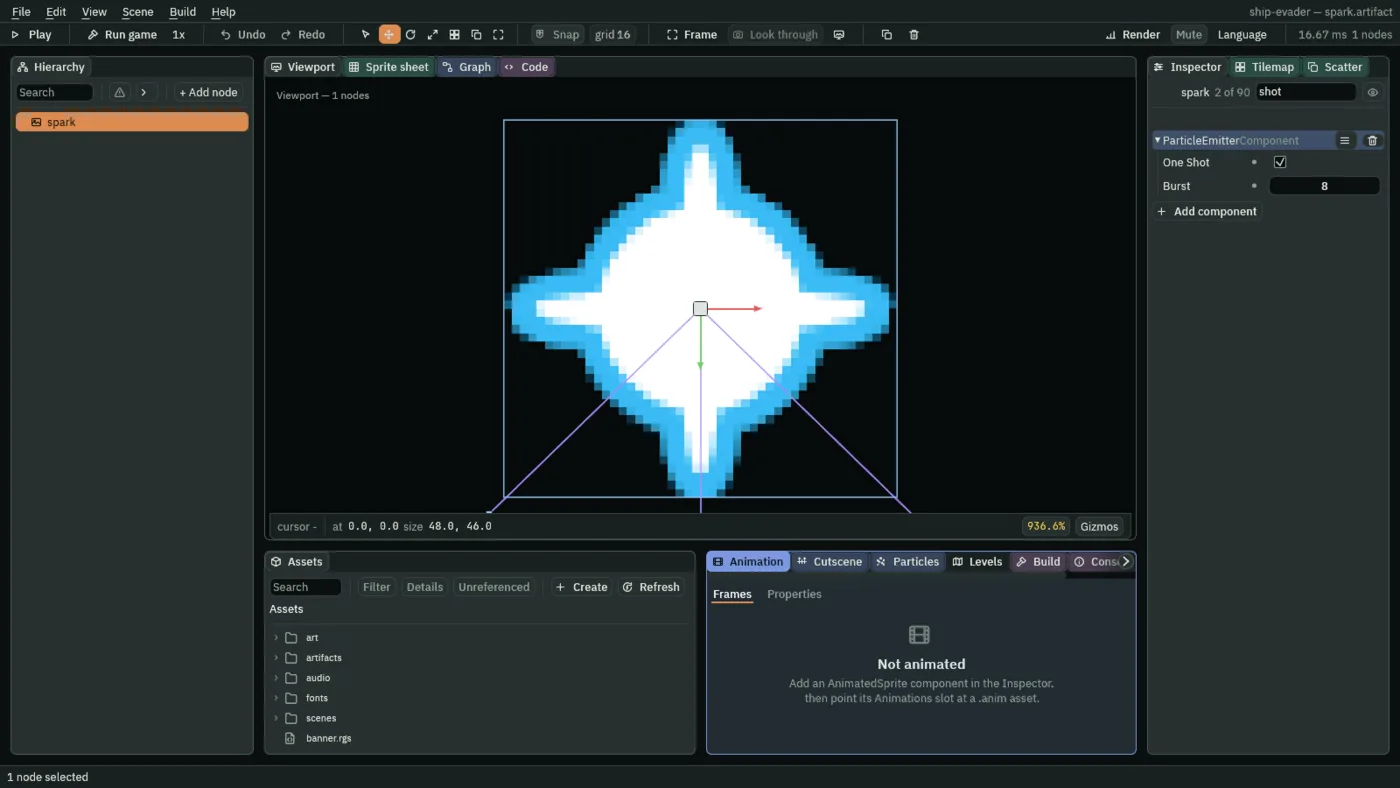
The spark’s burst
- Press Ctrl+S to save the scene.
- Double-click
artifacts/spark.artifact, selectspark, and set its Sprite’s Blend to Add. - Add a ParticleEmitterComponent: One Shot ticked; Burst
8, Capacity8; Lifetime0.18; Speed180; Direction0and1, down the field; Spread1.6; Gravity0; Start Color0.75,0.9,1, alpha1; End Color0.3,0.6,1, alpha0; Start Size6, End Size1; Sort Layer2; Blend Add. - Add an AudioSourceComponent: Clip
audio/impactMetal_000.ogg, Volume0.4, Autoplay ticked, Positional unticked. - Save the artifact.
- In the Code tab’s Scripts list, click
spark.rgs, make the comment at the top of the file the one below, and press Ctrl+S. Only the comment changes, so the game plays the same without it.
/// A spark, where a laser stopped: a little burst and a small sound as it
/// arrives, which its Particle Emitter and its Audio Source start on their own,
/// then it fades out and removes itself.
component Spark {
Who explodes
- Click the Viewport tab, then open
artifacts/diver.artifact, selectdiver, add a SpawnerComponent with one entry,explosionwithartifacts/explosion.artifact, and save it. - Open
artifacts/gunner.artifact, selectgunner, add the same entry to its Spawner, afterenemy_shot, and save it. - Double-click
scenes/game.ronto go back, selectship, and add an entry to its Spawner, afterlaser:big_explosionwithartifacts/big_explosion.artifact. - In the Code tab’s Scripts list, click
enemy.rgs, replace everything in it with the script below, and press Ctrl+S: an enemy explodes where it was, shot down or rammed.
/// An enemy's hits: each laser that meets it costs it a hit point, the last one
/// blows it up and adds its points to the score, a hit it lives through
/// flashes it white, and meeting the ship blows it up too, for no points.
component Enemy : Area {
    /// How many lasers it takes to bring it down.
    hit_points: i32 = 1,
    /// How long the white flash of a hit takes to fade.
    #[suffix("s")]
    flash_time: f32 = 0.12,
    /// What shooting it down adds to the score.
    points: f32 = 100.0,

    /// When its Area meets another that it notices, on the node `other`: a
    /// laser's or the ship's.
    fn on_enter(other: NodeId) {
        // The groups `other` is in say which it is.
        if in_group(other, "shot") {
            hit_points -= 1;
            if hit_points <= 0 {
                // Shot down: its points go on the score, and it leaves an
                // explosion where it was. The game keeps the score as it keeps
                // the lives, so the HUD can show it.
                add_number("score", points);
                spawn("explosion", position());
                destroy_self();
            } else {
                // A hit it lives through washes it white at once, and the
                // white fades back to its own colours over flash_time.
                set_number("SpriteComponent", "flash", 1.0);
                anneal_number("SpriteComponent", "flash", 0.0, flash_time, .Linear);
            }
        } else if in_group(other, "ship") {
            // Rammed: it explodes and goes, and scores nothing. The ship
            // loses a life.
            spawn("explosion", position());
            destroy_self();
        }
    }
}
The last life leaves the big explosion where the ship was. Click ship.rgs in the Scripts list, and change the comment at the top and the else branch at the end of on_enter:
/// The player's ship: it flies where `move` points, never leaves the field,
/// fires lasers while `fire` is held, and keeps its position for whatever aims
/// at it. Whatever its Area meets costs it a life: it flashes white, then
/// blinks, and nothing can hit it while it does. On its last life it blows up.
/// Each whole second it stays alive adds 10 to the score.
component Ship : Area {
        } else {
            // The last life: a bigger shake, a big explosion where the ship
            // was, and the ship is gone. A node that is gone runs no hooks, so
            // it cannot wait to start the game again: the game's own node,
            // which stays, does that when it hears "game over".
            emit_to("camera", "big shake");
            emit_to("game", "game over");
            spawn("big_explosion", position());
            destroy_self();
        }
- Press Ctrl+S to save
ship.rgs. - Save the scene with File → Save all, and click the Viewport tab.
The big explosion’s rumble plays on into the new game: a sound that plays once outlives the scene it started in.