Docs · Build a world
Scenes and nodes
By the end
- Build a room as a tree of nodes, and read what each one is in the Inspector
- Move things together by parenting them, and know where a node’s origin sits
- Save a group of nodes as an artifact, place copies of it, and change one copy without touching the rest
- Find the node that is set up to do nothing before you go looking anywhere else
On this page
A scene is a tree of nodes
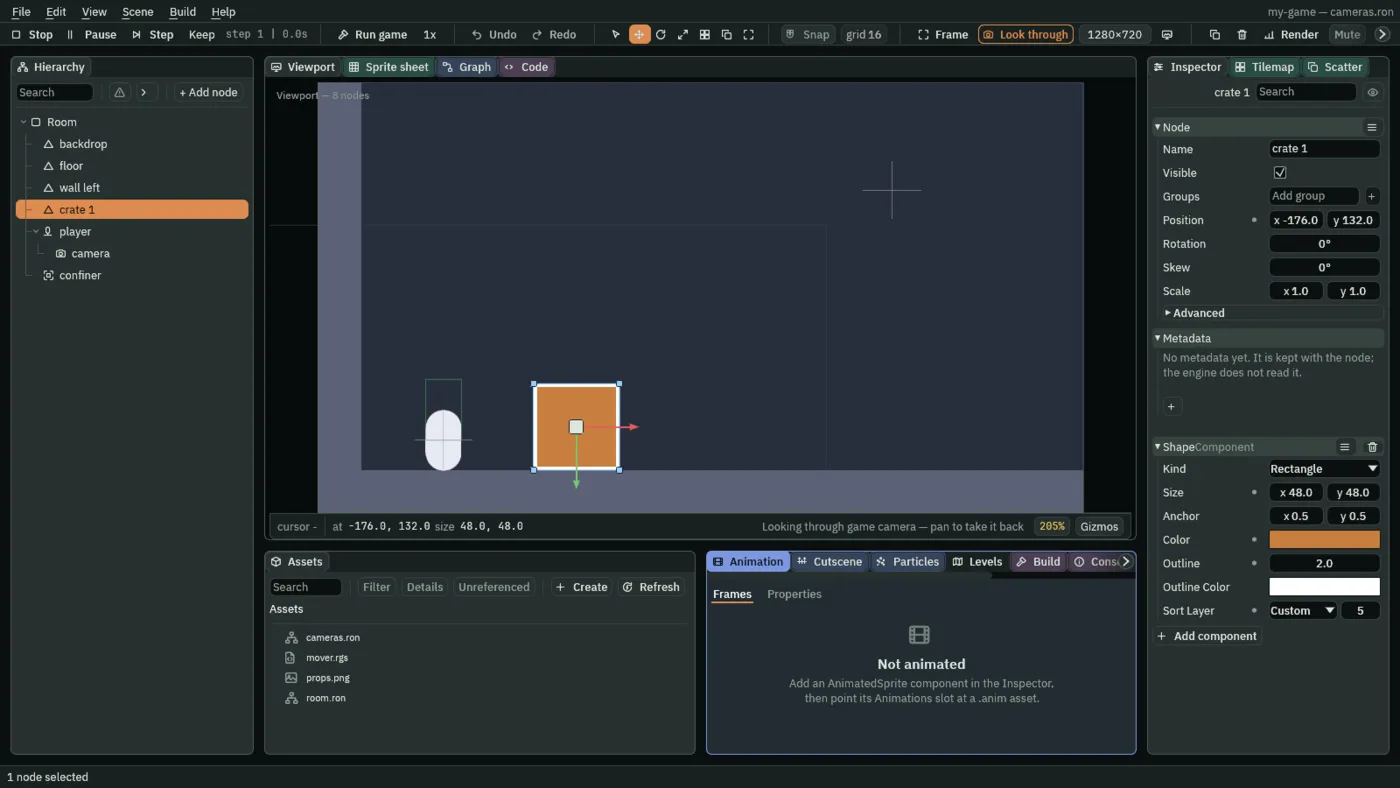
A scene is one room of your game, or one screen of it. It is a tree of nodes. Each node has a name, a transform (where it is, how it is turned and how big it is) and a list of components. The components are everything the node does: a Sprite draws a picture, a Shape draws a flat rectangle, a Camera decides what the player sees.
There are no node types to choose between. The + Add node menu is a list of starting points: Sprite is a node with a Sprite on it, Character is a node with a Character Body and a Shape. Anything on that list you could also build from an empty Node and Add component.
Add a node
- Select the node the new one should go under, and press + Add node at the top of the Hierarchy.
- The top of the menu offers Add child of …, named after the selection, or Add as root. Leave it on the first.
- Type part of a name into the filter, such as
sha, and choose Shape. The new node is selected, so the Inspector shows it straight away.
Add a component
- With a node selected, press Add component at the bottom of the Inspector. A menu opens with the caret in its search box.
- Type part of the component’s name. The engine’s own are listed by their full names, such as SpriteComponent. Your own scripts are listed after them.
- Choose one. It appears as a new section in the Inspector, with its fields at their defaults.
To take a component off, press the bin at the right of its section’s header.
Scenes are files
File → New scene (Ctrl+N) starts an empty one, and File → Open scene… opens one from disk. You can also double-click a scene in Assets. File → Save (Ctrl+S) writes it as a .ron file, and asks where the first time. Create → New scene in Assets writes a .scene file instead. Both are scenes, and both open the same way.
Position, parenting and the anchor
The Node section holds the transform: Position, Rotation in degrees, Skew and Scale. Position is measured from the node’s parent, not from the room. Y grows downward, as it does on a screen, so a larger Y is lower down.
Parenting
Drag a node onto another in the Hierarchy and it becomes that node’s child. From then on it moves, turns and scales with its parent. A lamp under the player is a lamp the player carries, and neither needs a line of script to stay together. To gather several nodes under a new parent, select them in the Hierarchy and press Ctrl+G.
Hiding works the same way. Untick Visible, or click the eye at the end of a Hierarchy row (H), and the node and everything under it stop drawing, in the editor and in the game. The padlock beside the eye is different: it only stops the Viewport picking and dragging the node, and it is not saved into the scene.
The anchor
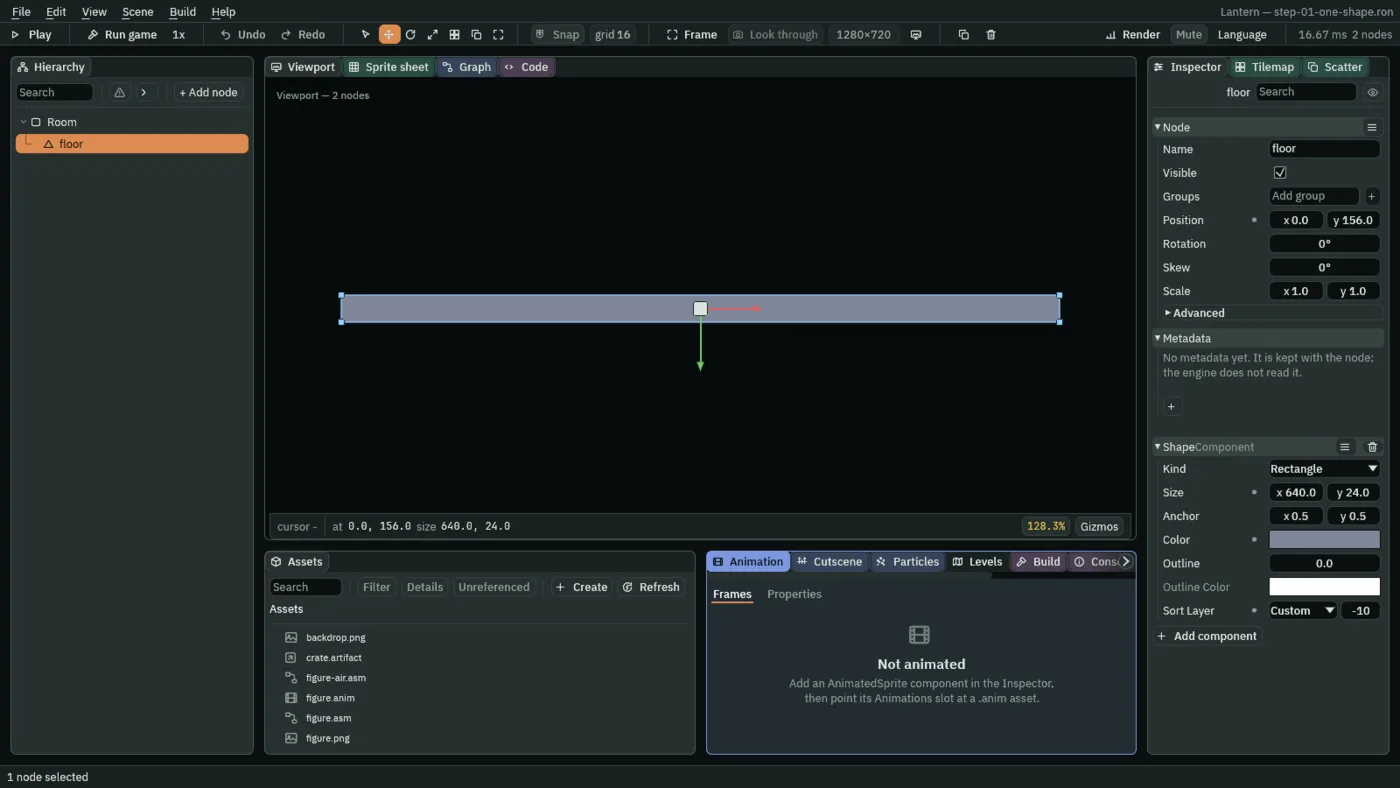
A Shape or a Sprite is drawn around its node’s position, and its Anchor says which point of the rectangle sits on that position. Each number runs from 0 to 1, across and then down.
| Anchor | The node’s position is at | Good for |
|---|---|---|
0.5, 0.5 | the middle | the default, and most things |
0, 0 | the top-left corner | lining things up on a grid |
0.5, 1 | the middle of the bottom edge | anything that stands on a floor: its position is where its feet are |
Right-click a row’s name and the same reset is there as Reset to default (…), beside Copy value and Paste value, which carry a value from one row to another of the same kind.
What draws on top
Everything that draws has a Sort Layer. Lower layers draw first, so a backdrop at -20 goes down before a wall at -10, and a crate at 5 goes over both. Two things on the same layer have no order you can count on, so when one of them must be in front, give it a higher layer.
The Sort Layer row has a dropdown and a number. The dropdown lists the project’s named layers, and each name is only a number, shown in the box beside it. Type into the box for any number you like; the dropdown then reads Custom.
Sorting by height on the screen
In a game seen from above, a character walking behind a tree should be hidden by it, and in front of it should hide it. Open the Advanced fold of the Node section on the node that holds them both, and tick Sort children by Y. Everything under it then draws in order of its height on the screen, the lowest in front. A different Sort Layer still wins over the height.
Artifacts: one thing, placed many times
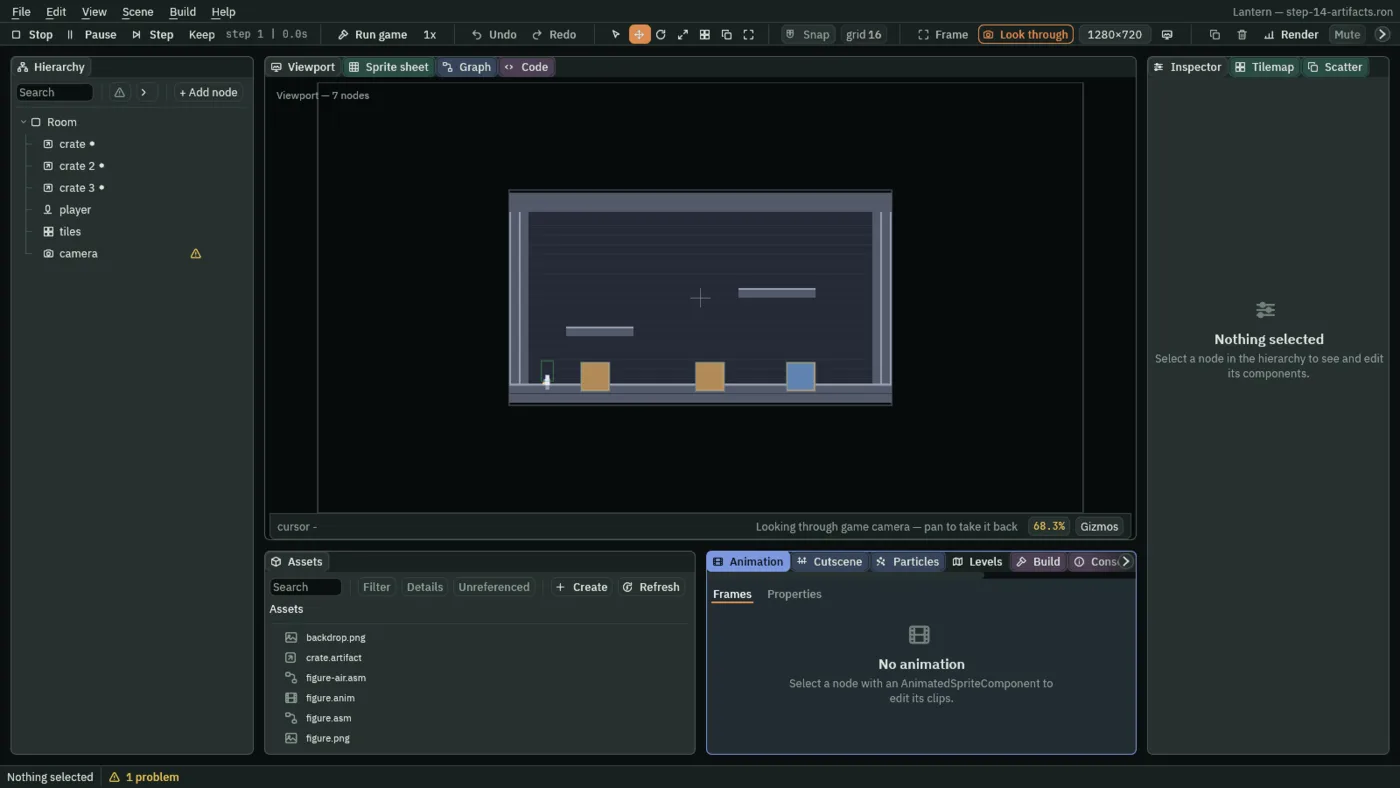
A room is full of the same few things: crates, lamps, spikes, doors. Duplicate a crate forty times and each copy is on its own, so making them all bigger means forty edits. An artifact is a node, and everything under it, saved to a file of its own. Each copy you place is an instance of that file, and follows it.
Make one
- Set up one crate the way you want every crate to be.
- Right-click it in the Hierarchy and choose Save as artifact….
- Name the file, for example
crate, and save it inside the project folder. It is written ascrate.artifact, and the crate you right-clicked is now an instance of it.
Place more
- Drag the
.artifactfrom Assets into the Viewport. The instance lands under the cursor when the room’s node is at the origin, as in Getting started, and goes beside whatever you have selected. - Or right-click it in Assets and choose Add to scene. That puts the instance at the scene’s origin with no parent: drag it into place in the Viewport, and onto the room’s node in the Hierarchy.
What an instance keeps for itself
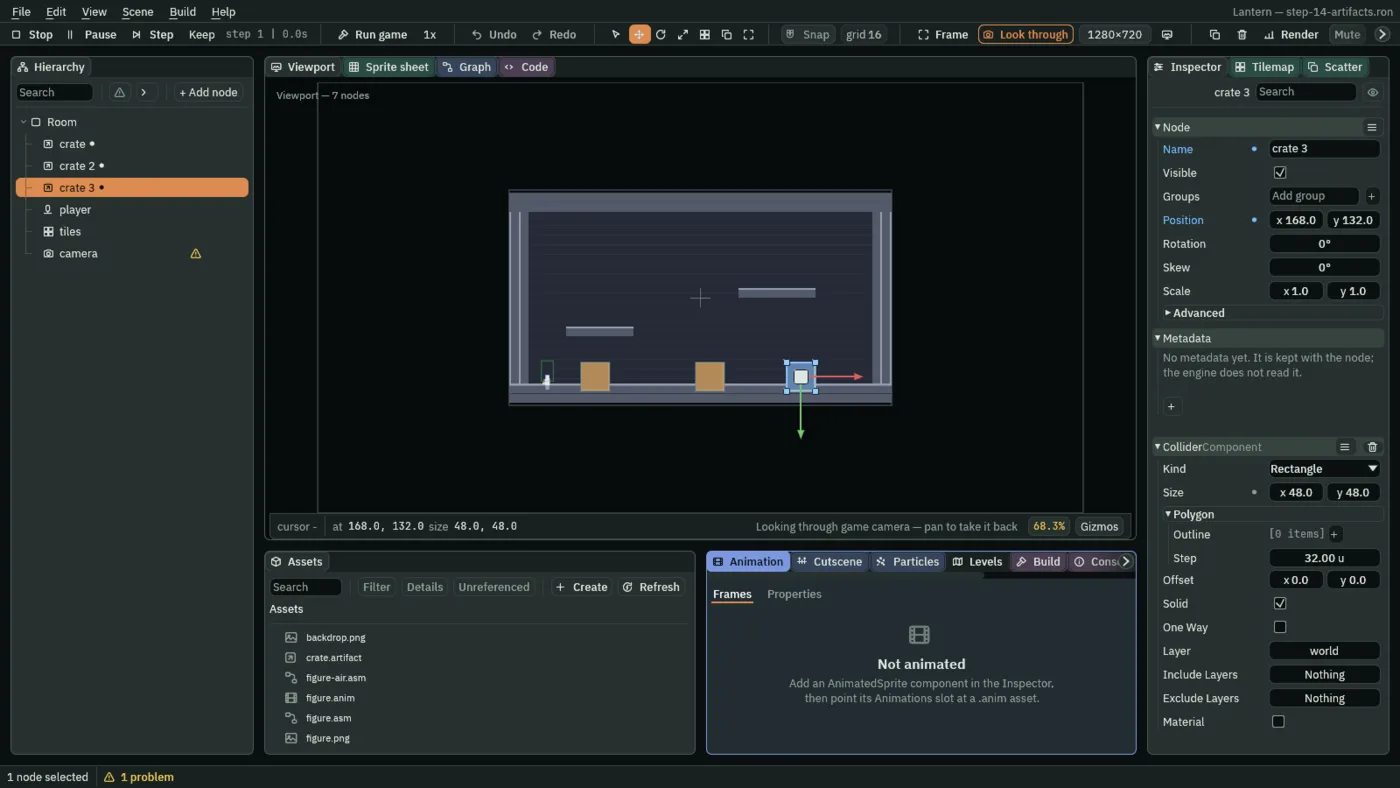
Change a field on one instance and that field becomes an override: the instance keeps its own value there, and follows the artifact for everything else. An overridden row is blue in the Inspector, with a blue dot.
The name and the position are fields like any other. Placing an instance records where you put it as an override, which is how three crates can share one artifact and still stand in three places. Rename one and its name is an override too. The other side of this: reverting an instance’s Position puts it back where the artifact itself sits, on top of any instance that never moved.
- Revert to artifact (…)
- Right-click an overridden row’s name. The row goes back to the artifact’s value, which the menu names, and follows it again. Hovering the blue dot offers the same.
- Revert overrides
- Right-click the instance in the Hierarchy. Every overridden field on it goes back to the artifact’s value.
- Apply to artifact
- The other way round: this instance’s changes are written into the artifact file, so every other instance follows them.
- Open artifact
- Opens the artifact file itself in place of the room, to change it directly. Save the room first. Save the artifact with Ctrl+S when you are done.
- Select all instances of this artifact
- Selects every instance in the room, so you can change them all at once.
A scene takes up changes to its artifacts when you open it. An artifact cannot contain an instance of another artifact: Save as artifact… refuses a node that is one, or holds one, and says which. For grass, rubble and other things you place by the handful, the Scatter panel brushes instances of an artifact across the room.
Problems: read it before anything else
When something you built does not appear, or appears and does nothing, look at the Problems panel before anything else. It lists nodes that are set up to do nothing, and most of the time the answer is in it.
Its tab is beside the Console, at the bottom right, and it carries a count while there is anything to read: Problems (3). Among the things it reports:
- a node set up to do nothing: a light with a radius of zero, a tilemap that names no tilemap file, an area that nothing can reach;
- a second Ambient Light or a second active Camera, which is never used;
- as errors, references to files that are gone, and scripts that write to a component that does not exist or to a field it does not have.
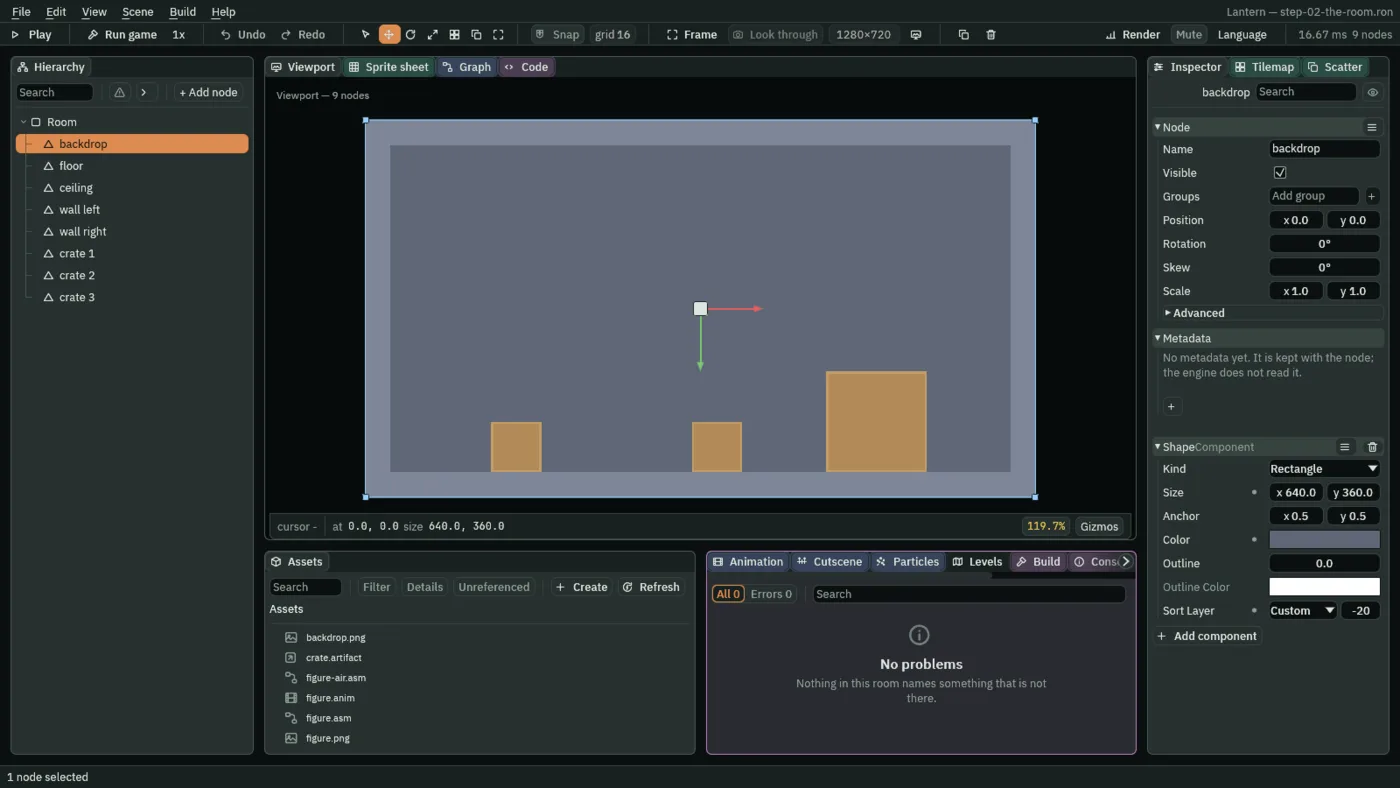
- All / Errors
- Every problem, or only the errors. Each button carries its count.
- Search
- Keeps only the rows whose message contains what you type.
- Notes
- Things that are true and cost something without being wrong. They are folded away under their own header.
- A row
- Click it to select the node it is about, in the Hierarchy and the Viewport.
The Hierarchy marks the same nodes with a triangle at the end of their row, and hovering it says why. The triangle button in the Hierarchy’s bar narrows the tree to rows with a problem in or under them.
The list describes the room as it is now: fix a node and its row goes. The Console is the other half. It keeps a line for each thing that went wrong, even after you have fixed it.