Tutorials · Crypt Knight · Chapter 15
Screens
By the end
- The menu’s actions and Esc, in the input map
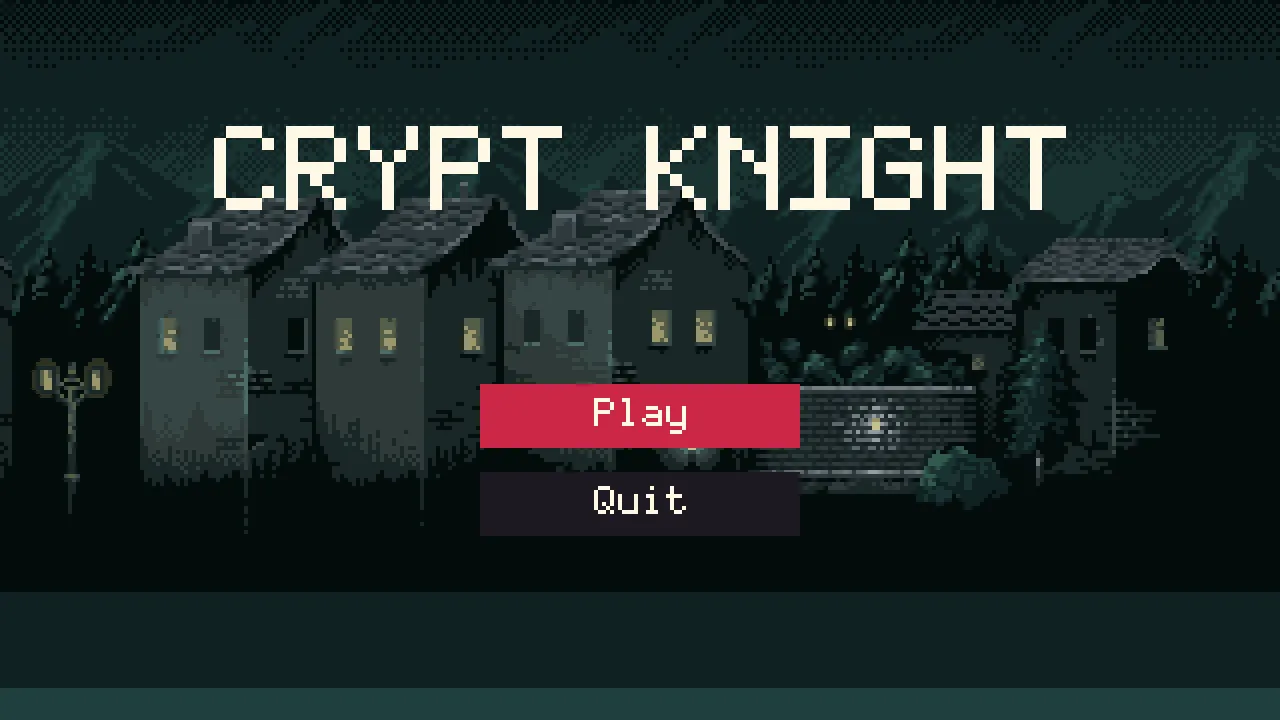
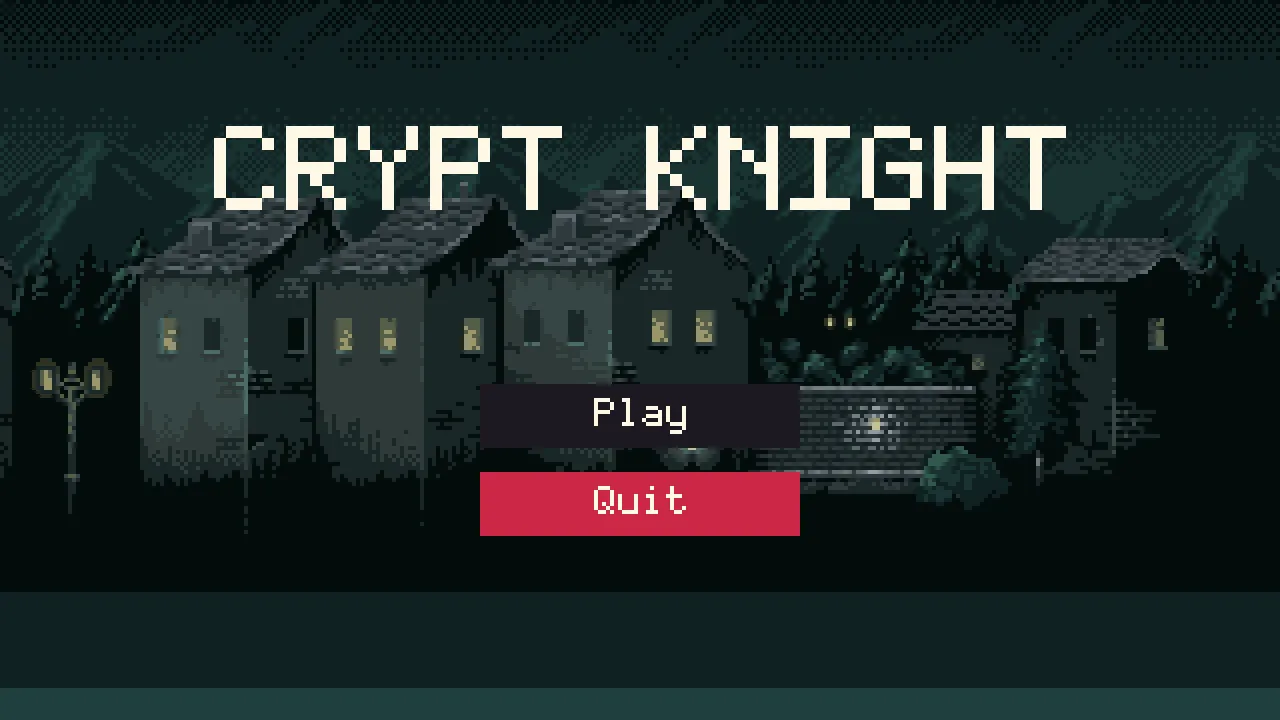
- A title scene the game opens on, with Play and Quit, and the castle loop already playing
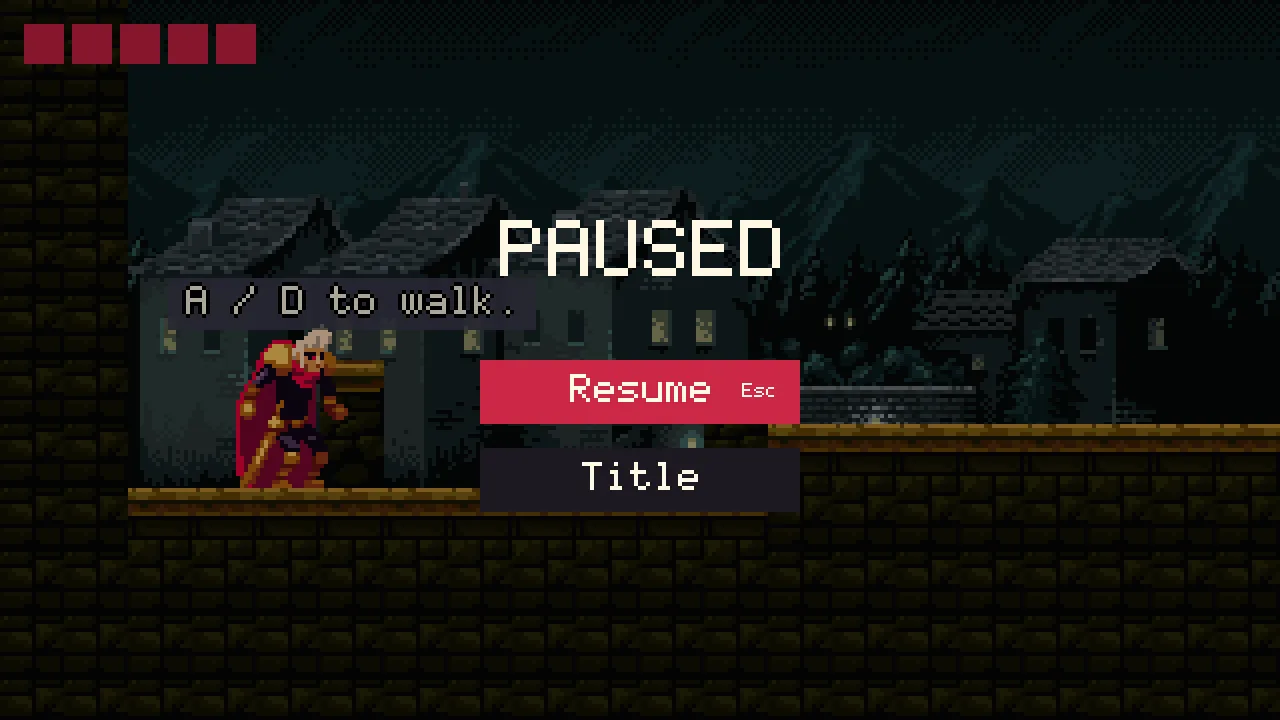
- A pause menu, Resume and Title, in all three levels, that stops the game and dims it
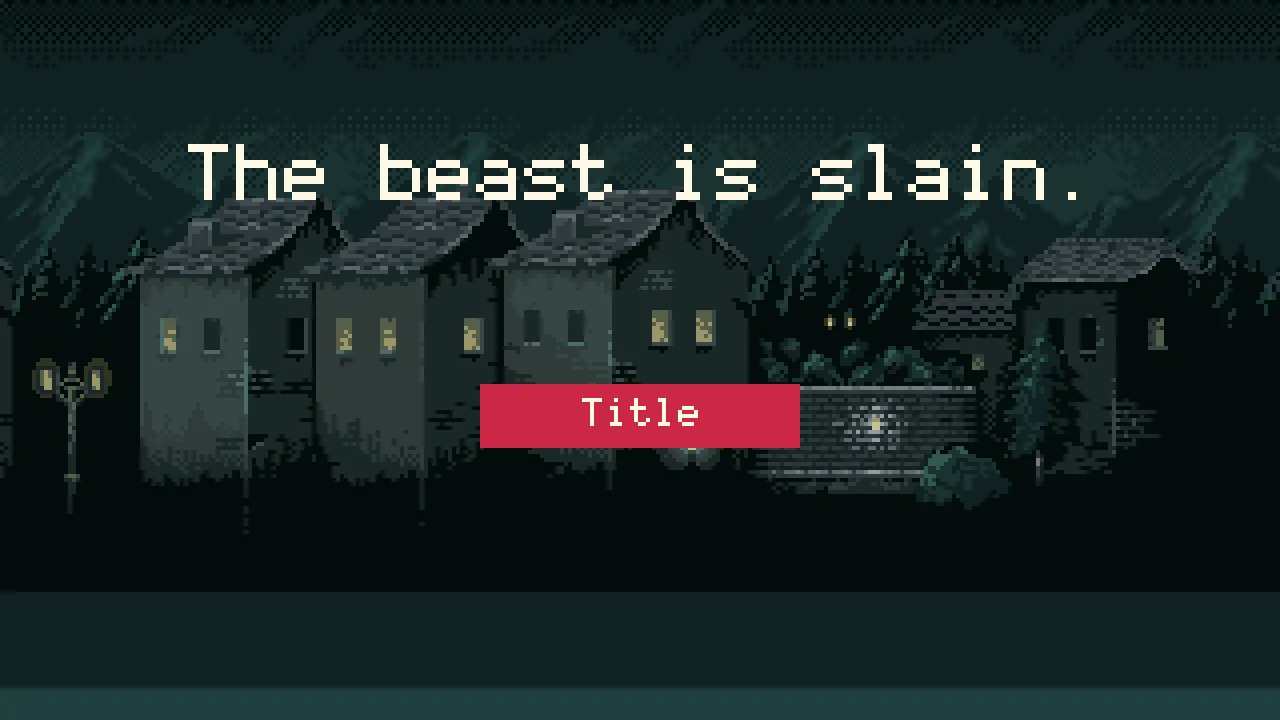
- A victory screen that the Levels list opens after the last level
- A game that is played from the title to the victory screen and back
On this page
Three screens
The game now plays from the Gate to the beast, and it opens on the Gate, and ends where the beast dies. Around that it wants a title to open on, a pause menu, and somewhere to go when the beast is slain. This chapter makes the three, in a lean shell: a title with Play and Quit, a pause menu with Resume and Title, and a victory screen with Title. There are no settings and no saved progress.
It goes quickly where Ship Evader’s tutorial has already gone slowly. A screen is a canvas with Panels, Labels and Buttons on it, a button reports an action that a script hears with pressed, and the keyboard moves a focus between buttons. Ship Evader’s screens and its pause and settings explain each of them; this chapter builds the same things, with the values, and says why where it differs.
The menu’s keys
A menu answers eight actions, if a project has them: ui_up and ui_down move the focus, ui_left and ui_right move a slider, ui_next and ui_previous step the focus on and back as Tab and Shift+Tab do, ui_accept presses the lit button and ui_cancel goes back. This game binds neither ui_next nor ui_previous. The arrow keys, Tab, Enter and Space work in every menu anyway; the six it does bind add W, A, S, D and Esc. The pause menu adds a ninth action, pause, on Esc.
- Choose View → Input map…, and add seven actions:
pause,ui_up,ui_down,ui_left,ui_right,ui_acceptandui_cancel. - Select each action, and give it its keys with Choose key…, typing to find each:
pauseEsc;ui_upW and Up;ui_downS and Down;ui_leftA and Left;ui_rightD and Right;ui_acceptEnter and Space; andui_cancelEsc. - Press Save, and close the window.
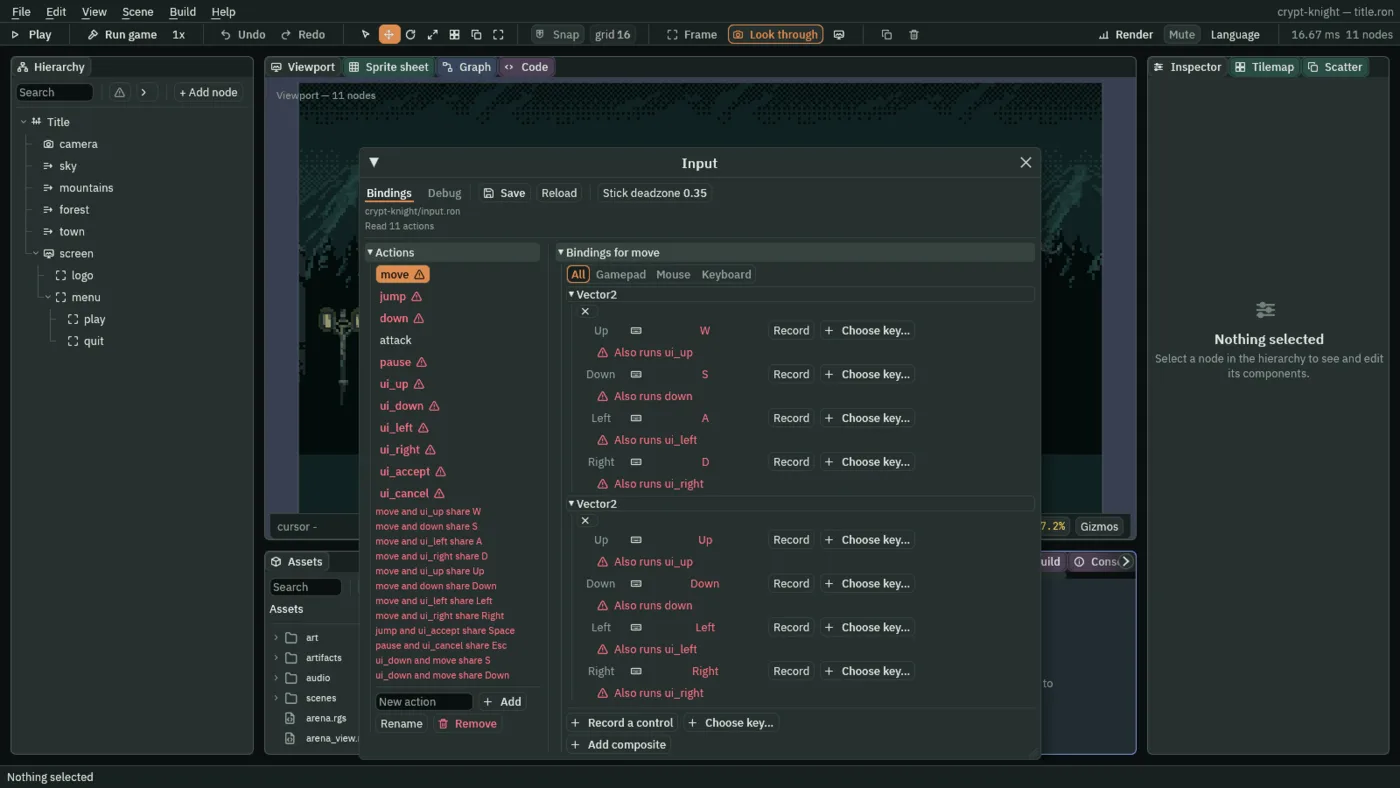
Record a control on a key another action already uses stops with a warning, such as “W already runs move.”, and two choices. Choose key… binds it anyway, which is what a menu needs. The window then marks the actions that share keys in red: here that is meant, and harmless. The menus run on the title, which has no knight to move, and the pause menu runs only while the game is paused, so nothing runs move when W is pressed to move a light.
The title
The title is a scene of its own, the one the game opens on. It plays the castle loop, so that the game’s music is already going when Play opens the Gate: a scene that asks for the track that is playing leaves it playing.
- Press Ctrl+S to save the open scene. Click the Viewport tab, and choose File → New scene. An empty scene takes the place of the one that was open, without asking to save it.
- Press + Add node, choose Node, and rename it
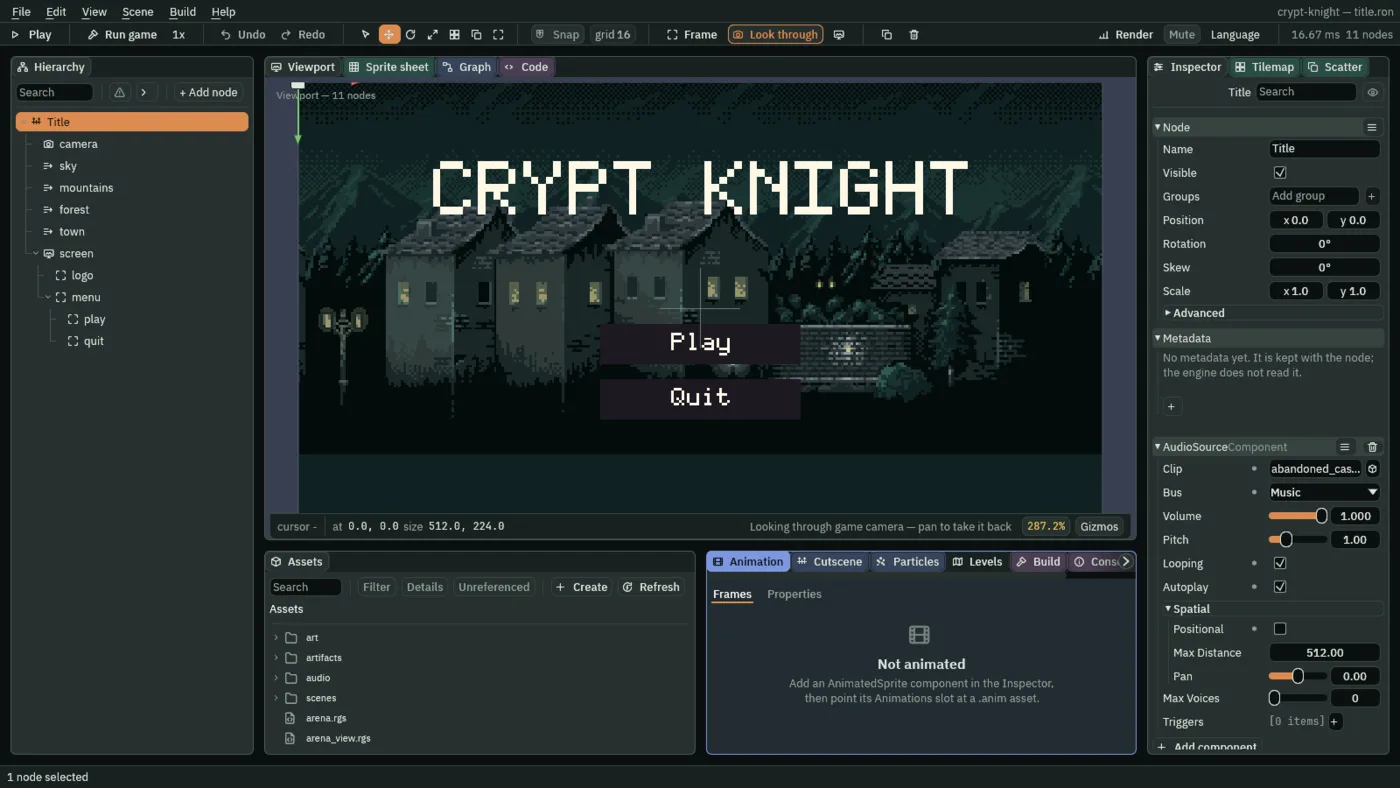
Title. - Add an AudioSourceComponent: Clip
audio/abandoned_castle_music_-_starninjas_6.ogg, Bus Music, Volume1, Looping and Autoplay ticked, and Positional unticked in its Spatial fold. - Press Ctrl+S, and save the scene in the
scenesfolder astitle.ron. The editor saves no scene without a node in it, which is why this comes afterTitle.
The title shows the night town behind it, as the Gate does, and the Gate’s own camera.
- Open
scenes/gate.ron. In the Hierarchy, selectcamera, then Ctrl-clicksky,mountains,forestandtown, and press Ctrl+C. - Open
scenes/title.ron, right-clickTitle, and choose Paste as child. The five come over with their components. - Select the title’s
camera. Remove its CameraRigComponent and its Shake with the bin at the right of each header, and the groupcamerawith the × beside it: there is no knight to follow and nothing to shake. Set its Position to160and90, the middle of the view.
Then the words and the buttons. A screen is a canvas, as the HUD is, and everything on it is anchored to it.
- Select
Title, press + Add node, choose Node, and rename itscreen. Give it a CanvasComponent: Reference Size320and180, Scale Mode ScaleWithHeight, Use Safe Area ticked, Space Screen, Layer0. - Under
screen, press + Add node and choose Label. Rename itlogo. Its Rect: Anchor Min and Anchor Max0.5and0, the top centre; Offset Min-120and30; Offset Max120and60; Pivot0.5and0.5. Its Text:CRYPT KNIGHT, Scale3, Align Center, and Color1,0.94,0.8, alpha1, a warm white. - Add a Node under
screencalledmenu, and give it a RectComponent: as it comes, it fills the canvas. - Give
menuan AudioSourceComponent on Sfx, Volume1, Positional unticked, with two triggers:move, Clipaudio/select_001.ogg; andpress, Clipaudio/confirmation_001.ogg.
The screens use the engine’s own letters, the plain face the signs use: no font is imported, so the title’s logo is the same face at three times the size.
Two buttons
- Select
menu, press + Add node, and choose Button: a Rect, a Panel, a Text and a Button on one node. Rename itplay. - Its Rect: Anchor Min and Anchor Max
0.5and0; Offset Min-40and96; Offset Max40and112; Pivot0.5and0.5. That is 80 by 16, at the middle of the screen. - In its Panel, click Color. If the button at the top left of the picker reads U8, press it, so it reads F. Make the Panel white:
1,1,1, alpha1. Leave its Texture empty. - Its Text:
Play, Scale1, Align Center, and Color1,0.94,0.8, alpha1. - Its Button: Action
play; Normal0.012,0.01,0.016, alpha1; Hovered0.6,0.02,0.06, alpha1; Pressed0.3,0.01,0.03, alpha1. - Right-click
playand choose Duplicate. Rename the copyquit: Offset Min-40and118, Offset Max40and134, TextQuit, Actionquit. - Give
playandquiteach a FocusComponent, then setplay’s Up toquitandquit’s Down toplay: the list a Focus link opens offers only nodes that have a FocusComponent of their own, so both get theirs first.
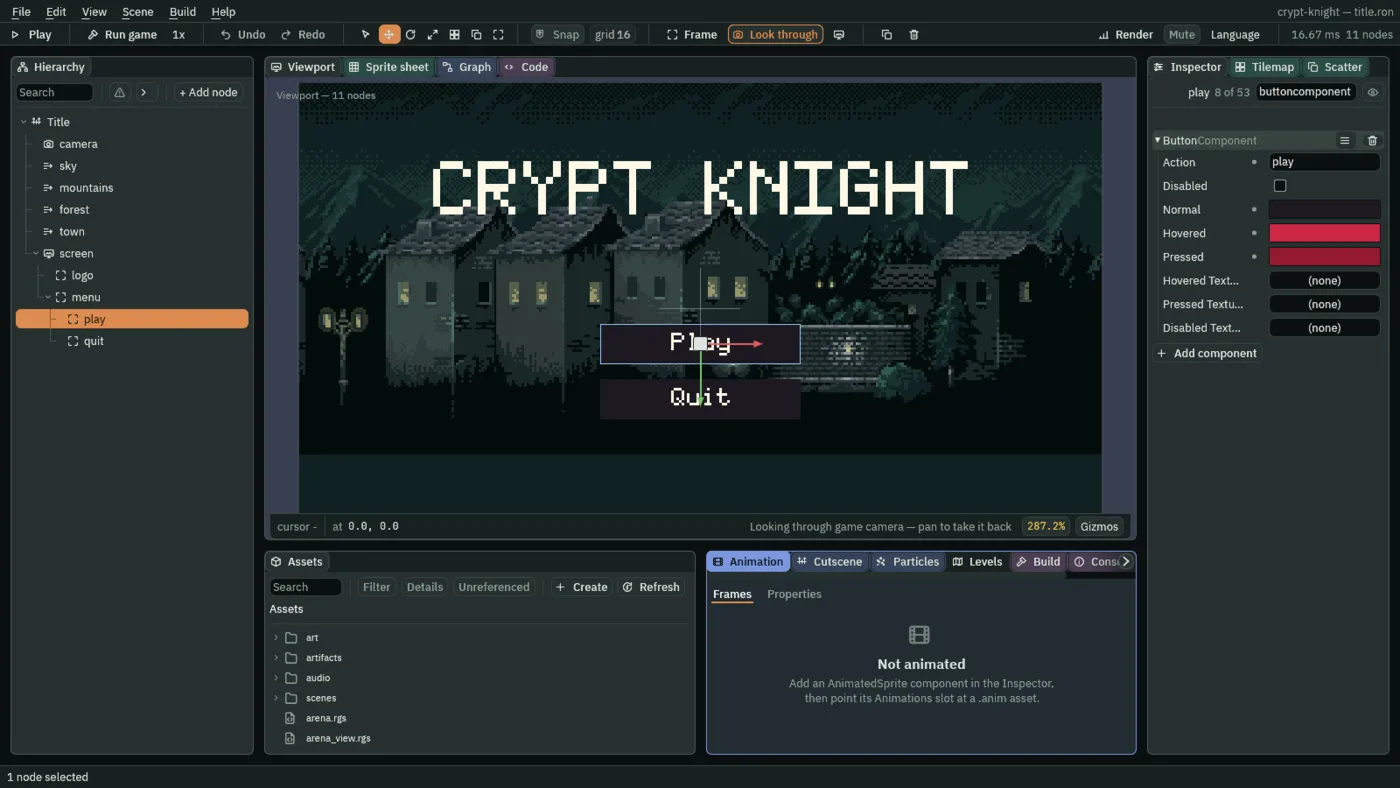
When the screen opens, the first button, Play, takes the focus. Down moves it to Quit, and Up from Play goes round to Quit, through the Focus links. The title’s script plays a tick as the focus moves, and does what Play and Quit say.
- In Assets, press Create, choose New script, type
title_menu, and press Enter. - In the Code tab’s Scripts list, click
title_menu.rgs, replace everything in it with the script below, and press Ctrl+S.
/// The title's menu: a sound as the focus moves; Play, which starts a new game
/// at The Gate with neither relic; and Quit.
component TitleMenu {
    fn loop() {
        // W and S, and the arrows: the input map's ui_up and ui_down, which
        // move the focus.
        if pressed("ui_up") || pressed("ui_down") {
            play_sound("move");
        }
        if pressed("play") {
            // A sound asked for on the step that changes scene plays on after
            // it.
            play_sound("press");
            // Kept values outlast a change of scene, so a new game sets its
            // own: no relic taken yet.
            keep_number("double_jump", 0.0);
            keep_number("sword", 0.0);
            change_scene("gate");
        }
        if pressed("quit") {
            // No sound: the game closes at the end of this step.
            quit();
        }
    }
}
- Open
scenes/title.ron, click the Viewport tab, selectmenu, press Add component, and choose TitleMenu. - Press Ctrl+S.
- pressed
("play") - A Button reports its Action when it is pressed, by a click, by Enter or Space while it has the focus, and a script hears it with
pressed, as if a key bound to that action had gone down. - A new game
- Kept values outlast a change of scene, so a game started again from the title would still have the relics of the last. Play keeps both at
0before it changes scene, so a new game begins with none. - change_scene and quit
change_scene("gate")opens the scene whose file isgate.ron, by its name without the extension. A sound asked for on the same step plays on after it.quit()closes an exported game at the end of the step, and stops Play in the editor, with no sound: the window is about to close.
The game opens on its title
- Choose File → Project settings…, open its General tab, and set Startup scene to
scenes/title.ron, then close the window.
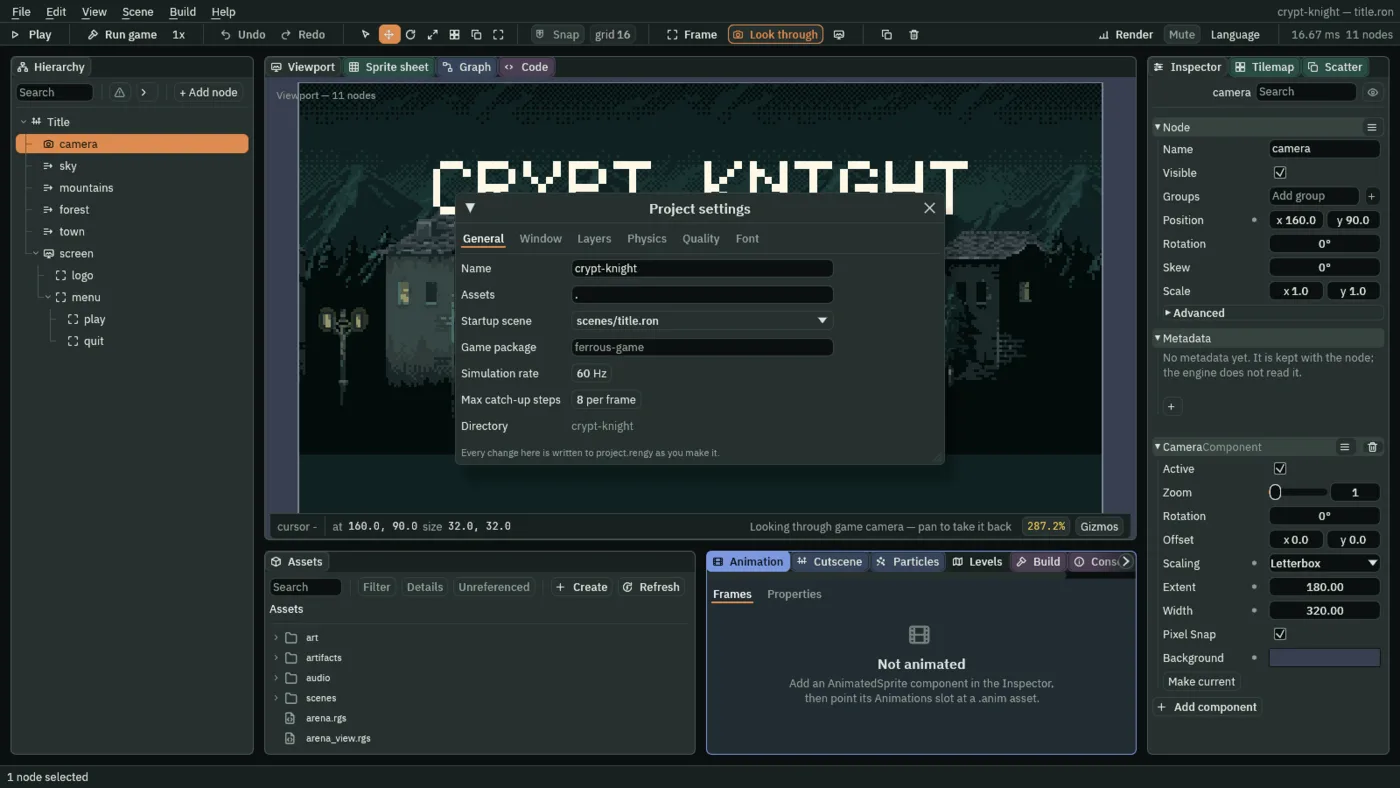
The Levels list is for the levels, and it does not need the title: the title is not one of them. The editor’s Play plays the scene that is open, so from now on open scenes/title.ron before you press F5 to play the whole game. Build → Run / Stop game starts it on the startup scene, as an exported game does.
The pause menu
Esc pauses the game: everything that runs with the game stops where it is, and the pause menu, which runs only while the game is paused, takes over. It sits on the HUD, in every level. Two scripts: the first listens for Esc, and sits on the hud, which runs with the game.
- In Assets, press Create, choose New script, type
pause_key, and press Enter. In the Code tab, replace everything inpause_key.rgswith the script below, and press Ctrl+S.
/// Esc, which the input map calls pause, pauses the game: everything that runs
/// with the game stops where it is, and the pause menu, which runs only while
/// the game is paused, takes over. It sits on the HUD, which runs with the
/// game.
component PauseKey {
    fn loop() {
        if pressed("pause") {
            pause();
        }
    }
}
pause pauses the scene as the step ends. Whether a node runs while it is paused is its Process Mode: Inherit, as its parent does, the default; Pausable; WhenPaused, only while paused; or Always. Every node in the game so far keeps the default, so all of it is pausable, and all of it stops.
The second runs the menu, and is on a node that is hidden, and runs only while paused:
- In Assets, press Create, choose New script, type
pause_menu, and press Enter. In the Code tab, replace everything inpause_menu.rgswith the script below, and press Ctrl+S.
/// The pause menu, over the level. It runs only while the game is paused, so
/// it shows itself on the first step of each pause, and it hides itself on
/// the step it resumes the game: once the game runs again its hooks stop, and
/// a menu left showing would sit over the level.
component PauseMenu {
    /// Whether it is showing, so it shows itself once a pause, not on every
    /// step.
    #[hidden]
    open: bool = false,

    fn loop() {
        if !open {
            show();
            open = true;
        }
        if pressed("ui_up") || pressed("ui_down") {
            play_sound("move");
        }
        if pressed("resume") {
            play_sound("press");
            hide();
            open = false;
            resume();
        }
        if pressed("title") {
            // A change of scene ends the pause too.
            play_sound("press");
            change_scene("title");
        }
    }
}
- Double-click
scenes/gate.ronin Assets, and click the Viewport tab. Selecthud, press Add component, and choose PauseKey. - Select
hud, press + Add node, choose Node, and rename itpause_menu. Untick its Visible. Open its Advanced fold and set Process Mode to WhenPaused. - Give it a RectComponent, which fills the canvas; an AudioSourceComponent on Sfx with Positional unticked and the title menu’s two triggers,
moveandpress; and PauseMenu.
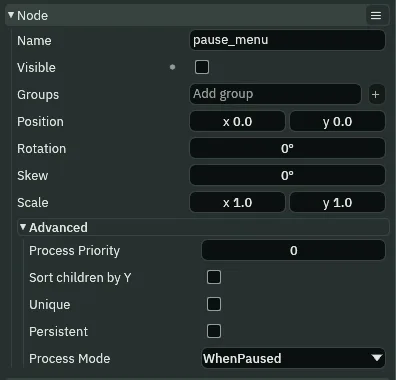
Under it, four children: a dimmer, which darkens the level behind the menu so that the level, the HUD and the signs do not compete with it, then the words, then the two buttons. They are in this order, the dimmer first, so that it is drawn behind the rest.
- Under
pause_menu, add a Panel calleddimmer. Its Rect: Anchor Min0and0, Anchor Max1and1, Offset Min and Offset Max0and0: the whole canvas. Its Panel Color:0,0,0, alpha0.6. - Add a Label called
paused. Its Rect: Anchor Min and Max0.5and0; Offset Min-80and52; Offset Max80and76; Pivot0.5and0.5. Its Text:PAUSED, Scale2, Align Center, Color1,0.94,0.8, alpha1. - Add a Menu Button called
resume: a Button with a Shortcut. Make it as the title’s buttons: Offset Min-40and90, Offset Max40and106, a white Panel, its TextResume, and a Button with Actionresumeand the same three tints. Give it a FocusComponent, and in its Shortcut set Action topause, leaving Key empty: Esc resumes too, and Resume draws Esc inside its right edge. - Add a Button called
title, made the same way: Offset Min-40and112, Offset Max40and128, TextTitle, Actiontitle, and a FocusComponent. - Set
resume’s Up totitle, andtitle’s Down toresume. - Press Ctrl+S.
The Crypt and the Hall each need the same menu on their own HUD. Copy it: with pause_menu selected in gate.ron, press Ctrl+C. Then, in scenes/crypt.ron, right-click hud and choose Paste as child, select hud, press Add component and choose PauseKey, and press Ctrl+S. Do the same in scenes/hall.ron.
- Hidden, and shown by its own script
- The menu’s hooks run only while the game is paused.
PauseMenushows the node on the first step of each pause, and on the step it resumes the game, hides it: once the game runs again its hooks stop, and a menu left showing would sit over the level. resume()and the titleresume()ends the pause. The title’s button changes scene, which ends the pause too: a change of scene ends a pause.- What a pause holds
- Everything that moves: bodies, every hook, wait and anneal, particles, animated sprites and the game’s sounds, which carry on from where they stopped. What plays on: the music, the menu’s own sounds. What works: kept values and the keys.
The victory screen
When the beast is slain, the Hall’s complete() is the last level’s, and the Levels list opens whatever its Then open names. That is the victory screen: the title, copied and changed.
- In Assets, open
scenes, right-clicktitle.ronand choose Duplicate. Right-click the copy, choose Rename, typevictory.ron, and press Enter. Double-click it to open it. - Rename its root
Victory, and remove its AudioSourceComponent: the screen plays the jingle, not the loop. - Select
logo, and set its Text toThe beast is slain.and Scale to2. - Select
quitand press Delete. Selectplay, and rename ittitle. Set its Text toTitleand its Button’s Action totitle, and clear Up and Down in its Focus. - Select
menu. Add a third trigger to its AudioSourceComponent: Namejingle, Clipaudio/jingles_STEEL07.ogg. Remove TitleMenu.
- In Assets, press Create, choose New script, type
victory, and press Enter. In the Code tab, replace everything invictory.rgswith the script below, and press Ctrl+S.
/// The victory screen's menu: the music stops and the jingle plays as the
/// screen opens, and its one button, Title, goes back to the title.
component Victory {
    fn on_create() {
        // The music plays on through a change of scene, on its one channel,
        // so it is stopped here, and the jingle is heard alone.
        stop_music();
        play_sound("jingle");
    }

    fn loop() {
        if pressed("title") {
            play_sound("press");
            change_scene("title");
        }
    }
}
- Click the Viewport tab, select
menu, press Add component, and choose Victory. - Press Ctrl+S.
- Click the Levels tab. Drag
scenes/victory.ronfrom Assets onto the Then open slot under the list.
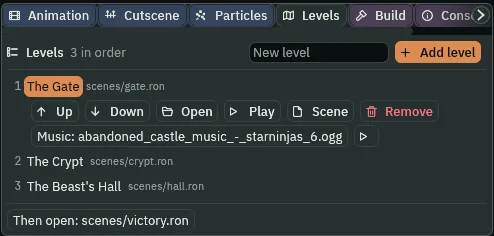
The music plays on through a change of scene, on its one channel, so stop_music() stops the castle loop and the boss loop, and the jingle is heard alone. After the jingle there is only the title to go back to.
Check it works